Thanksgiving weekend

Just a quick post today to wish everyone a quiet, peaceful close to their Thanksgiving week.  It was a busy one here, yet with time to relax and slow down too.

I was happy to have received a number of requests for desserts and goodies from a handful of folks. Since pumpkin flan, apple-cranberry/caramel nut/chocolate ganache tarts, shortbread, croissant, pain au chocolat and croissant aux amandes were on my to-do list for others for the holiday, I kept my personal dessert offerings for family and friends on the simpler side.

On Thanksgiving day Steve and I traveled up the road to brother Dick and sister-in-law Dorothy's home in Douglas, Massachusetts for our afternoon meal which included a turkey breast roulade (good job Dor!), green beans, a savory cranberry orange relish, baked sweet potatoes, Steve's potato-Gruyere galette and Cathy's pearl onions baked in a bread-crumb-topped, creamy filling.  Everything was deelish!

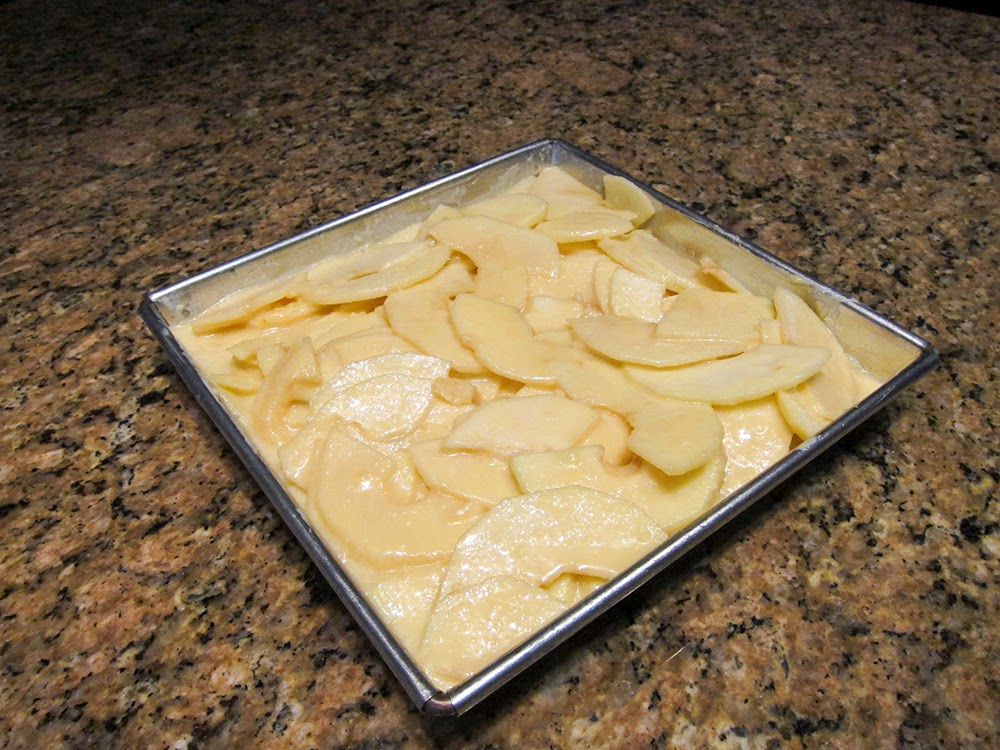
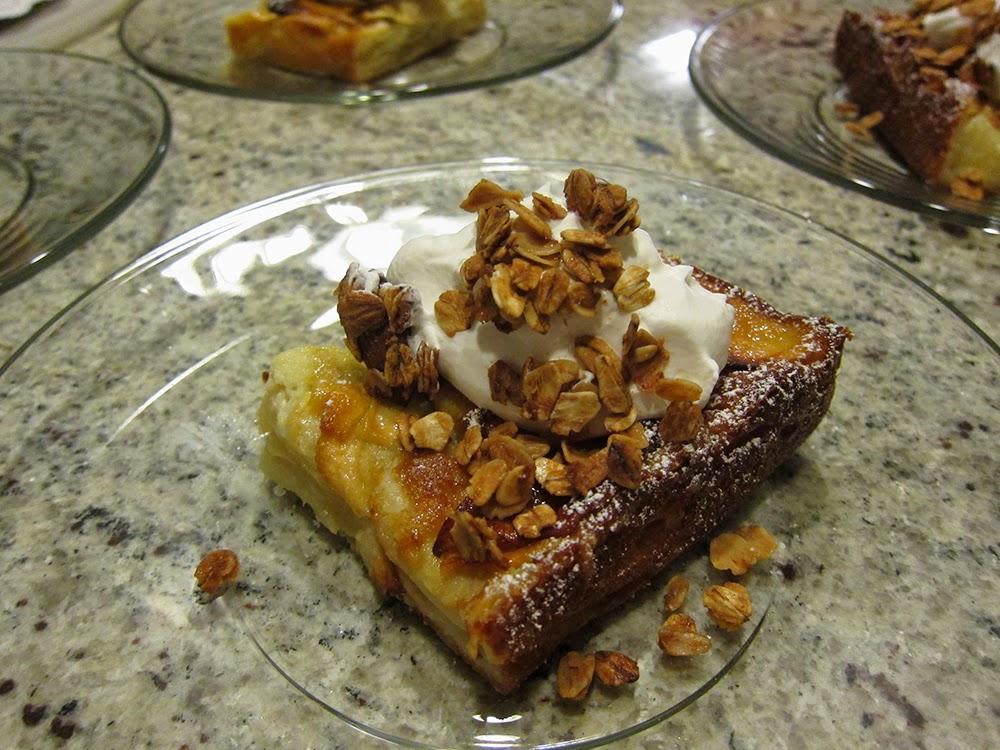
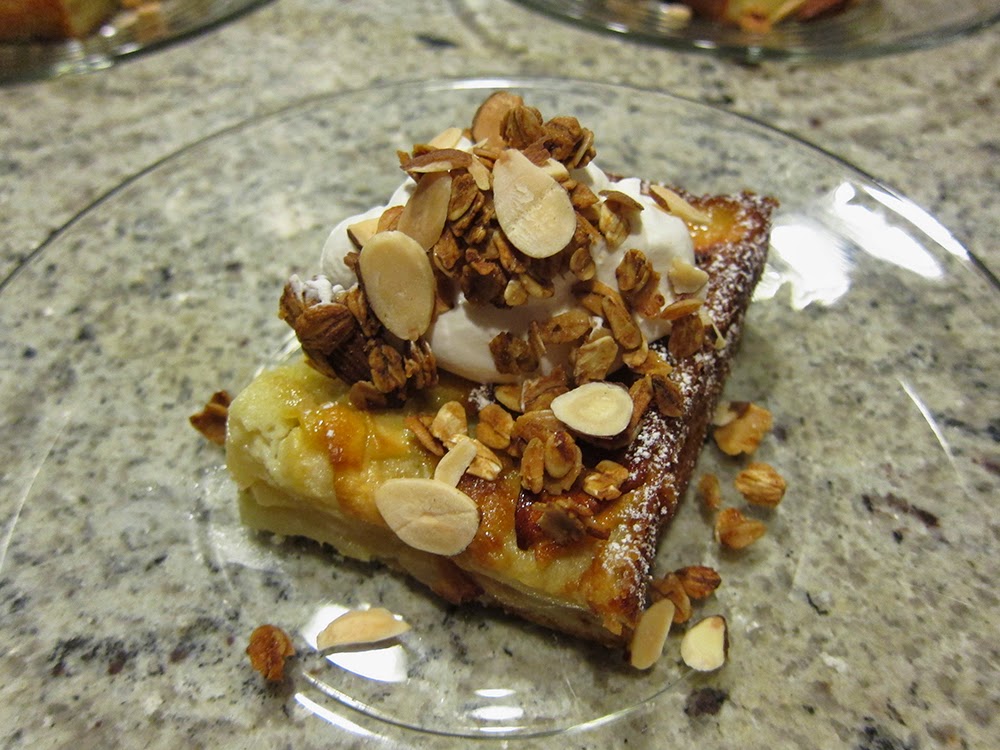
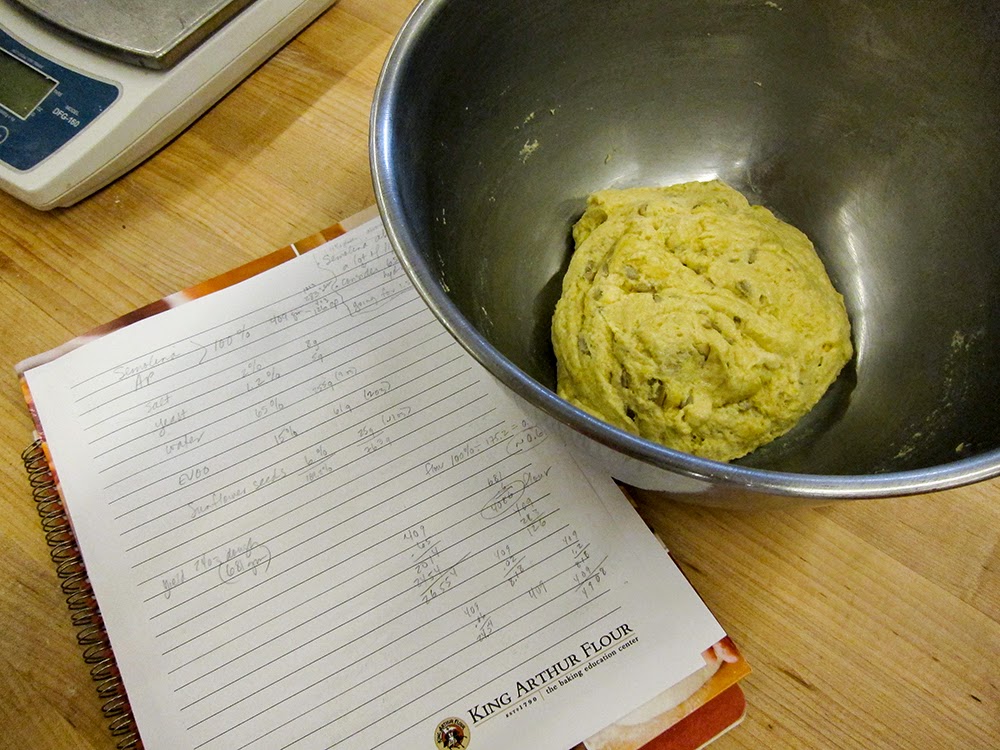
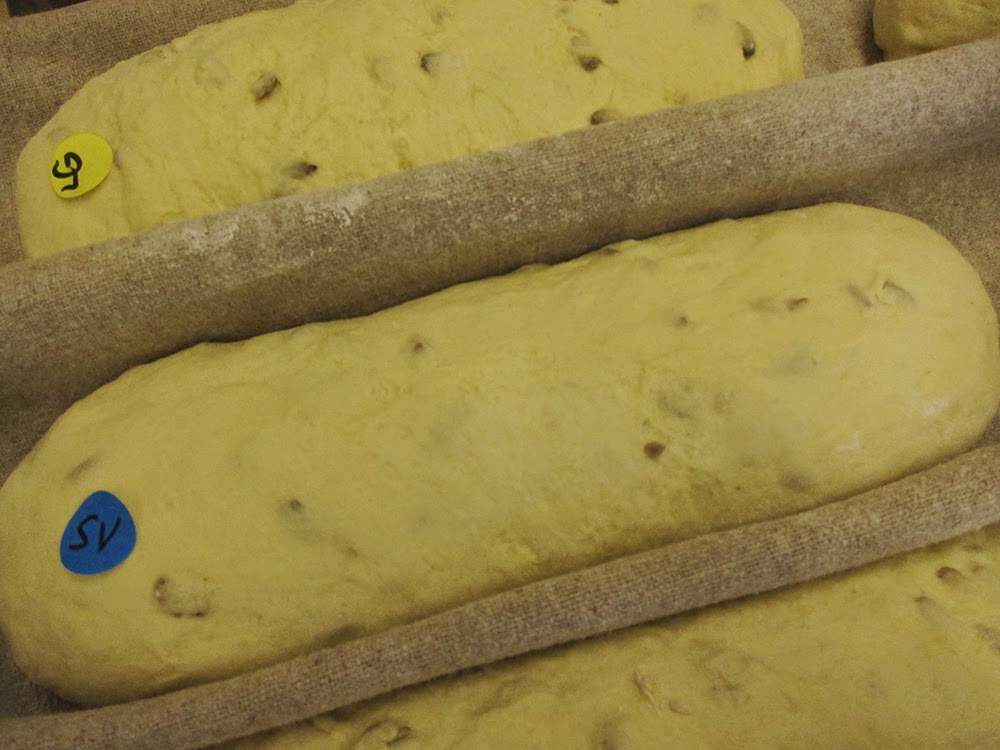
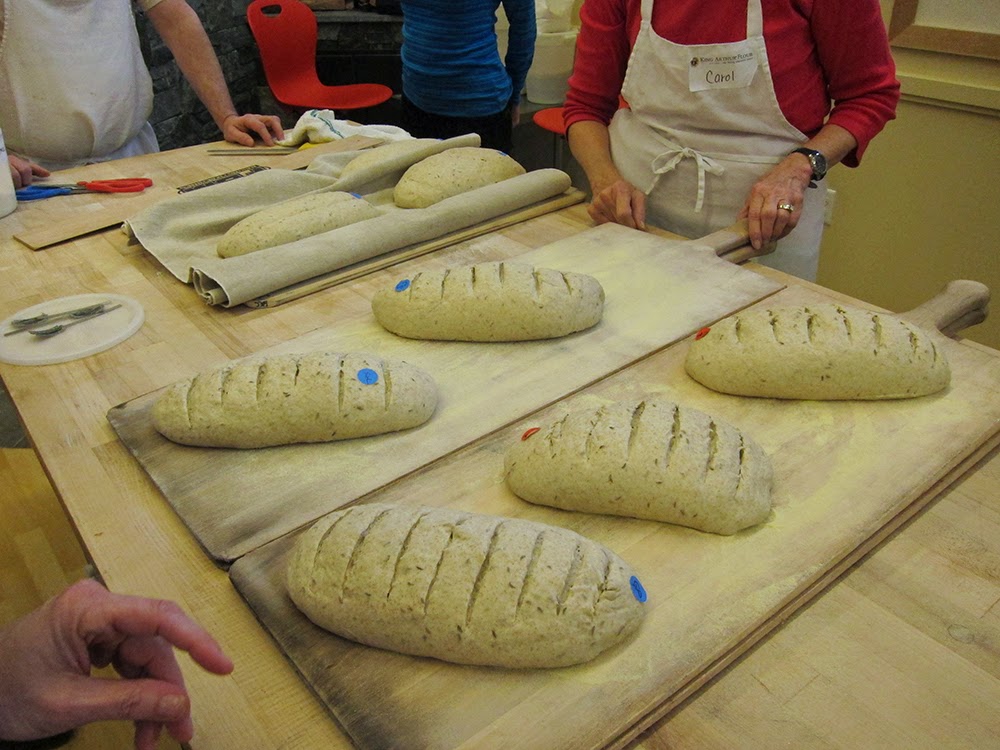
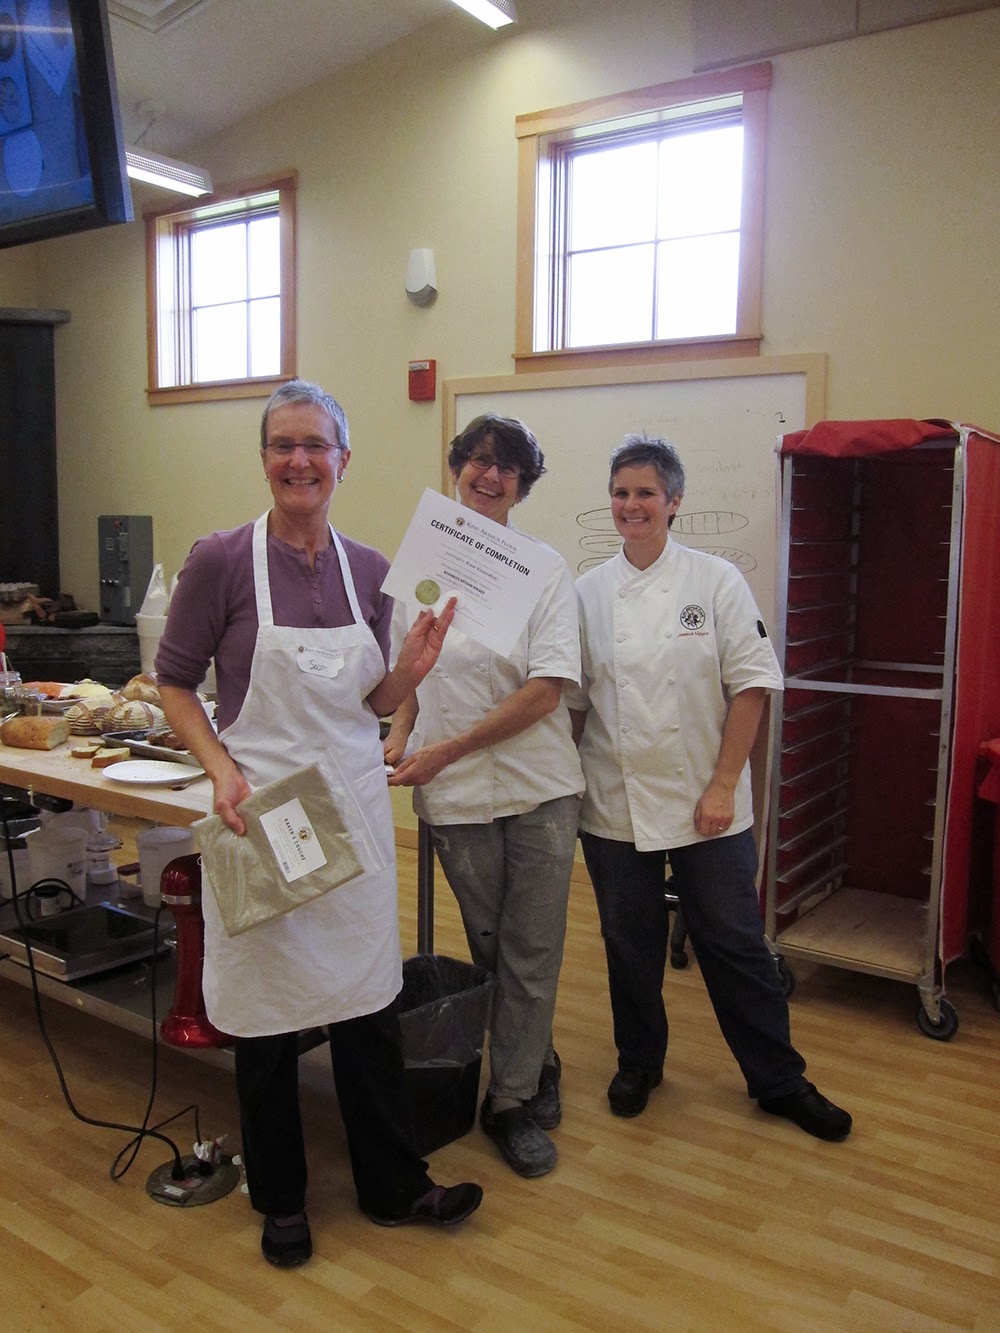
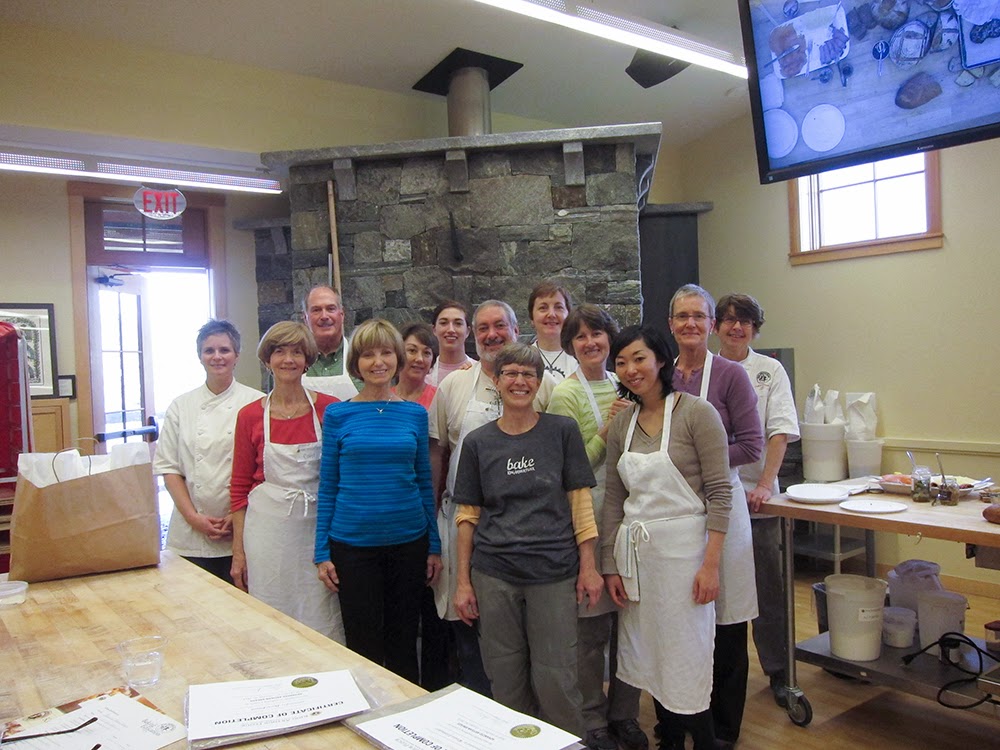
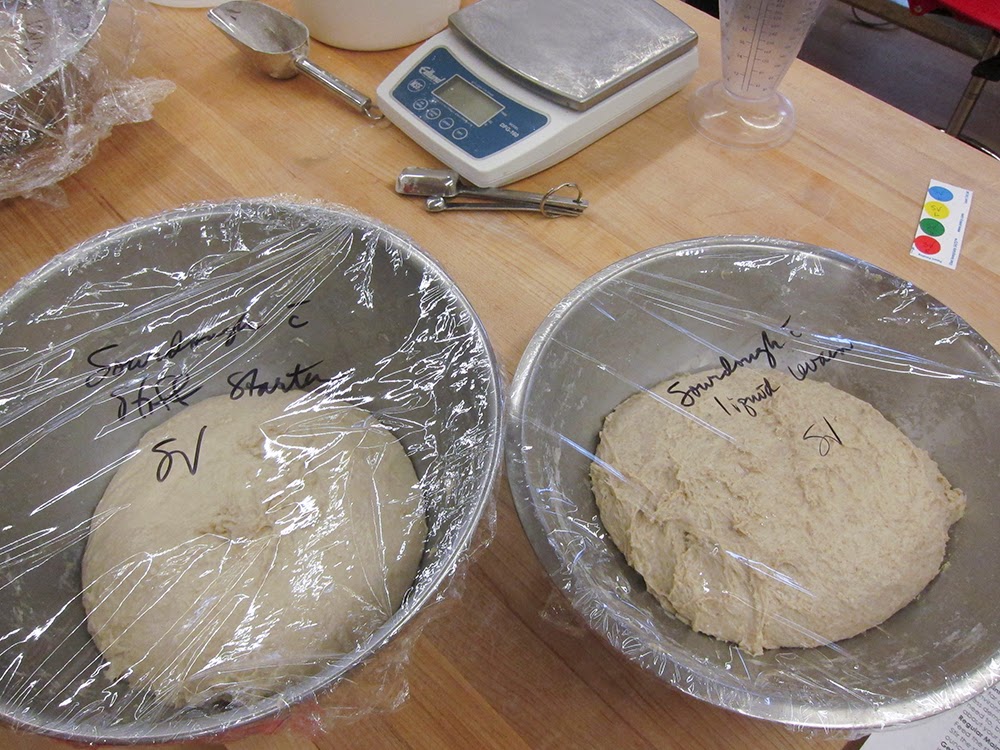
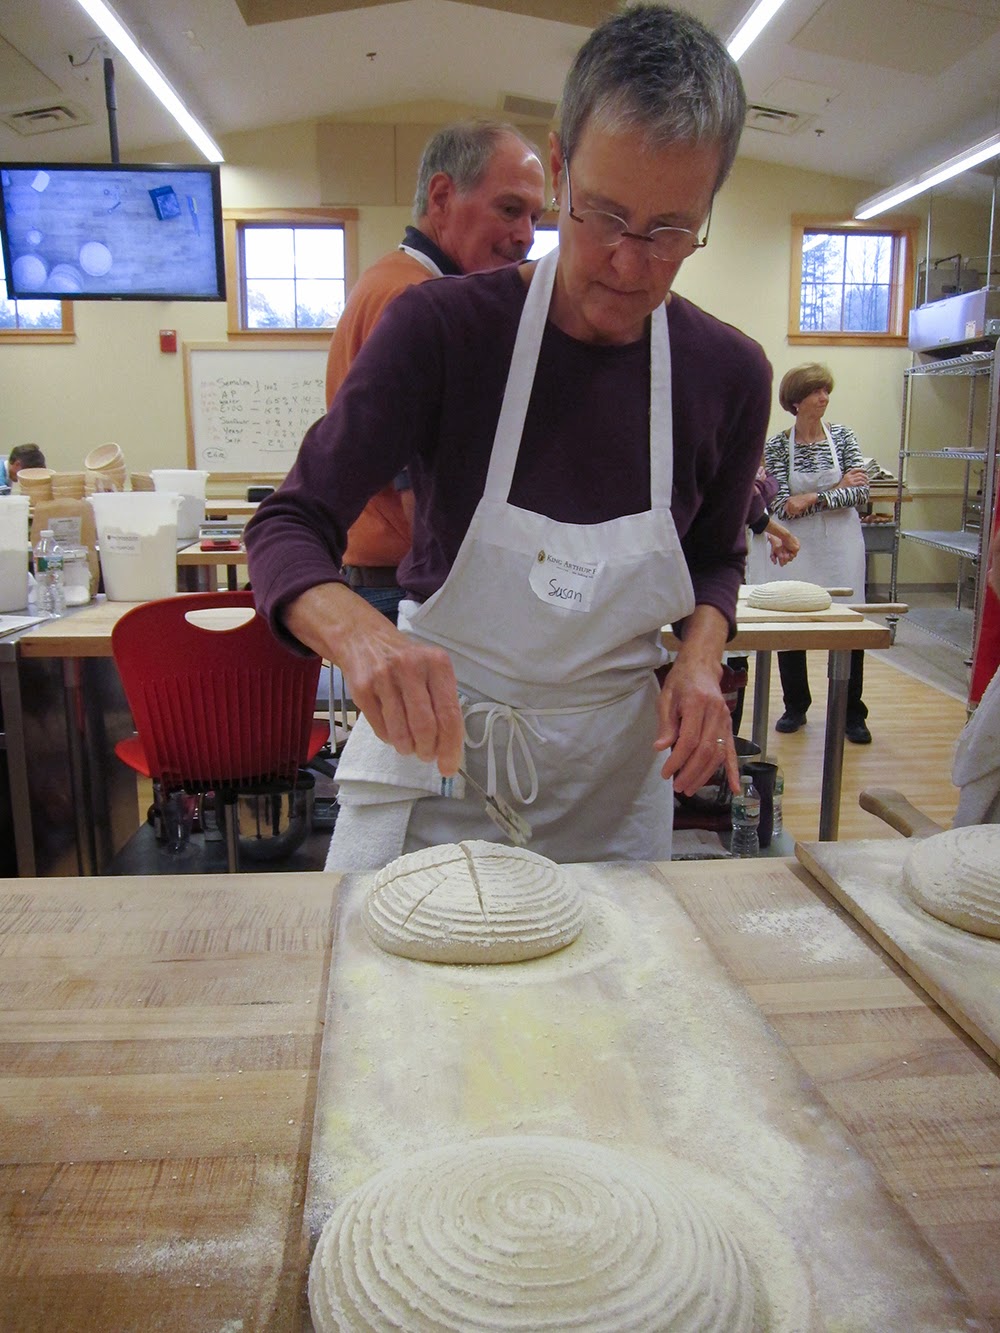
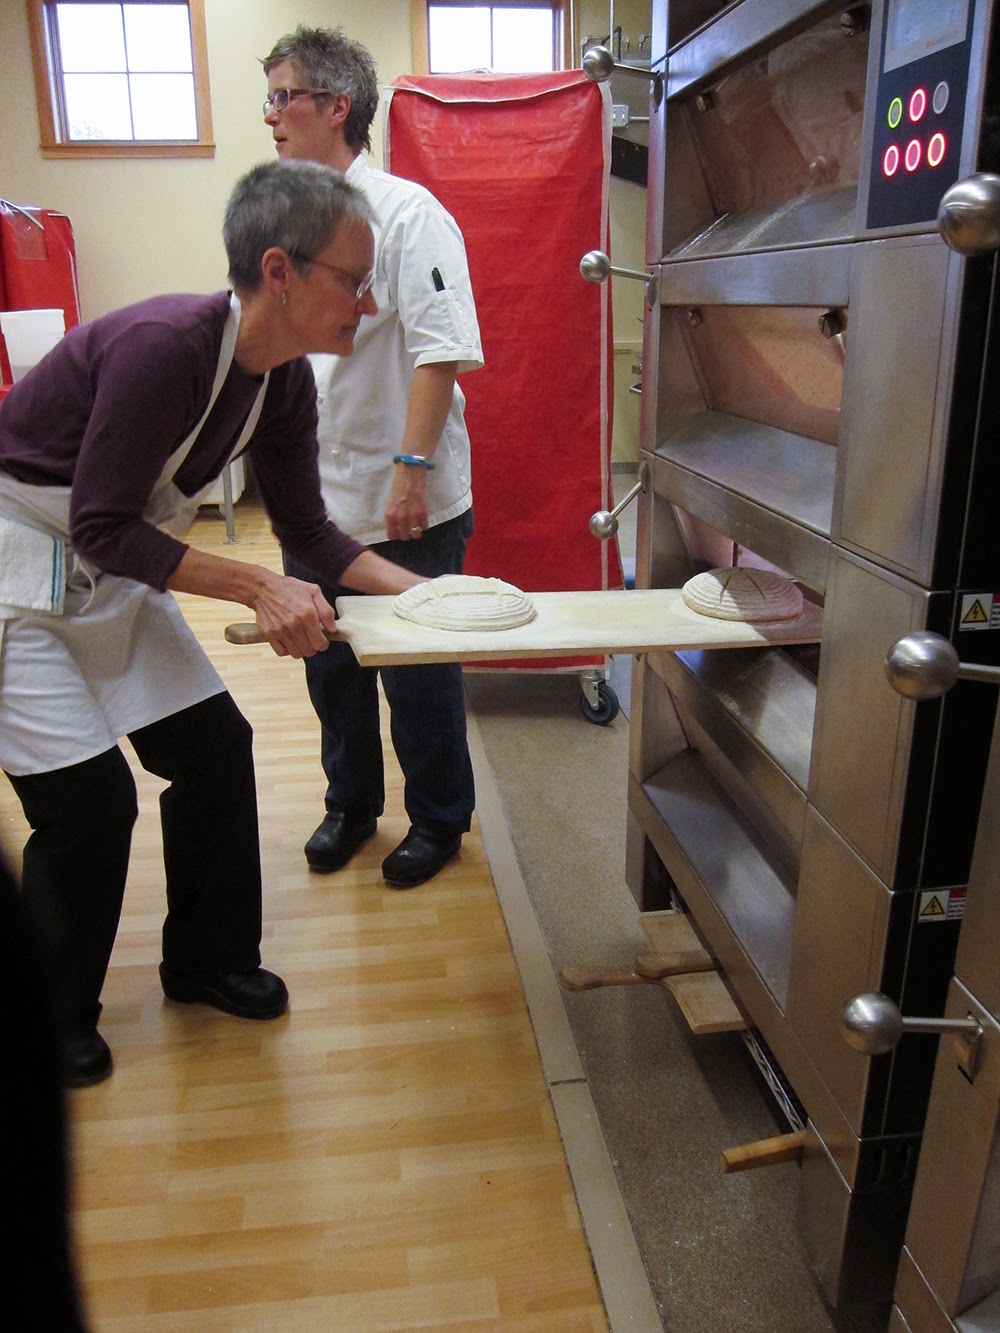
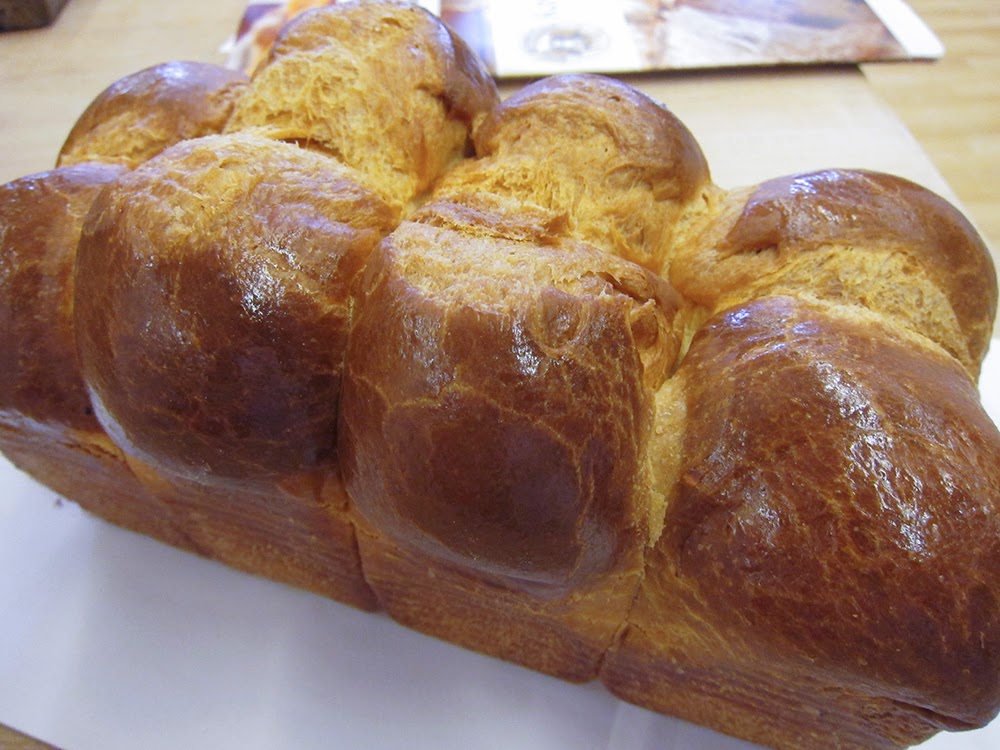
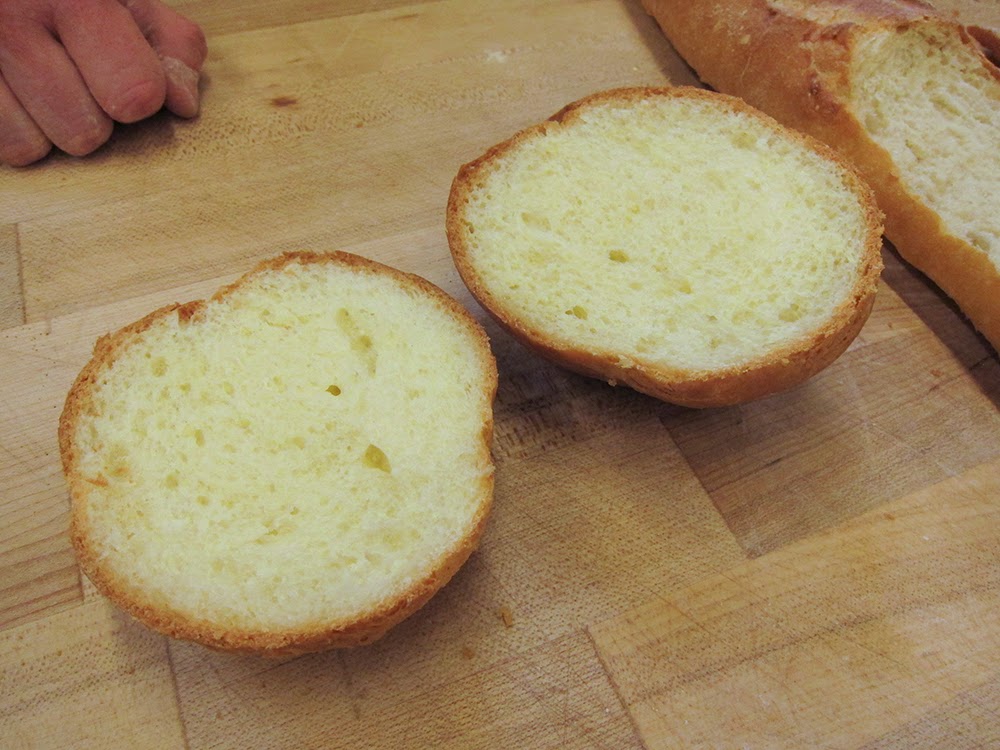
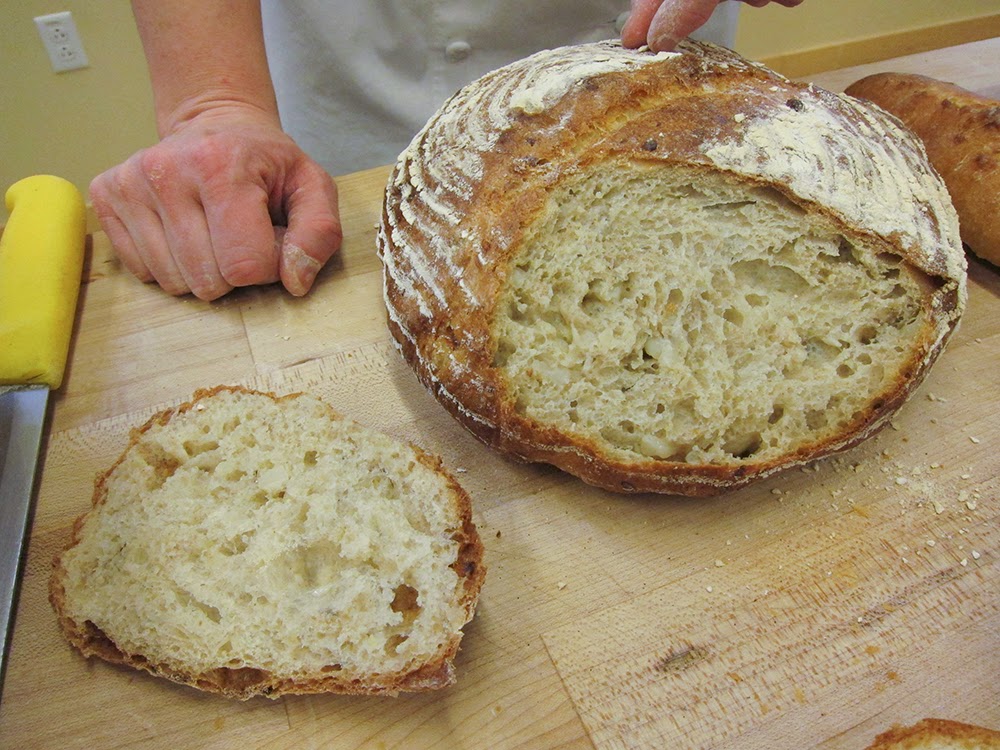
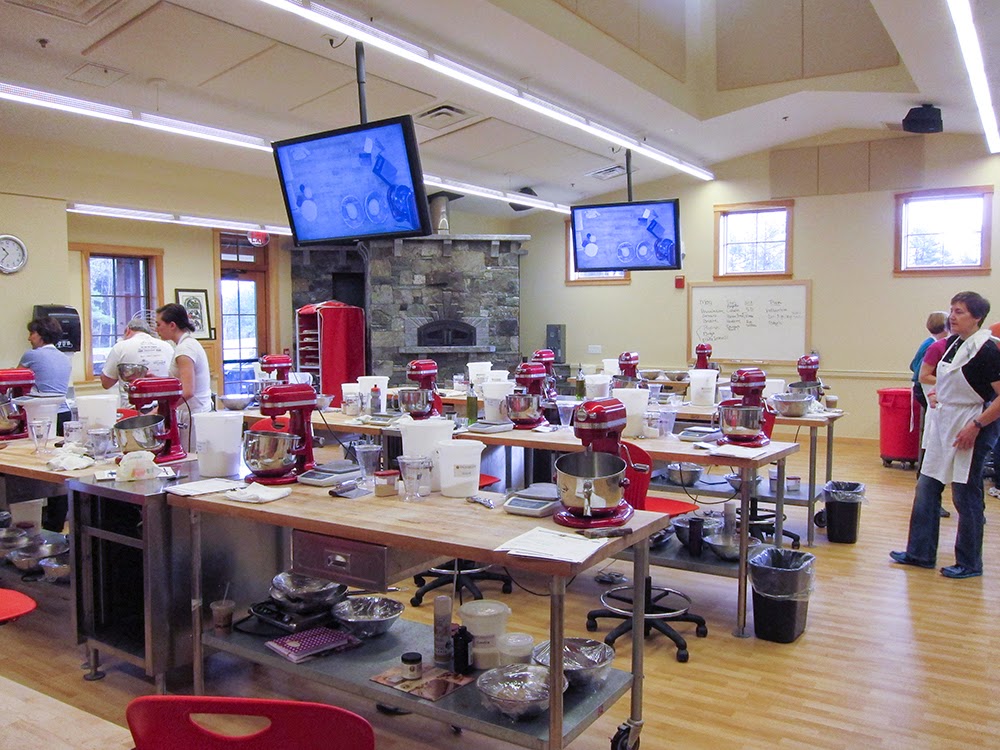
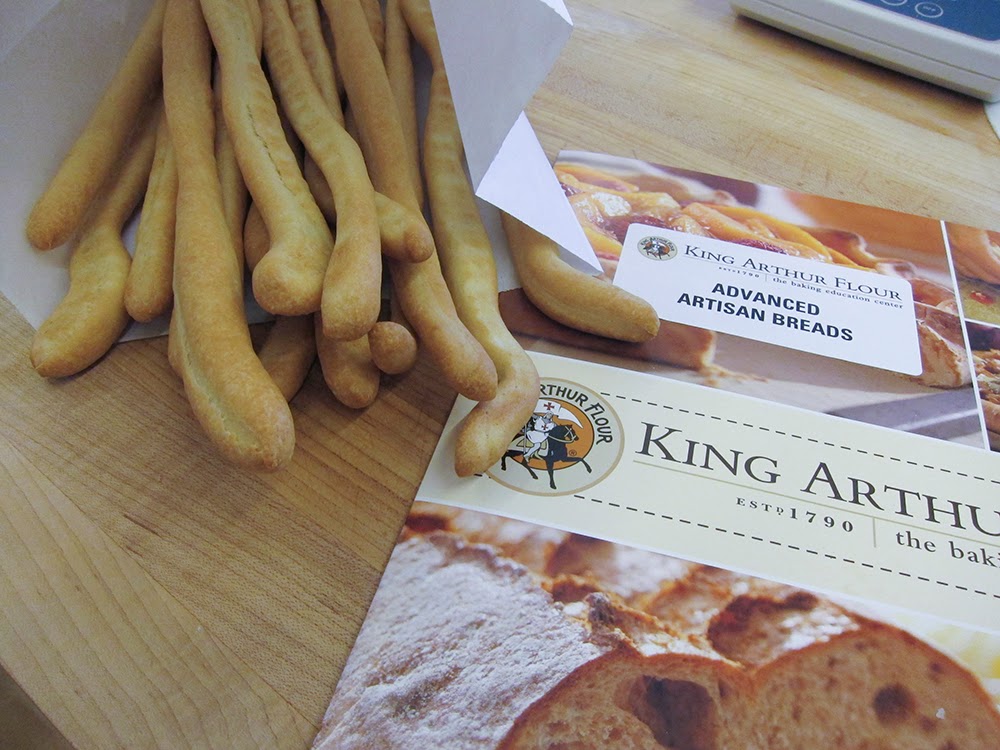
For dessert I brought a small ganache tart, but I also took the opportunity to create another treat with components I had on hand.  I still had a portion of the brioche loaf from my King Arthur bread class, plus some crème d'amandes in the fridge and berries in the freezer, so it was time to make a berry version of Bostock!

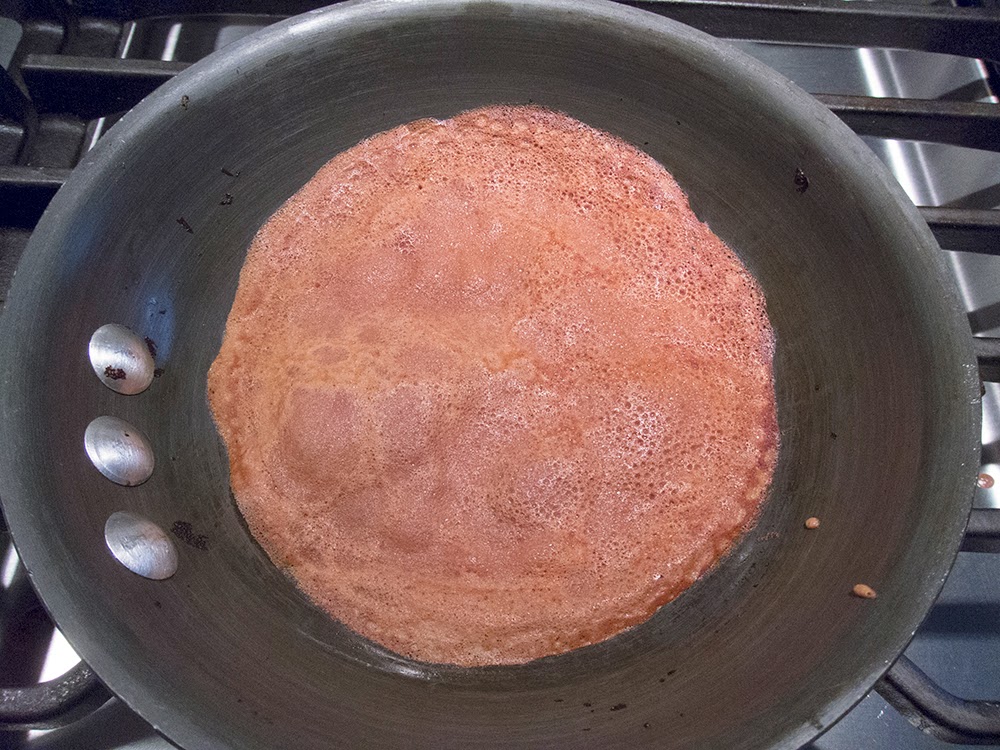
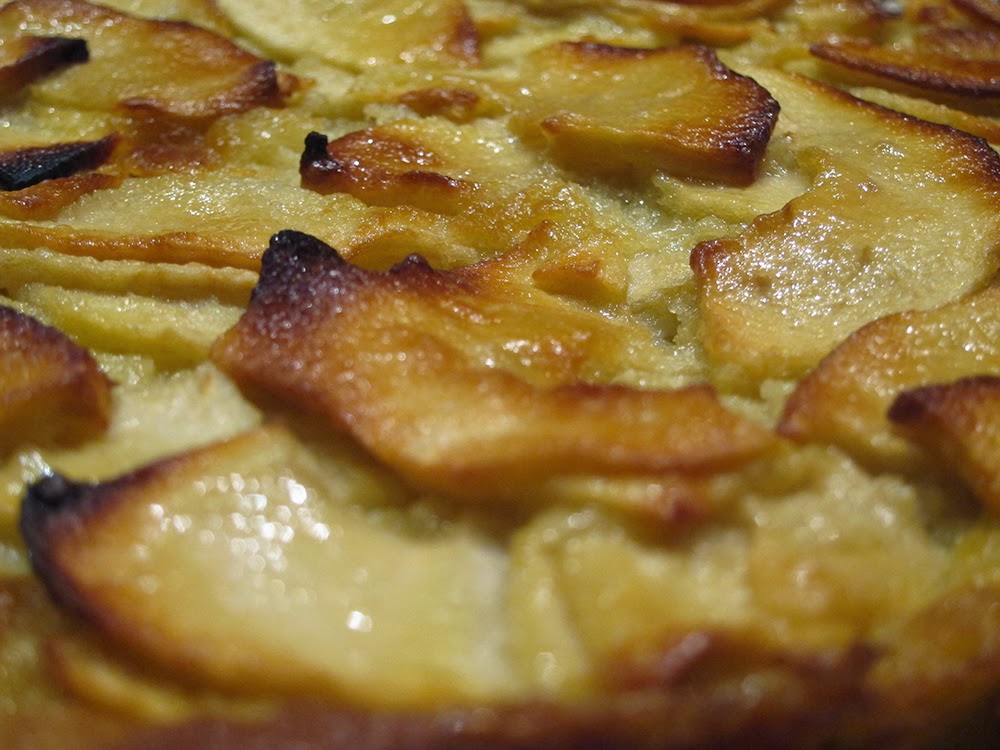
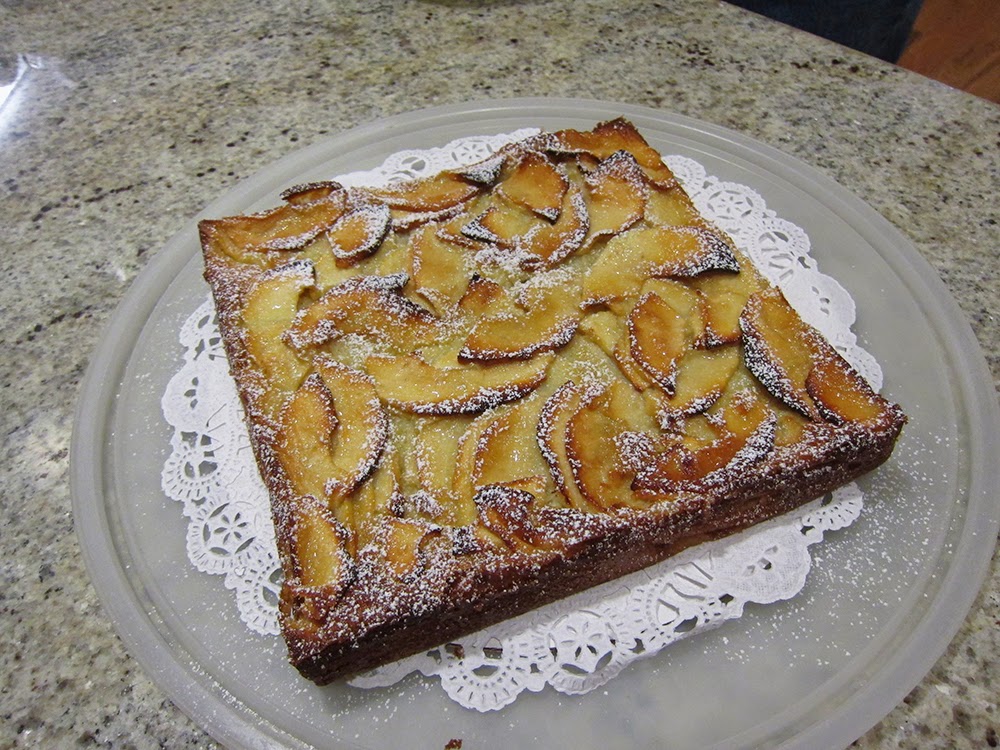
After slicing, the brioche is imbibed in vanilla simple syrup and topped with berries, almond cream and sliced almonds. It's then baked at 350º for about 20 minutes until the almond cream is nicely browned.

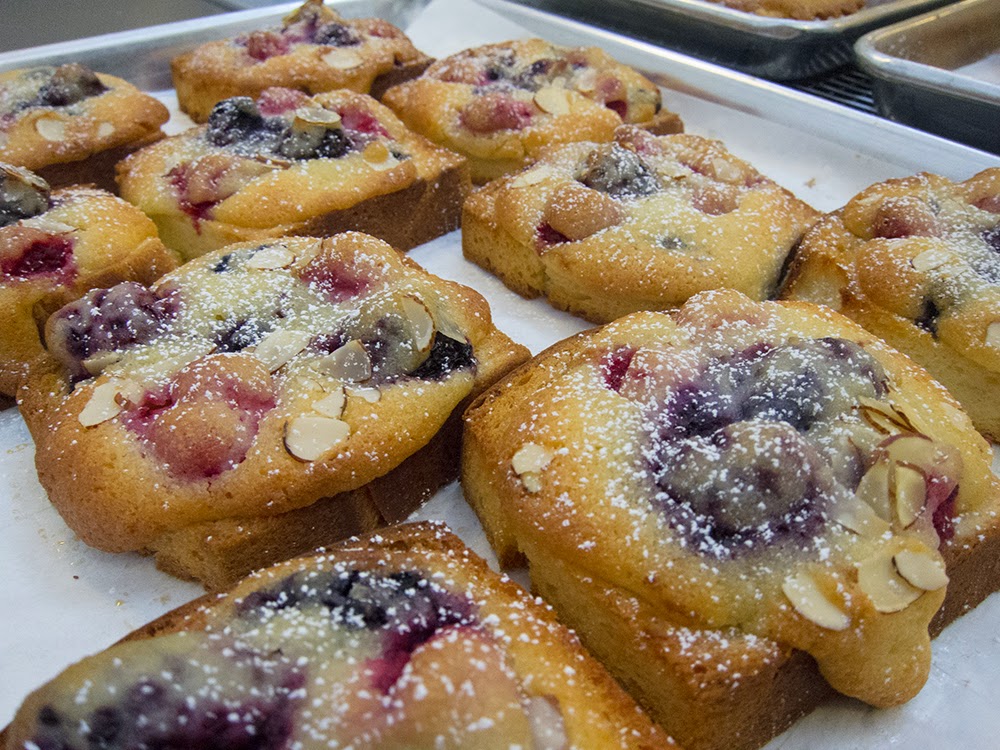
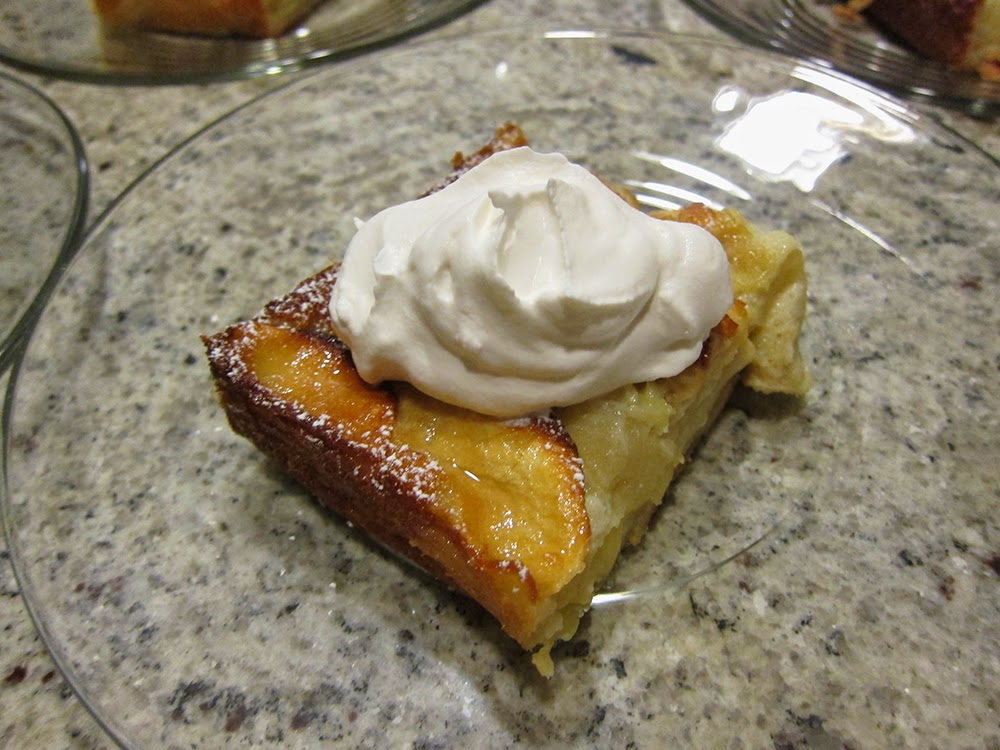
Now some might consider this breakfast food, but it was so delicious warmed, topped with a dollop of Chantilly cream and served along side a petite slice of chocolate ganache tart - a lovely duo!

For another weekend gathering at friend Barbara's home I was in a maple syrup mood. Custards are one of my all time favorite desserts, so, after comparing a few recipes, I created my own version of a maple custard, baked in my favorite square ramekins.

I mixed hazelnut nougatine, chopped toasted hazelnuts and my own chocolate cookie crumbs as a garnish, and the crunch added just the right touch to the smooth, cool, silky custard.  Definitely a hit!

It's been a good week.  And away we go to December and 2015!

Boston teatime No. 2

This past week on a sunny, but chilly November day I met up with sister-in-law Dorothy for another afternoon tea adventure in Boston. Our destination this time was the Langham Hotel on Franklin Street not far from Downtown Crossing.

We had decided that, before heading to Beantown, an IKEA stop was in order, so we met up in Attleboro MA, and partnered up in my Subaru.  We made it to Stoughton's IKEA in no time and, after a leisurely stroll through the store (which was not very busy on a Wednesday morning) we made our few purchases and then - on to the big city!

Driving north and exiting into Boston off I-93 has always been a challenge.  The nexus of interstate, Mass Pike, service roads, and poorly marked exits is soooo confusing!  Needless to say, we got all turned around and ended up heading west on the Mass Pike.  But, we were able to take the U-turn back into Boston and, with Dor's guidance, we exited at Copley and handily made our way to the Boston Common Garage to park.

A brisk stroll across the Common led us to Winter St. on through Downtown Crossing, where we saw the Macy's Christmas tree being decorated, and eventually to Post Office Square and the Langham.

We soon found ourselves in the Langham’s lobby, which, as it turns out, is also home to The Reserve, where we would be enjoying our afternoon tea experience.  We found the ambience inviting with a casual yet elegant feel.  A very pleasant spot to while away a couple of hours.

I had made a reservation ahead of time, and it turned out that we were the only ones there at 2 pm for the "Tiffin Tea".  In the photo above you'll see in the far upper left corner our white table-clothed spot.

Once seated at our table with a view back out toward the lobby we were presented with the menu as well as the Harney and Sons tea selections for the day.

There were a few additional specialty tea selections as well.

After savoring the aroma of a number of the tea choices Dor opted for pomegranate oolong, and I went for one of the specialty blends, a black tea likened to an English Breakfast (the one on the top right above).

Not long after we had made our tea selections we were served two plates, one with our tea sandwiches and the second with our sweet treats. We wondered where the third plate was and were also disappointed in the lack of the classic three tiered server placed directly on the table, which typically serves as a center piece.

But have no fear - a basket of warm scones arrived and was placed on the table-side server stand where we could access it easily.  And, of course, it was accompanied by three classic garnishes - strawberry jam, clotted cream and lemon curd.  Oh boy, we were in for a treat!

After the obligatory 3-minute steep (with mini hourglass timer table-side) our server poured our tea, and we started in on the sandwiches, which were presented simply and attractively on Wedgwood china.

The standard fillings of egg salad, chicken salad, cucumber and salmon were all delicious, although a couple of the breads were a bit dry.  Dor and I agreed that the highlight was the oh-so-moist and slightly sweet Boston brown bread with salmon - an unexpected but tasty combo!  It brought back memories of my mom baking Boston brown bread in cans oh those many years ago.

We paused a bit, sipping our delicious teas, before starting in on the scones.  They were just the right texture, broke apart nicely with a perfect crumb, just ready to be topped with the quintessential garnishes.

As I observed the somewhat pale exterior I thought a brush with milk or egg wash and a sprinkle of sugar before baking would have added that just-right final touch to these otherwise stellar scones. And, although the jam, clotted cream and lemon curd married nicely with the buttery crumb, the curd could have had a brighter,  more lemony flavor.

On to the sweets!

The tartlet was a pleasing combination of a smooth sweet potato custard filling, gooey marshmallow atop and a crisp crust, although the aftertaste of the crust was bland and not terribly flavorful.

The most disappointing of the group was the iced autumn spice cake - very dry with an unappealing mouth feel and little flavor.

The pecan shortbread was right up my alley - crisp, light and buttery!  Perfect with a cup of tea!

While the cranberry white chocolate cheesecake pop had a nice texture and flavor, the pop thing is a bit too trendy for my tastes.  But hey, that's just me!

All in all Dor and I found this tea experience a notch above the Boston Harbor Hotel (see my post from 9/24/14) in terms of the over all flavor of the food (especially the scones!).  The teas were delicious, but we noticed how quickly the hot water in our teapots became cold.  We missed the tiered food centerpiece and thought the service in general could have been a little more attentive.

Yes, The Reserve offers a calm and pleasant atmosphere, and afternoon tea is a great way to enjoy a relaxing couple of hours in Boston.

Chocolate crepe cake

Believe it or not, I had never made a crêpe until this past week.  And, since I was experimenting, I thought I'd take it a step further than just the simple crêpe- why not make a crêpe cake!

I must say I've contemplated this for awhile, after one of my former customers, Ting-Ting, asked me about making a matcha (green tea) version for her. Needless to say, it never happened, but I was nonetheless intrigued. She had such a focused interest on pastries and would often come into the shop with loads of questions about what I was offering that day, as well as reporting on various pastries she had discovered in Manhattan. The crêpe cake was one of them.

I began my research and opted for a chocolate version. I found a number of recipes on line and soon realized how easy the batter is for this classic treat - milk, melted butter, flour, vanilla, egg, a little sugar, chocolate - ingredients that most of us have in our pantries and fridges on any given day.

I chose two different recipes, one using Dutch process cocoa powder and one using melted chocolate, thinking it would be good to compare the flavors.

Above: ingredients for Dutch process version

Above: ingredients for melted chocolate version

I mixed each batter together with no muss nor fuss and refrigerated both overnight.

Above - getting ready to blend ingredients for the melted chocolate version . . . . .

and bringing it all together with an immersion blender.

When it came time to make the crêpes, I chose to make a 4-5" size, thinking I wanted a petite cake for my first attempt.  Steve and I have a small sauté pan (I think it's Calphalon) that we've had for years and rarely use.  It seemed just the thing for what I was about to do.

I heated the pan and started the process.  I soon understood what to watch for as the crépes began to set.  It didn't take long before I was into the rhythm of crêpe making - one after another I piled them onto the plate.

Above - starting to set . . . .

then after flipping, finishing it off. 

Especially when making small crêpes, I realized the seemingly inordinate amount of time it took to finish off all the batter (and I had made only half a recipe!).  At this point I could imagine having 3 or 4 pans going at once, flipping crêpes one after another in assembly line fashion!

I made a couple of crêpes from the Dutch process cocoa batter first.  I then switched over to the melted chocolate version, and, after doing a tasting of the two, decided to abandon the cocoa version, since it didn't have nearly as rich a flavor.

Once all of my crêpes were finished I layered them between sheets of parchment and put them in the fridge, since I was planning my assembly for the following day.

I decided to make a simple whipped chocolate ganache filling, using 3 parts cream to 1 part chocolate by weight.

Boil the cream, pour it over the chocolate, whisk gently, cover (plastic wrap directly on the surface to eliminate air) and refrigerate until nicely chilled.  It couldn't be easier!

When I was ready to begin the assembly, I pulled my plate of crêpes and my ganache from the fridge.

I whipped the ganache to medium firm peaks so it would be nicely spreadable . . .

and began the process.

Getting higher . . . .

and stacking until I had 21 (or was it 24?) layers (OK just try to count them!)

Into the fridge it went to set up before glazing.  My chocolate glaze is 113 gm of chocolate and 42 gm of butter melted over a bain marie.  Trés simple!

I held the finished cake, covered, in the fridge overnight.  When it was time to serve, I sliced it and garnished with caramel spiked chantilly and chopped toasted hazelnuts.

If I haven't mentioned this before, I toast nuts before using, no matter what I'm doing with them.  It brings out the flavor and adds so much to the final experience!

A note about chocolate:  for this project I used Valrhona's 64% Manjari, the chocolate I used regularly when working at Gracie's.  Since then I've come to really enjoy the flavor (and the price!) of Trader Joe's Belgian chocolate, typically mixing half-and-half of their "dark chocolate" and "72% dark chocolate".

I had made a mini-cake with leftover crêpe pieces and ganache for Steve and I to sample.  We both felt that the chocolate was too acidic and not necessarily an agreeable taste, so I was anticipating how we and our Saturday evening dinner guests, Magali and Guy, might react to the piéce de resistance.

We all enjoyed the texture and flavor, particularly with the chantilly and hazelnuts mellowing out the acid of the chocolate.  But, it was Magali who suggested a bit of orange, which reminded me that I had some candied orange peel in my fridge from an earlier project.  I put a couple of pieces of the peel on our desserts et voila!  It made ALL the difference.  What a delicious combination!

Thanks Miss Mag!

More than you'll ever want to know about shortbread

When asked what my favorite baked good is, my thoughts usually turn to a lovely, buttery shortbread. There is something so genteel about a cup of tea with a delicious crisp cookie along side.

The basic dough for classic shortbread is 1-2-3 dough, or 1 part sugar, 2 parts butter and 3 parts flour (by weight).  The word short refers to the high fat content of the dough as well as the limited mixing, which prevents long gluten strands from forming and keeps the dough tender.

In French the word sablé (sand) is used to describe this type of dough, and the sablage process involves simply mixing flour and sugar together, then blending (or "sanding") in diced, cool butter with your finger tips until a coarse, sandy texture is reached. At that point the dough can be pressed firmly into a pan and baked.

That's the method I use when I have a craving for fresh shortbread and want to make it quickly.  I line an 8 or 9" square pan with parchment and weigh out 75 gm sugar, 150 gm butter and 225 gm flour.  I dice the cool butter and sand it by hand into the flour and sugar until crumbly. I like to add the seeds scraped from one vanilla bean too - love to see those little brown specks! (I buy my beans in bulk from Beanilla).

Once the dough is pressed into the pan I bake at 300º convection, usually about 20-25 minutes. I like it lightly browned and well baked so it has a tender crumb but is still crispy too. With this approach it's important to cut the shortbread in the pan soon after it comes out of the oven. If you wait until it's completely cooled, it will tend to crack and won't cut evenly. But don't worry, it will still taste great!

You can also take the sablage a step further until the dough actually comes together, although it's easier with a mixer, especially if you're making a larger batch.  Just put your flour and sugar into the mixing bowl, throw in your diced butter and mix with the paddle on low speed. It usually takes about 5 minutes before it starts to form a cohesive ball. Then stop and don't over mix.

This allows you to shape the dough into a round, square or even triangular log or simply wrap and chill it for later rolling and cutting into desired shapes. It's the best approach when you're planning ahead and want to have a variety of flavors of dough ready in your fridge or freezer.

Some of my shortbread are made using another common mixing method - that of first blending soft butter with sugar and THEN adding the flour.  Please note that this is NOT the traditional creaming of butter and sugar that is meant to aerate and lighten, as one might do for a cake. You don't want to introduce air into the shortbread dough, just blend the butter and sugar together.

By now you're probably wondering why all this talk about mixing methods for such a simple cookie? It's the world of baking and pastry! And why might I use one method over another? It's really based on the various recipes I've discovered and adapted over the years. The results are all still delicious no matter what method you use, so have fun with it!

I found the following recipe some years ago on Clotilde Dusoulier's blog, "Chocolate and Zucchini".  She attributes it to Parisian chef Yves Camdeborde of Le Comptoir du Relais in the 5th arrondissement.

It varies a bit from the strict 1-2-3, using 90 gm coarsely ground raw sugar (gives it a great crunch!), 200 gm soft butter, and 250 gm flour (along with those important vanilla bean seeds). The higher ratio of butter and lower ratio of flour give these cookies a nice crispy texture.

First I smear the butter with my trusty spatula until smooth, then blend in the sugar (that's a mixture of vanilla sugar and coarse raw sugar above on the right).  I scrape my vanilla seeds into the mix, throw in a pinch of salt and then add the flour by cutting it in with a bowl scraper and gently blending it by hand until it comes together. You can see it still looks rough but holds together.

Divide the dough in quarters in preparation for log shaping. I first shape roughly . . .

and then do the final shaping with the dough wrapped in plastic.

Place the wrapped logs in the fridge for a good 1-2 hour (or overnight) chill. Once the dough has chilled, and you're ready to bake, heat your oven to 300ºF convection. With this particular recipe I roll the logs in raw sugar before slicing, then space the cookies out on parchment lined sheets.

I've gotten into the habit of freezing the cookies on the sheet pans for 10-15 minutes before baking.  It keeps the butter firm and helps maintain the shape during baking. Depending on your oven these may bake anywhere from 20 to 25 minutes - pay attention to what's happening in there, and don't forget to rotate and change shelf positions of your sheet pans about half way through.

Let's talk a bit about flavors.  Once you have a base recipe down, use your imagination to create your own variations.

One of my favorites is to brush the just baked cookies with my homemade caramel sauce, sprinkle them with sea salt and pop 'em back in the oven for 2-3 minutes to set the caramel.  Deeelish!

Or brush with honey and sprinkle with herbes de provence (Steve's idea!) and sea salt.

You can add citrus zest and a squeeze of fresh citrus juice as you're mixing . . . or mix some chopped crystallized ginger, dried tart cherries or cranberries into your dough . . . or add chopped, toasted nuts and your favorite spice like cinnamon, ginger or nutmeg . . . or replace 1/4 of your flour with ground nuts or cornmeal for varied textures . . . or dip your finished cookie in melted chocolate.

You get the idea.

One of the most popular offerings during market days at my pastry studio in Pawtucket RI was the shortbread bar - 12 different flavors, mix and match, pop 'em in a bag and go!

Mmmmmm - what an enticing array!

Now it’s your turn to create your own version of delicious buttery shortbread cookies! Have a ball!!

Tarte Tatin

Before I jump into the topic at hand I'd like to share a photo of this gorgeous maple tree that we've been viewing from our window every day these past few weeks.  It's a beauty!

Making a classic tarte tatin has been on my to-do list for some time now.  So when a recent NYT article with the tatin recipe from Gotham Bar and Grill was published online, I felt it was time.

Over the years I've tried my hand at a couple of variations, one being a few summers ago when I made petite versions in mini muffin pans with plums and peaches. They were messy but deeeelicious. More recently, a second attempt involving a mango version from Christophe Felder's book Les Folles Tartes, turned out OK, but something about the flavor of the mangoes put me off.

As is my wont, when I'm planning to make a classic of anything, I compare a number of recipes to see how different chefs approach the process.

In addition to Felder's I reviewed recipes from Dorie Greenspan, Michel Roux, Philippe Conticini, Sherry Yard, Francois Payard and the above mentioned Gotham B&G. Each had a slightly different take on the process.

The recommended apples ran the gamut from Golden Delicious, Gala, Braeburn, Granny Smith, Cox and Honeycrisp, typically requiring 6-8 apples for a 9-10" tart. I opted for a mixture of Braeburn and Granny Smith, partly because I had never baked with Braeburns and thought it a good test.  I like G. Smith because they hold their shape, and their tartness goes so well with buttery pastry and caramel.

Most recipes call for pâte feuilletée (puff pastry), although a couple used pâte brisée.  

Sherry Yard likes to use croissant dough as her tart base.  Go figure.  The quantity of dough is generally about 8 ounces.  This is another one of those times when it's great to have some puff pastry already made and in your freezer!

Typically sugar and butter (amounts vary from recipe to recipe) are used to create a caramel. Some variations involve making the caramel, pouring it into a moule à manqué (cake pan) and temporarily setting it aside. The prepped apples are then placed over the cooled caramel and baked in a 350-375 oven for perhaps 30 minutes to soften and caramelize them. They are then topped with a round of pastry and placed back in the oven to continue the caramelization and bake the pastry until golden brown.

Alternatively some recipes have you bake the pastry round separately and then place it onto the baked apples. The whole thing is then turned out onto a platter before serving.

After a while all these variables become a bit overwhelming. I decided to go the classic route, starting on the stove top and then moving into the oven. I followed the guidelines in Dorie Greenspan's "Paris Sweets" recipe, although I did not make the vanilla tea version as she does.

First I rolled out my puff pastry to about 3 mm thick, and using a cake circle as a guide, cut a round slightly larger than my pan.  I pricked it with a fork, covered it and held it in the fridge until later. Interestingly, both Michel Roux and Gotham B&G have you put the raw pastry over the apples while still on the stovetop before even going into the oven. To each his own.

Then I took my new 10" Lodge cast iron pan (can't believe it took me so long to buy one!), coated it in 113 gm (4 oz) soft butter and sprinkled 150 gm of sugar over it. I used a mixture of my own vanilla sugar and granulated sugar.

I had peeled, cored and quartered a total of 6 apples . . . .

which I layered over the butter/sugar:

The pan is placed over medium heat on the stovetop until a light to medium caramel develops. The time for that will vary, and one must keep on eye on things and adjust the heat as needed to prevent burning.

Here is where one must use judgement about the extent of the caramelization.  I thought this was looking nicely ready so I retrieved my pastry from the fridge and placed it over the apples:

Recommended baking temperatures ran from 350-375ºF and baking times varied from 30-50 minutes with the ultimate goal being a nicely browned pastry.  I baked mine at 375 for about 35 minutes and thought it had achieved just that very look:

I gave it just a minute or two to let any bubbling subside, then, placing a flat platter over the pan, handily flipped the tart out with nary a hitch (I was a bit worried as to how I would fare with that step). Imagine my disappointment when I saw before me a much paler version than what I had anticipated! Plus the Braeburn apples, while actually still holding some shape, were on the verge of mushy applesauce!!

Even the edge of the pastry looked underdone, and I dreaded biting into a doughy mouthful (the worst).

But have no fear.  Steve arrived home soon after the tart came out of the oven and said "why don't you put it back in?" So I slipped the whole thing back onto a parchment lined sheet pan, apple side up and baked it for a good 30 minutes more.  The fix was in . . .

Check out the caramelized pastry now!

Lesson learned.  Next time I would let the caramel on the stove top go a tad further and would definitely extend the baking time to a decent 50-60 minutes. Since one can't see what's going on with the apples underneath the pastry, it takes practice to understand the timing of it all. Other than that I found the whole thing really very straight forward and wondered why I hadn't made this long ago.

In preparation for this tarte tatin I had made a classic vanilla bean crème anglaise ice cream base the day before which had spent the night chilling in the fridge. I processed it in my good old Cuisinart canister model ice cream maker and held it in the freezer until serving.

Nothing fancy . . .

but delicious and well worth it!

Yes, I would definitely make this again.

A simple apple dessert

I've been a fan of Dorie Greenspan's for some years now.  With her book "Paris Sweets" in hand,  I spent a few weeks in Paris during the spring of 2009 searching out the pastry shops from whence the recipes came and then making and comparing my results with the shops' products.   I only made it through a portion of the book, but it was great fun and a terrific way to visit the many wonderful pâtisseries à Paris.  I hope to resume the project some day.

At long last I finally got off my duff and subscribed to Dorie's blog in which the current focus is her new book "Baking Chez Moi".  I was slated to make dessert for a family supper at my brother's this past weekend, and my interest was piqued by the "Custardy Apple Squares" video and recipe.

What a simple and delicious dish!  Here it is in all of its golden glory.

Dorie recommends using Fuji apples, so I followed her lead.  I think this is actually the first time I've baked with Fuji's, and they worked beautifully in this recipe. With so many apple varieties available, it can be somewhat dizzying to decide which ones to use. For example when I make chausson aux pommes, I like to use Granny Smith, diced and sautéed in a little butter and vanilla sugar before assembly. The tart apples marry so nicely with the buttery puff pastry. Whereas when making an apple tart, I often use a mixture of Macintosh or Macoun with Golden Delicious. With those apples there is a pleasant flavor and texture combo going on that I find very appealing.

Here we go. I'm calling this a custard apple cake.  It's rather clafoutis-like and trés simple!

Butter an eight inch cake pan.  Heat the oven to 400º.

The ingredients couldn't be more straight forward:  flour, baking powder, egg, sugar, a pinch of salt, vanilla extract, milk, melted butter and, of course,  three peeled, cored and thinly sliced apples.

Whisk 1/2 cup flour and 1 teaspoon baking powder.  In a separate bowl whisk 2 eggs with 1/3 cup sugar and a pinch of salt; blend in 2 teaspoons vanilla extract, 6 tablespoons of milk, 2 tablespoons melted butter; fold in the dry ingredients, then the apples to coat them in the mixture.

Heat the oven to 400ºF. Scrape the apple mixture into the prepared pan . . .

and arrange the apples, if you must . . . .

This baked about 40-45 minutes in my convection oven. I looked for the filling to be set and the apples to be oh so golden brown before calling it done.

Mmmmm!

After about 15 minutes I turned the cake out onto a wire rack to finish cooling. You have the option of serving it still warm, but, since Steve and I were transporting it elsewhere, I opted to serve at room temperature.

Before serving I gave it a dusting of powdered sugar . . .

then portioned and garnished with a dollop of crème chantilly and a sprinkling of nutty granola and toasted sliced almonds.

Yes indeed!  Thanks Dorie!!

Just how good are the pastries at King Arthur's café?

During my recent 4 day artisan bread class at King Arthur Flour, I simply had to do a petite sampling of a couple of my favorite pastries - croissants and scones.  So, one morning I arrived early and picked up a cup of coffee, a croissant and a blueberry scone.

The croissant had a classic appearance,

and when I pulled off an end, there were those lovely golden exterior shards that fell onto the plate.

The interior had a nicely laminated airiness,

and the flavor was pleasant with just the right buttery mouth feel.  Biting into the croissant yielded that crispy exterior and airy, yet substantive interior.  All in all I'd give it a thumbs-up!

Here's a quick observation regarding the croissant's shape.  I was taught that in France, if the croissant ends are turned in (as this one's are) then it is NOT an all butter croissant.  If the croissant is straight, it IS all butter.

Now, I will admit that I didn't ask the staff whether their croissants are all butter, but I did observe the large butter blocks being formed in the production kitchen, so I think they must be.

The blueberry scone looked pretty classic.

I broke off a piece,

and upon tasting found it to have a just-so hint of exterior crunch, a pleasant flavor, packed with blueberries but a bit too cakey on the inside.  I'd still give it a thumbs up.

Tasting and comparing flavors and textures is great fun and a wonderful way to discover more about how you might want your own pastries to turn out.

It's all about learning!

Artisan bread class at King Arthur Flour, Day 4

On to the finale of the 4 day artisan bread class at King Arthur Flour!

We began the morning by mixing our semolina dough which we had planned the day before as a straight dough, no pre-ferment required.

The dough came to together very nicely and felt great!  A good sign.

After folding and a rest - ready to shape:

We shaped a basic batard . . .

and, after a rise, scored it before baking:

And now I must insert a Charley Brown "RATS", for I fear I do not have a photo of the baked semolina!!  How sad.

We had some lecture time today as well, specifically focusing on rye and its variables. The approach changes depending on the percentage of rye flour (vs all purpose or whole wheat e.g.) in the dough or whether you use medium or whole rye. Factors such as hydration as well as the proteins, sugars and enzymes in rye play major roles in how the dough is mixed and proofed.

I won't go into all the technical jargon, but suffice it to say, there's a lot to learn about rye! Hey, here's an idea! Take a class at King Arthur!  

Taking our rye starters that had been sitting overnight at room temperature . . . .

we mixed the deli rye dough, the lighter rye of the two . . . .

and the volkornbrot, a classic German whole rye dough:

Above: all the mixin's for volkornbrot

For the volkornbrot, once all of us had weighed the ingredients into our mixing bowls, our KitchenAids were started in sync so the slow speed, 8-10 minute mixing time would be the same for all.  We stopped the mixers a couple of times to scrape down the bowl, then shaped a rectangular loaf, scored it and placed it in a standard loaf pan for baking.

The finished product:

We had the option of shaping loaves or rolls with the deli rye dough.  A number of us opted for loaves, and the majority of these were scored with traditional crosswise slashes.  We could try other patterns if we wished.

The finished loaves had a lovely browned exterior and a wonderful rye aroma.  Notice the scissors snipped pattern on one of my loaves.

Some of the sourdough bread and bagels that had been refrigerated overnight were also baked today, so there were loaves galore sitting around the kitchen.

And then it was time for a tasting!

The semolina is along the left side of the table above. It had a lovely crumb and very nice flavor - a keeper for sure! We were proud of this bread we had created, although many of us felt a bit of sweetening with honey or maple syrup would add just the right balance to this loaf.

Wanda voted for adding cranberries, and Jeff suggested a nice schmear of orange marmalade to garnish a slice.

To top off our terrific 4 day experience we ended with a low-key graduation ceremony. We all received a certificate of completion and a "lovely parting gift" of a bakers couche.  Hip hip hooray for bread baking!!

Above: instructors Sharon and Jessica doing the honors

We gathered for a final group shot . . . .

then packed up our goods and said au revoir.

Perfect.

Artisan bread class at King Arthur Flour, Day 3

Here we go again!  It's time to mix our sourdoughs, the primary focus of day 3 of artisan bread class at King Arthur Flour. Our liquid levain and stiff starter had rested at room temperature over night and were looking nicely bubbly and poofy as we then proceeded with the final dough.  We mixed both of these by hand, followed by the "slap-pull" kneading technique that we had practiced on day 2.

Notice the difference in appearance:  the "L" (liquid) version on the right appears more tan, while the "S" (stiff) version is bordering on white.

After a rest:

"L" version

"S" version

We then folded them into "dumpling" shapes with seam side up.

Above: awaiting final shaping

Jessica demonstrated how to shape the final boules (which we accomplished pretty handily) before placing them into brotforms. Part of the experiment was to place our boules in both the floured bare form (as we did for the roasted potato fendu) for baking today and the same form lined with cloth (seen below) for overnight refrigeration and baking tomorrow.

Above: an "L" loaf waiting to go into the fridge

The dough in the floured forms was given a good rise, after which we turned them out onto peels and scored them with whatever pattern we wished.

I chose a standard approach with this one . . .

and into the oven they go!

Out of the oven, looking good!

Day 3 also involved sourdough bagel making.  This was the one dough during the entire 4 day class that we did not make ourselves. Since Jessica was mixing a huge batch, and it required the commercial spiral mixer (a VERY cool piece of equipment by the way) for kneading, she took over the helm to accomplish that very thing.

Whoa baby!

My apologies for not having a pictorial history of the process, but, suffice it to say, we all had a chance to shape, boil and garnish the bagels. Half of them were baked today and the rest would be refrigerated and baked tomorrow.

The results:

Upon tasting, the chewiness and texture were OK, but I couldn't help but think back to those med school days while living in Detroit.  My roommate Jane and I purchased the best bagels at the Detroit Bagel Company perhaps?  I'm no longer sure of the name, but they were oh so good - still warm from the oven and the perfect road food as we drove to our familial homes on our weekend breaks!

Now, on a completely different note, I don't want to forget the more scientific side of this whole process, and I'll try not to bore you with the details.

Yesterday Jessica talked about determining the proper water temperature for dough, starting with a desired dough temperature (DDT) and also taking into consideration other factors such as flour and air temps and the temperature that friction adds in the mixing (i.e. by hand or in a mixer). Pretty fascinating for the science-geeky types.

We also received information about bakers percentages based on the amount of flour one is using, from figuring out how much hydration you might need in a particular dough, as well as the common percentages for salt and yeast.

Today she regaled us with all things sourdough - starters, feedings, room temp or refrigerator, expanding for baking - you name it, it was there! Up until now this topic has held a good deal of mystery for me, but, at least after this class, I've gained a novice's understanding of the process. Will I pursue the sourdough track? Now that's an entirely different matter.

As the day was coming to a close we accomplished one of the coolest projects of this 4 day class - as a group, we created our own bread recipe! Using what we had learned about bakers percentages and working with a list of ingredient options, we developed a semolina-olive oil-sunflower seed bread recipe. And we'll make it tomorrow!

As if we hadn't already accomplished enough, we quickly put together our 2 rye starters for day 4 using rye cultures that had been fed each day by our instructors.

More coming - stay tuned for day 4!

Artisan bread class at King Arthur Flour, Day 2

On the second day of class we dove right in, working with the preferments from the day before - all bubbly and ready to go!

The potato bread dough was made using the pâte fermentée and contains chunks of roasted Yukon Golds and russets which had been prepared on Day 1.  This dough was mixed in the KitchenAid . . . .

and subsequently kneaded by hand with what I refer to as the "slap and pull" method of kneading. You have to see it and feel it to really know what it's all about:  the dough is lifted with two hands, given a quarter turn then slapped down on the table, pulled and folded on itself. The process is continued until the dough starts to firm up and hold its shape.  I find the transformation from a sticky, messy blob to a tighter, smoother ball so amazing.

We made a fendu (from the verb fendre, to crack) loaf in which a rolling pin is pushed firmly down across the center of the dough ball, then the ball is turned over into a floured brotform.

After rising, the dough is turned out of the form onto a peel and slid into the hot deck oven. 

Et voila! Ready to slide into the oven.

Out of the oven - oh so brown and lovely!

The ciabatta (made with biga) and baguette (made with poolish) doughs were mixed by hand and subsequently kneaded with the same "slap and pull" technique.  Once again, an amazing transformation occurred!

The ciabatta was rather gently formed into very rough roundish rectangle (or what-have-you) sort of shapes and placed on well floured boards for proofing.

After rising, they're transferred onto the peel, flipping them over so the flour side is up.

In the oven:

And out:

Baguette time! Once the baguette dough was mixed, slapped-pulled and rested, Jessica demonstrated the shaping technique.  We lined up our baguettes on linen couches which allows them to proof without touching and sticking together.

Once risen, the loaves were transferred onto a peel (or in Jessica's case onto the back of a sheet pan)  and scored before baking.

Not bad for a novice!

We aren't finished yet - whew, what a day!! We also shaped the brioche dough we had prepared on day one, creating the classic Nanterre (which, as some of you may recall, I mentioned in my brioche mousseline post).  Here individual boules are lined up in a buttered loaf pan, allowed to rise, egg washed and then baked to golden brown perfection.  We even had enough dough to shape a few burger buns.

Above: before the rise . . . . and below, after.

Brioche is great for savory canapes, french toast, bread pudding or bostock, that delightful imbibed, almond-cream-covered, twice-baked treat (just to name a few).

We're getting there - hang on!

Before we mixed our final baguette dough in the morning, Jessica had divided us up into three groups.  One used all purpose flour, one French flour, and one European flour.  What you see in the picture below are the a-p flour version in the foreground, followed by French then European. You can see that the a-p version achieved the most browning. 

My memory is fuzzy, but I think most of us preferred the flavor and texture of the French flour version. However, there was a lot going on, so I could be strolling down the wrong memory lane.

Jessica sliced into everything so we could appreciate the different textures. We have ciabatta . . . .

then baguette . . . .

then brioche . . . . .

and lastly roasted potato fendu

The differences in crumb and texture are easy to appreciate. We sampled and remarked favorably on all of the tasty options before us - what a treat!

Before we packed it up for the day, we quickly mixed our sourdough starters for the morrow - one liquid levain and one stiff starter - with which we would be creating two different sourdough breads. 

So as we finished up a jam-packed day of bread making and baking, we realized we still had TWO days to go!!  Stay tuned for Day 3.

Artisan bread class at King Arthur Flour, Day 1

On Sunday, October 26, 2014 I wended my way north from Providence amidst beautiful autumn colors, arriving at the Hampton Inn in White River Junction, VT several hours later. My purpose - to attend a 4 day artisan bread class at King Arthur Flour in Norwich, VT, just a few miles north of my lodgings.

When Steve and I lived in Vermont some years ago, I visited the King Arthur baking store on a few occasions, but little did I know what awaited me this time around. The new Baking Center is a stunning piece of VT architecture, right down to its quintessential metal roof.

Inside one finds a cozy café, the bakers retail store and a couple of large production kitchens where you can watch what's going on - so cool!  I especially got a kick out of seeing the large blocks of butter being formed for croissants and danish, followed by the butter being enveloped in the dough in preparation for sheeting - bordering on massive compared to my small, hands-on batches of croissants!

Then there is the baking center where many have honed their skills and enhanced their knowledge as they pursue their passion for baking.

I and 10 fellow students were warmly greeted by Robyn, our instructor for the first day. Free coffee cards were handed out as we each settled in at what would be our "bench" spot for the remainder of the class.

The teaching kitchen is open, airy, extremely well equipped with impressive tiered deck ovens, proofing cabinets, roll in refrigerators, cheery red KitchenAid stand mixers and more. What a great place to learn!

The plan for the week:

We began with a couple of "straight" doughs (also known as direct doughs) which are made and baked the same day. We made pissaladiere (a classic southern French pizza-like dish typically topped with caramelized onion, olives and anchovies) and grissini (bread sticks).

Both of these doughs were very user-friendly, came together smoothly with a silky feel.  Then after kneading, some resting/rising time and shaping, they were baked in the hot deck ovens. Since I'm not an olive lover, I chose to top my pissaladiere with only the caramelized onions (seasoned with herbes de provence and pepper), although my classmates all happily embraced the olive-onion combo.

The grissini were a bit chubby, some twisty and crooked since everyone put their own spin on the shaping process:

We had the option of keeping our results or leaving them on the wire racks to be donated to a local food cause. Since there wasn't any chance I would (or could) eat all of these, I chose the second option, both for the pissaladiere and the grissini.

Day 1 also included making brioche dough which would be refrigerated overnight for use on Day 2. I found the recipe and process less time consuming than the recipe I normally use (from my stage days at Pâtisserie Pascal Pinaud), and the end result was as silky and smooth as could be.  I'll show you what we did with this dough in Day 2's post.

We then focused on the group of doughs called "pre-ferments". These are portions of dough that are typically made a day ahead and then incorporated into the final dough the following day. They are important for flavor, structure and extended shelf life, and many feel that doughs made in this manner are superior to "straight" doughs for those very reasons.

There are many types of "pre-ferments" and many more references available to explain the difference and variables among these, including King Arthur's web site. Or you could sign up for a class yourself!!

The three we made today were pâte fermentée (for roasted potato bread), biga (for ciabatta) and poolish (for baguette). 

They mix together in the nick of time, are covered, held overnight at room temperature, and then incorporated into the final dough the following day. You can see below that they have different structure and moisture content, the poolish being the wettest.

We were off to a great start! Next up - Day 2!