Caprese gougères

IMG_3064.JPG

Tomatoes and basil here we come!! It's sum-sum-sum-sum-sum-sum-summertime, and we're deep into it. I've been dreaming of a caprese salad and now's the time.

Another visit to The Cheese Lady was in order to score some fresh mozzarella and a tasty grating cheese for some delicious gougères, essentially a cheesy version of profiteroles.

IMG_3049.JPG

Gruyère is the cheese that's often used in savory gougères but one can certainly waver and choose something equally as tasty. Since I was filling them with mozzarella, tomato and basil, I thought some mozzarella or similar cheese would be a decent addition to the pâte à choux, but I didn't really want a run-of-the-mill grated mozz from the supermarket.

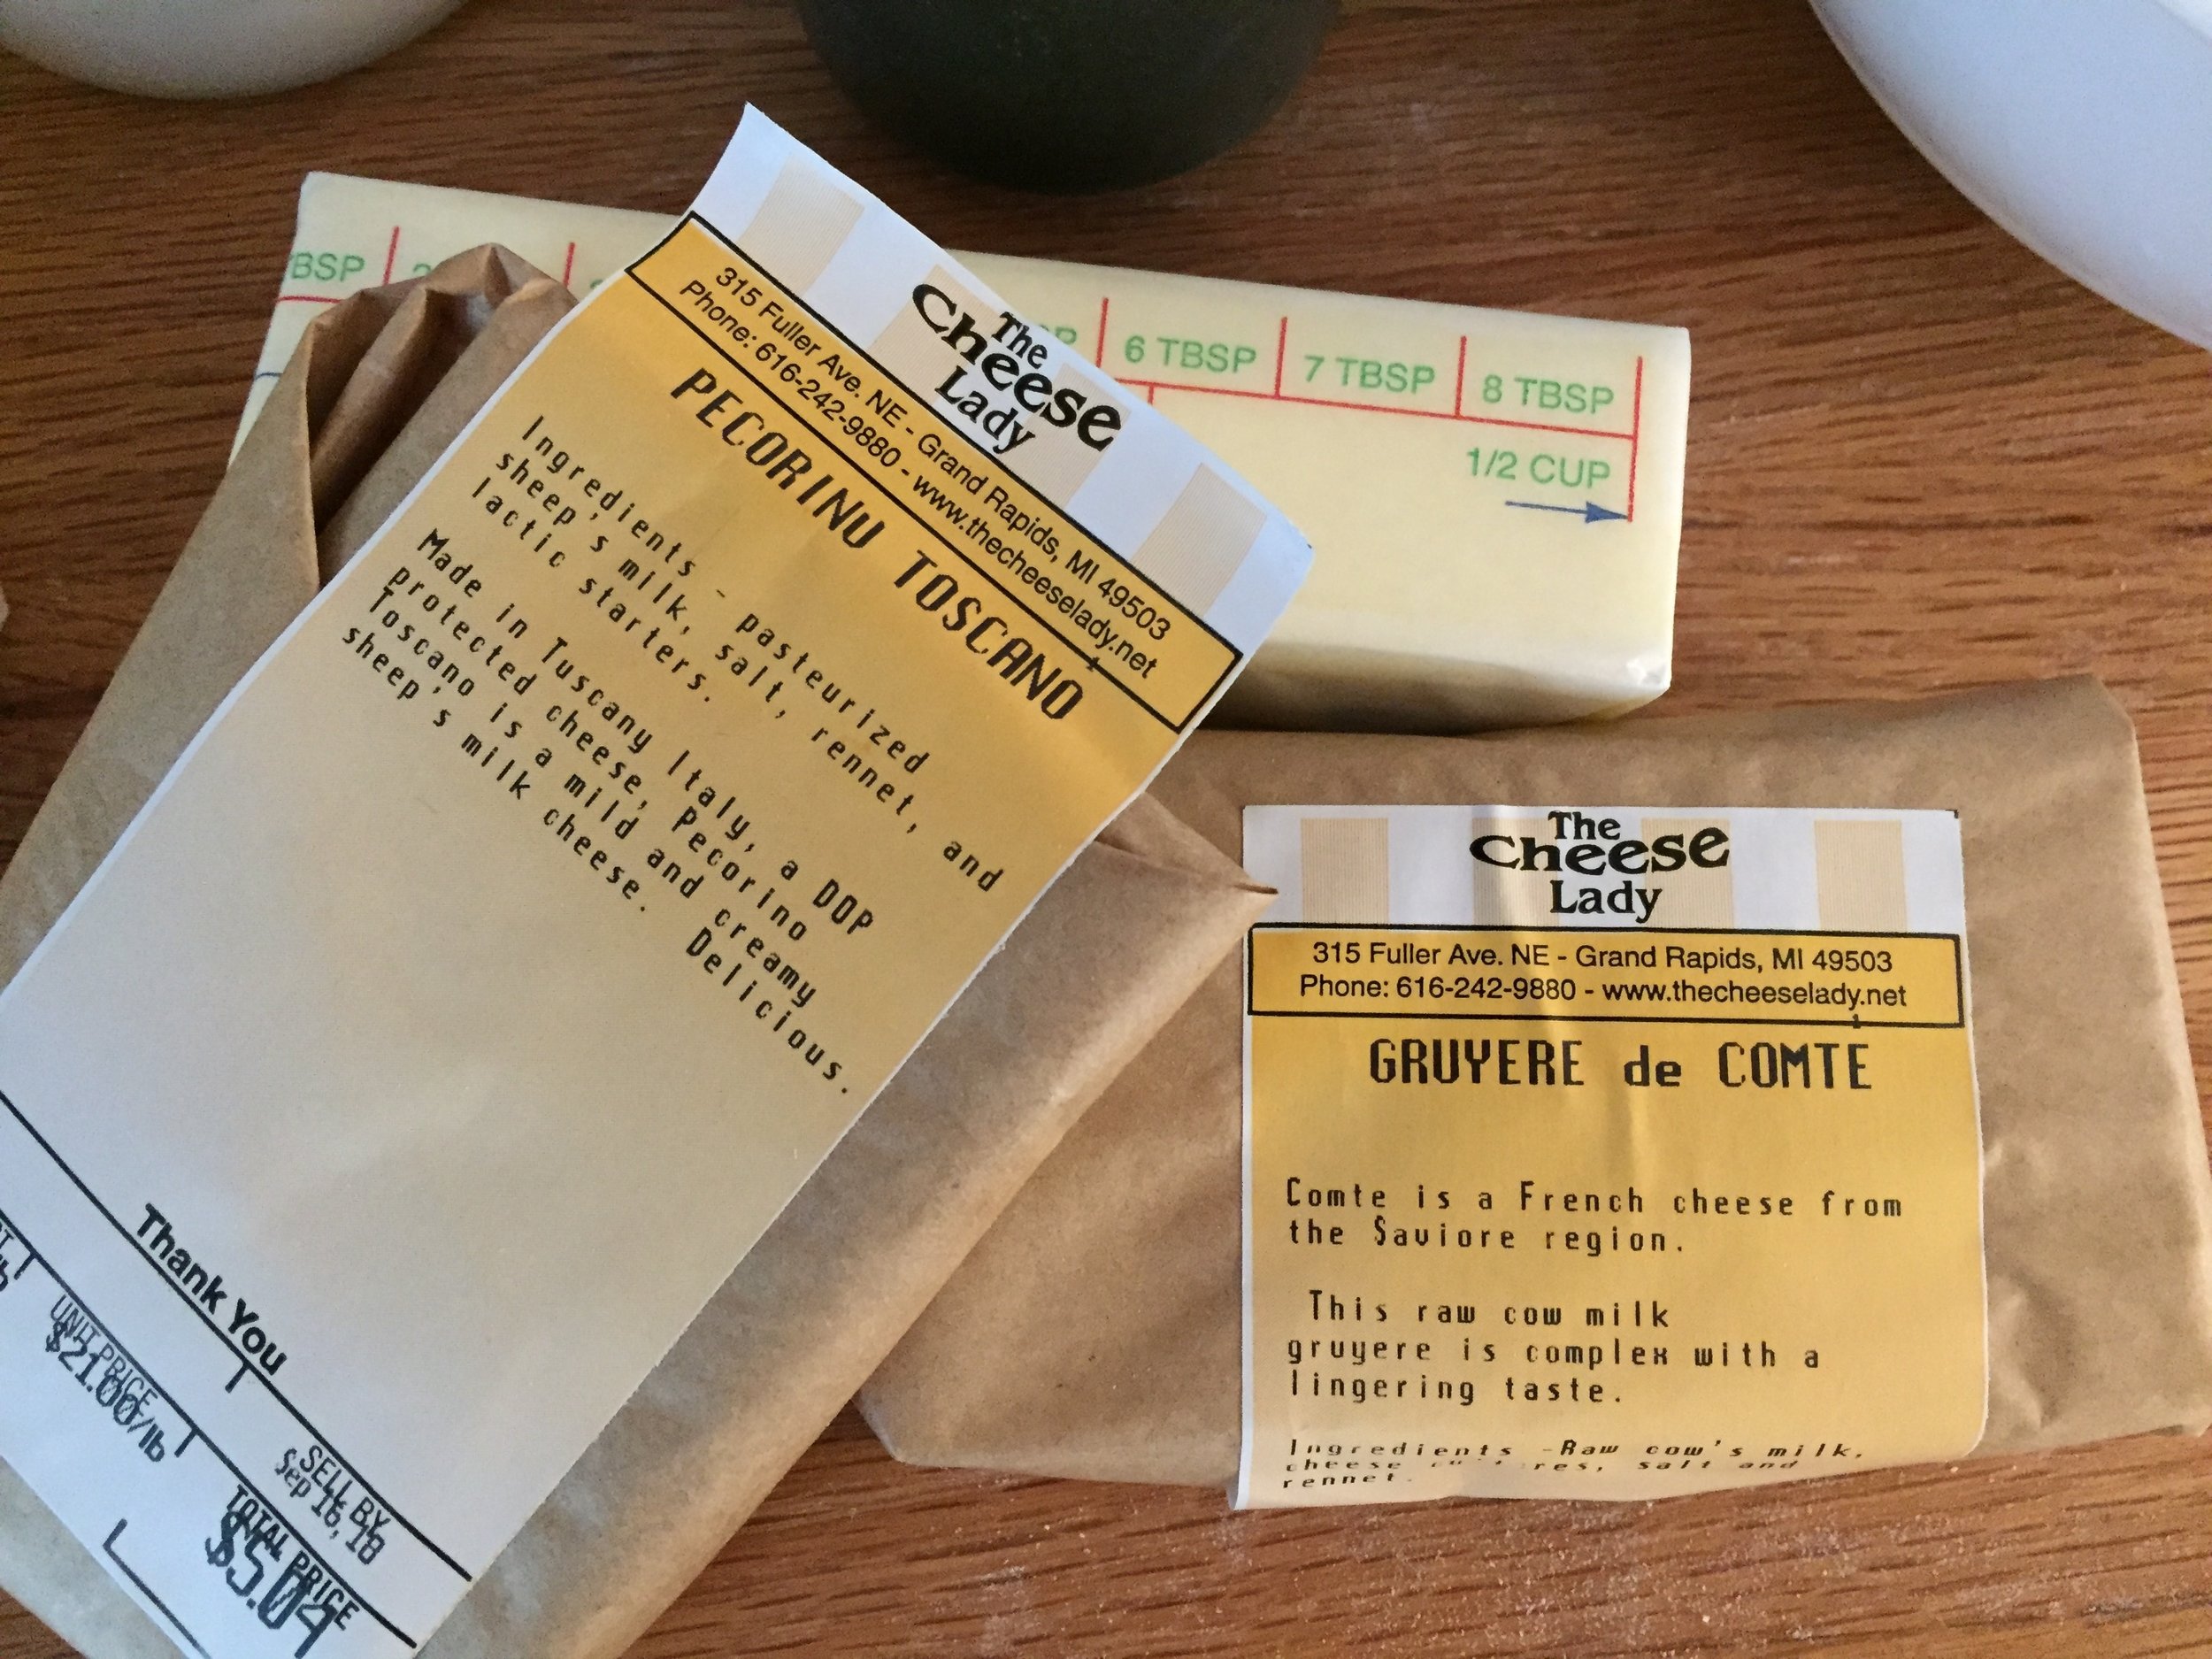
The Cheese Lady to the rescue! A pecorino Toscano was suggested as a good stand in for mozzarella, so that's what I chose for my choux paste. Wanting a little something to grate on the choux tops, I went with a Comté.

You might notice on the package above that the label reads gruyère de Comté, prompting one to ask "What's the diff between that and gruyère, eh? From my very brief research, I learned that a classic gruyère is produced in Switzerland, while a gruyère de Comté comes from the Franche-Comté region (newly re-formed as Bourgogne-Franche-Comté in early 2016) of France on the Swiss border. And, just to add to the confusion, I'll throw one more name in there - the similar Emmental which is also produced in Switzerland but has holes, unlike gruyère. They're all good if you ask me.

So let's make some gougères already.

IMG_3050.JPG

Basic pâte à choux is made with milk, water, butter, a bit of salt and sugar, flour and egg. For a savory version like this I delete the sugar, add in some black pepper and mustard powder, as well as grated cheese. You could also add herbs if desired, like some dried thyme or basil. Just click here for the full recipe.

Once you've completed the process, just pipe or scoop 'em out onto parchment lined sheet pans. 

IMG_3051.JPG

In this case I topped them with some grated Comté before popping them in the 400ºF oven.

IMG_3053.JPG

It's generally recommended that you leave the oven door closed for the first 10 minutes of baking, otherwise the puffs can fall. I usually turn the temp down to 375ºF at that point and give them another 15-20 minutes to finish. Remember to pay attention to what's going on in there!

Ooooh - nice and browned and just begging to be filled and tasted.

IMG_3059.JPG

On of the beauties of making choux puffs is you can freeze them for later, either unbaked or baked. Cool! Just add 5 minutes or so to the baking time if baking right out of the freezer or, if using already baked puffs that have been frozen, re-crisp them in a 350º oven for 10 minutes or so before filling. The perfect do-ahead treat.

Time to make the caprese salad.

IMG_3074.JPG

Fresh mozzarella balls from The Cheese Lady plus fresh basil and campari tomatoes from the Fulton Farmer's Market are ready to be chopped and combined with a little olive oil, salt and pepper.

For around 40 puffs I used 8 ounces mozz, a generous cup of seeded and chopped tomatoes, about 1/2 cup chopped, packed fresh basil and 3 tablespoons extra virgin olive oil. Salt and pepper to taste.

IMG_3055.JPG

Et voilà!

IMG_3062.JPG

The puffs were crispy outside and creamy-cheesy inside with just the right amount of moisture for my liking.

Since I was making these for an afternoon event, I waited as long as possible before filling the puffs so as to avoid sogginess. I lit upon an idea and lightly toasted up some panko bread crumbs, stashing a few in the bottom of each puff. What genius!

IMG_3063.JPG
IMG_3065.JPG

Once they were all filled, I boxed them up and hit the road! Of course, I had made extras so I could sample a couple. Not bad at all, folks, although I did hanker for a more upfront cheesiness to the gougère and decided the pecorino Toscano was too mild. So next time - gruyère or Comté here we come!

IMG_3066.JPG

Tarte au fromage blanc

IMG_3027_1.jpg

Continuing on with my baking with cheese series, this tarte au fromage blanc is the latest adventure - and a delicious adventure it was. One of my favorite tart books is Les Folles Tartes by Christophe Felder, one I purchased back in early 2011 in Paris. I've been eyeing his recipe for this particular tarte for some time now, and what better way to pursue it than to include it in the cheese project. Love it.

Heather Zinn, the proprietor of our local GR Cheese Lady shop was kind enough to order a full fat version of this cheese for me from Bellweather Farms in Sonoma County CA. It's a European style fresh cow's milk cheese, not unlike a creamy goat cheese, with a bit of tang and salt and is also referred to as "fresh farmer's cheese".

IMG_2993.JPG

I wasn't sure what to expect but was pleasantly surprised at it's creaminess, spreadability and delicious dairy flavor straight out of the tub. Steve and I loved it on our favorite original Triscuit crackers, thinking it would only be enhanced by some herbs, a grind or two of black pepper and perhaps a little succulent fresh tomato. Yeah baby! 

I opted to use my standard pâte brisée which I blind baked first so as to avoid an under baked bottom crust once the filling was added and baked. This time I tried a new approach, one I gleaned from reading Thomas Keller's "Bouchon Bakery". It involves leaving an over hanging edge of dough around the tart ring, baking it as such and then eventually trimming off the excess dough after baking. The idea is to cut down on dough shrinkage during the bake. Pretty cool.

IMG_2997.JPG

Once the ring was lined, I popped it in the freezer on my parchment lined sheet pan for about 15-20 minutes while heating the oven. Then in goes a round of parchment and dried beans as weights and onto the bake. As you see below, I had a few cracks in the dough around the periphery but, when it came time to add the filling, I simply took some small pieces of raw dough and patched them. Okey-dokey.

IMG_2998.JPG

The filling is a straight forward blending of 400 g fromage blanc, 2 large egg yolks (2 whites comin' up!), a pinch of salt, 90 g cane sugar, 20 g flour, 100 g heavy cream, a teaspoon of vanilla extract, finished off by folding in the 2 whites that have been whisked until fluffy. I added my own zest of two lemons - it seemed so right with this cheese.

Have 50 g of cubed butter set aside to dot on the top of the filling before it all goes into the oven. (Notice my raw dough patches on the crust!)

IMG_3007.JPG

I decided to trim some of the dough over hang before the final bake - took my serrated knife and gently trimmed away.

IMG_3008.JPG

The cubed butter on top (seemed like a lot - I would reduce it next time!) . . . .

IMG_3010.JPG

a 45 minute bake at 375ºF . . . . et voilà!

IMG_3014.JPG

Pretty pouffy just out of the oven, but after a short time things calmed down and sunk, as a custard type filling is often wont to do. Kind of moonscape like, non?

Once fully cooled, I trimmed the flaky crust edges and eased this baby out of the tart ring. It can be served room temp, or in my case, it went into the fridge, covered, to chill and be served later.

IMG_3015.JPG

This was destined for dessert at cousin Jen and her husband Scott's lovely woodland home and, since we're deep into blueberry season, it only seemed right to whip up a quick blueberry sauce. A warm up in a saucepan of 2 cups blueberries, a couple of tablespoons of simple syrup, a teaspoon of cornstarch dissolved in a tablespoon of lemon juice and a pinch of salt. Once the juices release a bit, take half the blueberries, purée then strain and add the purée back into the remaining blueberries, cooking a few minutes to thicken. Easy and oh so good. Plus, I had some fresh raspberry purée in the fridge that was begging to be used.

IMG_3024_1.jpg

Some chose both the blueberry sauce and raspberry purée while others kept to a solo blueberry arrangement. All were topped with my homemade graham crumble for that just right added crunch.

IMG_3030_1.jpg
IMG_3027_1.jpg

Creamy, just right lemon-y, fruity, berry-y and graham crunchy in a flaky just right crust. OH. SO. GOOD.

Yes, I would make this again.