Lemon Cake

OK, so I’m on a bit of a cake kick lately. Being a lover of laminated pastry projects, breads, rolls, pizza dough, financiers/teacakes, shortbread cookies, tarts, and ice cream for our home larder (and the occasional order request) throughout the year, I’ve become more and more intrigued by the vast array of cake recipes out there. New cake related books seem to be popping up more and more.

Truth be told, baking full sized straight forward cakes like this one is less work than multiple small cakes, particularly when garnishing is involved, plus they’re great to take to cookouts or family gatherings or share with neighbors. Please NOTE: I’m not talking multi-layer, highly decorated cakes here which I know take a LOT of time and creativity by those who choose to follow that path. Kudos to those artists!

Again inspired by FOOD52’s “Genius Desserts”, this lemon cake is from Maida Heatter and her daughter Toni Evins and is offered up in the cakes section of this wonderful book as one of the “Lazy Cakes”. These are the ones that involve making the batter, spreading it into a prepped pan and baking - no layers, no garnishing or frostings, just cake, brushed with lemon glaze right out of the oven.

Mise en place

The recipe calls for a 9 inch tube pan so I opted for my mom’s angel food cake pan that has been around a looooonng time. I became its keeper when Mom moved to assisted living right before the pandemic.

This cake recipe has been around for many years. Just google “Maida Heatter’s East 62nd Street Lemon Cake” and you’ll find it from many sources. My goal here is to simply share my experience with this one - I’ll outline the ingredients/steps below but you can easily find this recipe online.

One trick that Maida Heatter used in her cakes was in the pan prep - rather than butter/flour, she replaces the flour with fine dry bread crumbs. In my case I went with crushed up plain panko. Using crumbs avoids any flour residue that might be left after baking and also helps the cake release more easily from the pan.

Floured and panko’d

The process is straight forward. Plan a bit ahead - butter (2 sticks) soft, eggs (4) at room temperature and milk (one cup) is OK cool/cold or room temp.

Heat the oven to 350ºF. Prep the pan. You’ll need 3 cups / 350 g SIFTED all purpose flour (weighing vs measuring, sifting or not - now those are separate topics for discussion!) and blend it with 2 teaspoons baking powder and 1/2 teaspoon fine sea salt in a medium bowl.

In the bowl of a stand mixer with the paddle, beat 227 g / 8 ounces / 2 sticks soft, unsalted butter for 2 minutes on medium high until creamy. Add 400 g / 2 cups sugar and beat about 3 minutes until incorporated. Beat in 4 eggs, one at a time, scraping down the bowl after each. It may look curdled. Don’t worry.

Now with the mixer on low, blend in dry ingredients in three additions, alternating with 240 ml / 1 cup whole or low-fat milk in two additions. Beat only to incorporate - don’t overdo it.

Scrape the batter into the prepped pan and smooth the top.

Ready for the oven

I place the pan on a parchment lined sheet pan just in case some batter tries to sneak out during baking.

Place into the heated oven and bake about 65 - 70 minutes. A toothpick in the center should come out pretty clean with perhaps a few crumbs attached.

During the bake, make the lemon glaze by blending 135 g / 2/3 cup sugar with 80 g / 1/3 cup freshly squeezed lemon juice.

Voila! Beautifully golden

Let cool about 5 minutes then place a wire grid cooling rack on top (a bit interesting with the angel food pan!) and flip the cake over onto the rack. Lift off the pan and place the rack/cake on a half sheet pan.

Ready to glaze

Brush the glaze all over the hot cake - it will soak in nicely. Let cool completely.

NIce shine!

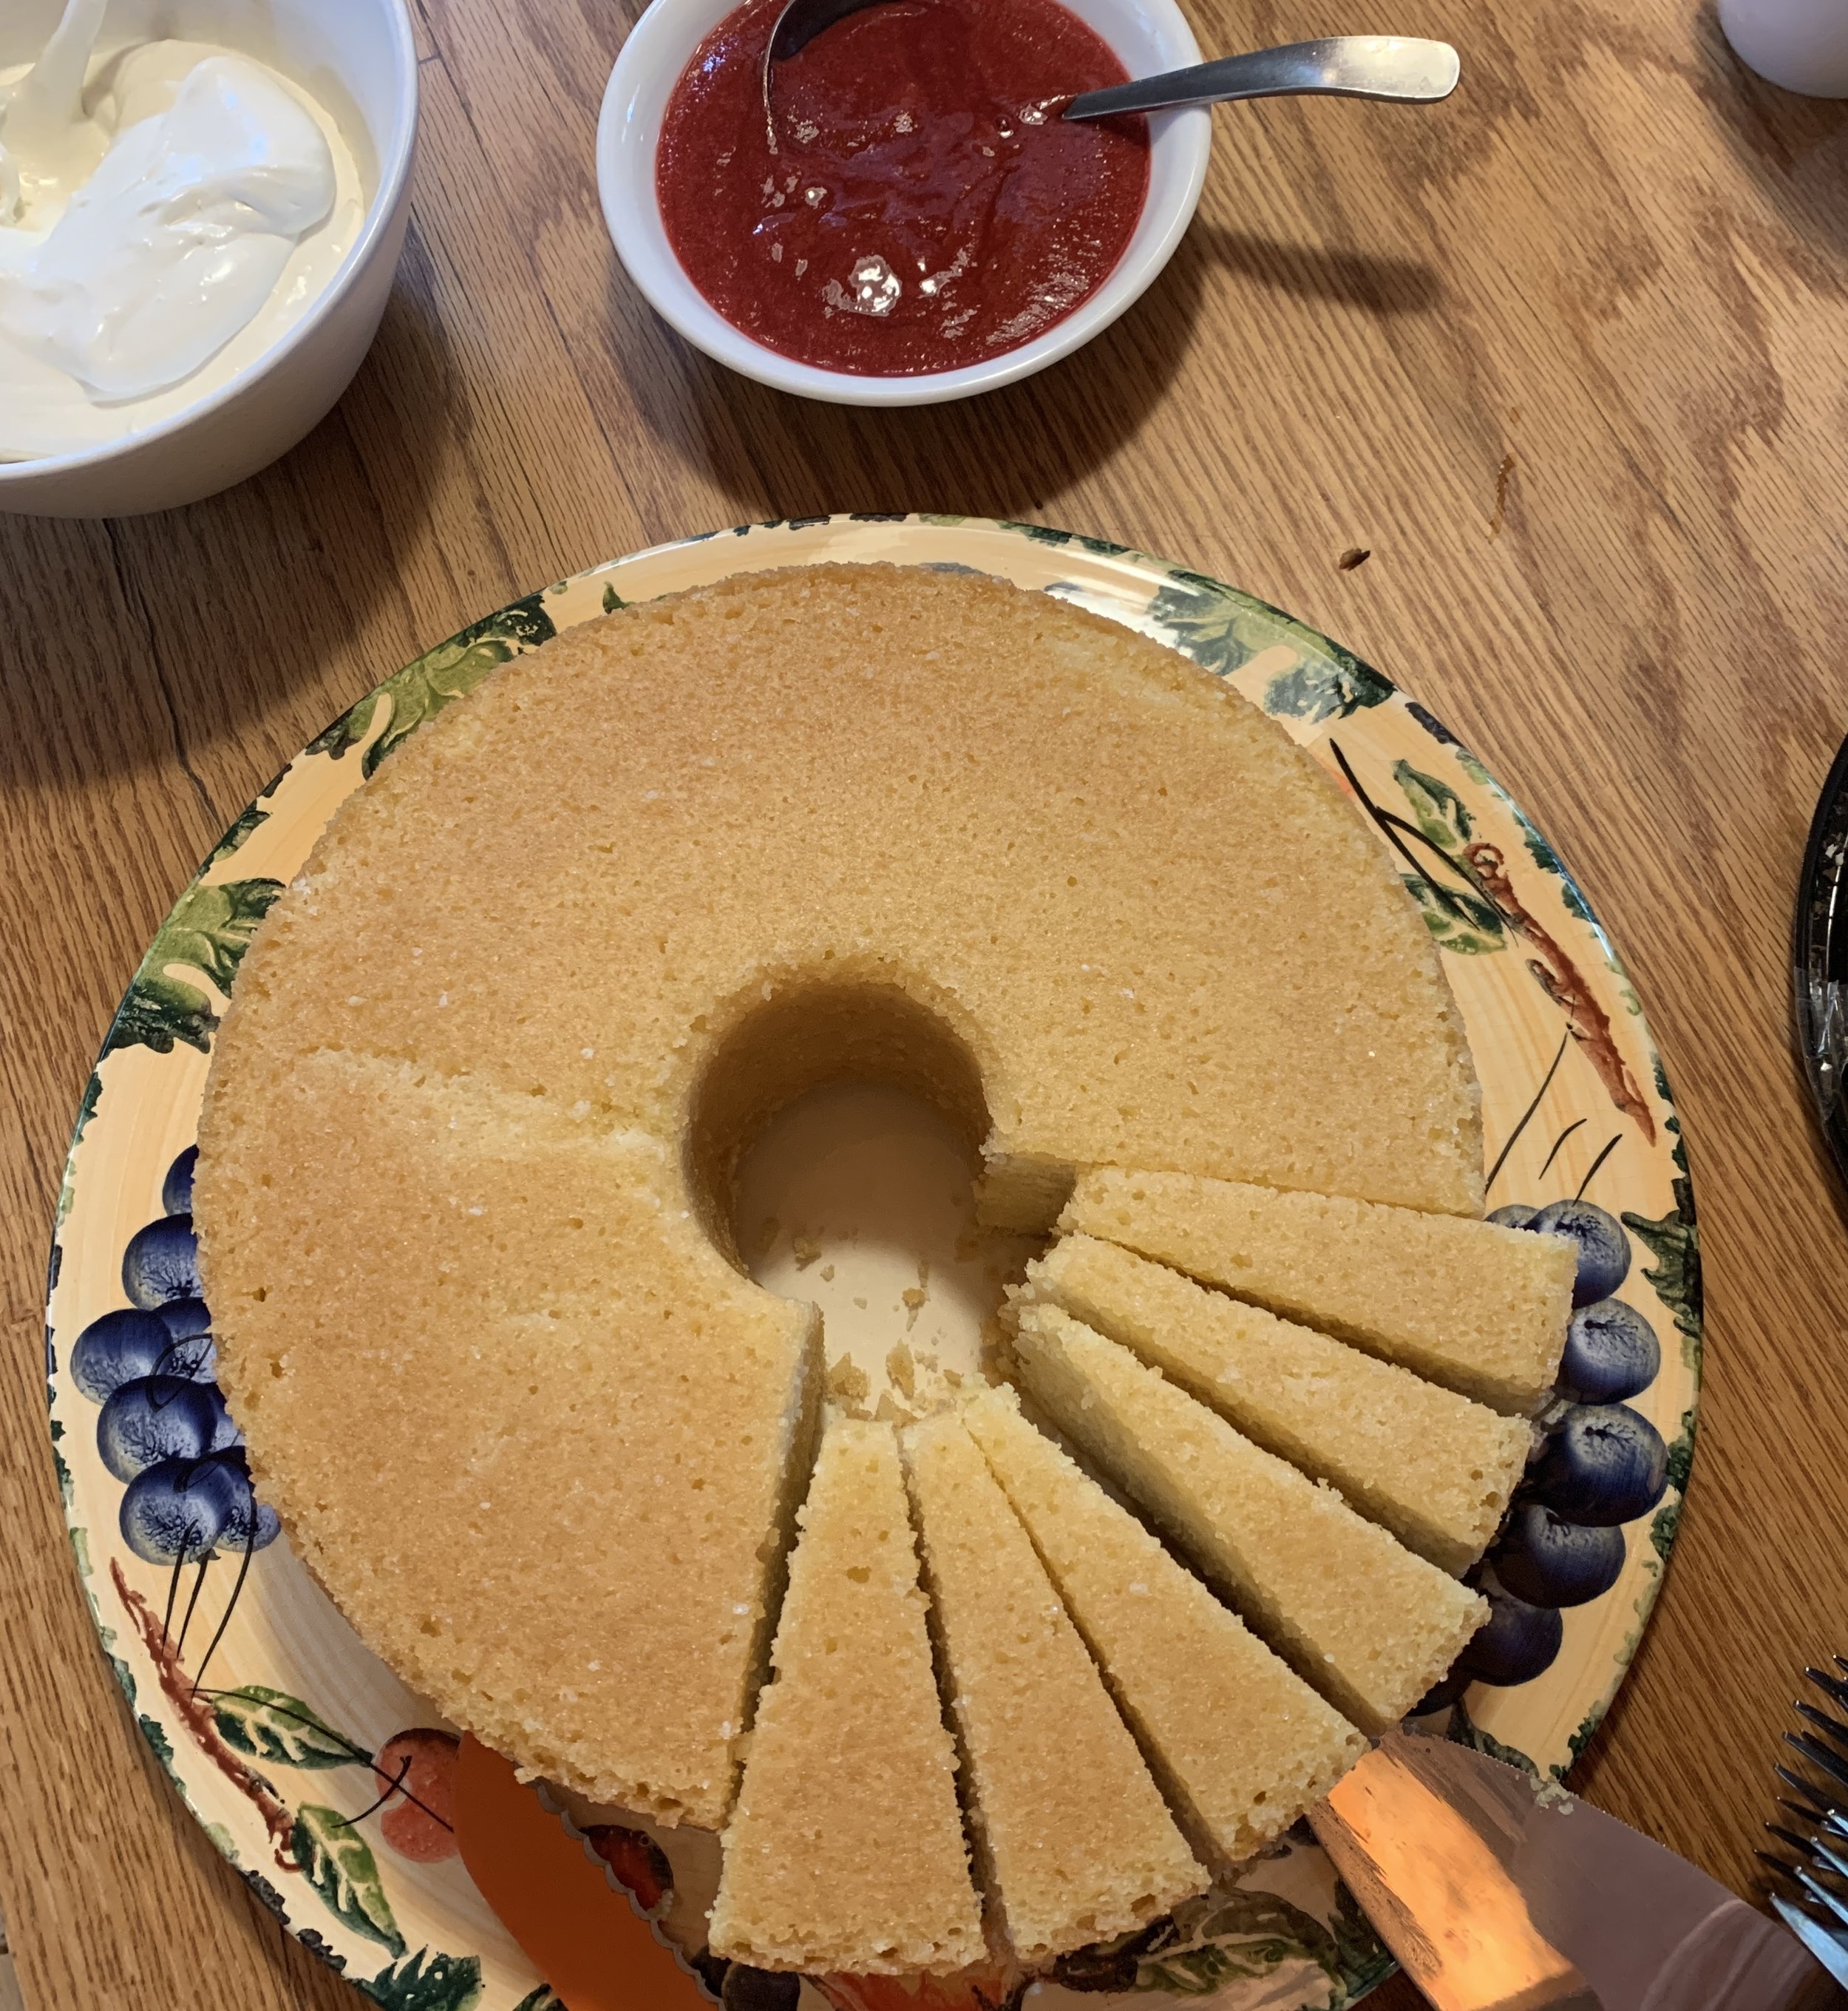
It’s best to let the cake sit a few hours to allow the glaze to continue soaking in. The cake stores well in an airtight container at room temperature for several days. Or slice up any leftovers, wrap and freeze for several weeks.

In my case, I planned to take this to a family gathering so I whipped up some Chantilly cream and made a nice raspberry coulis to drizzle on top. Delicious!


Try this one - I think you’ll like it! Until next time. Ciao.

French Tarte Faves (FTF) No. 1: financiers

This is the launch of an idea I came up with recently - a series of posts entitled “French Tarte Faves” that I hope to pop into the mix every now and then! I bake/make a number of things that never end up as the subject of a blog post, and so I’d like to include some of those treats now and again.

Even though I have posted on this one, I’m going to start with one of my tried and true favorites - financiers. I do mention them periodically in some of my seasonal updates and, in fact, make them so often that I can’t even begin to recall all of the versions Steve and I (and others!) have enjoyed. Check out this post from many moons ago. Back in my Pawtucket shop days, pear ginger was a standard. So good.

The beauty of financier batter is its relative ease of preparation, versatility, wonderful texture and all around deliciousness. Here are a few recent variations you might like to try - or create your own.

As is often the case, a project may be spurred on by various components/ingredients I have on hand from other baking adventures or classes I’ve taught. This time some blueberries and blackberries, lemon curd, dark chocolate ganache, ground hazelnuts, dried apricots and the remainder of a bag of almond flour (before I open a new one!). Once baked, they hold well in the freezer to be plucked out for those times when the urge for a little treat strikes.

I baked several versions on a couple of different days. As usual, I use my silicone molds for these babies - no buttering/flouring. I have a number of shapes and sizes, the first day’s session involving ovals and mini-muffins.


First, here’s a link to my base recipe. Made with egg whites, browned butter, confectioner’s (or granulated or brown) sugar, all purpose flour and almond flour, it’s a straight forward task to prep the batter and refrigerate it until ready to bake off. You should give it at least a 4 hour or so chill, but I usually make the batter a day or two ahead. It will keep for several days so you can choose to bake it as desired, scooping out a portion of batter and adding chosen flavors like citrus zest or spices, dried fruits or chopped chocolate to create your own unique versions. It’s also common in the mignardise world to simply top the batter with a berry or two before baking. Crumble isn’t bad either.

Back to the task at hand. I’ve explained before (I think) how to determine the quantity of what I’ll call “chunky” additives for a batter. Weigh out the finished batter. Take 10-15% of that weight to figure your additive(s). E.g. if you have 500 g batter, blend in 50-75 g of chopped chocolate, dried fruit pieces or toasted chopped nuts.

It’s different for flavor additions like citrus zest, spices and extracts - that’s really more of a learning curve based on trial as well as experience. E.g. with my base recipe I might add the zest of one large orange or two medium lemons or three limes - adjust as you like. I tend to amp up citrus so I might even use more.

OK. For this project I added chopped dark chocolate to half the batter and piped it into my favorite mini-muffin silicone molds. Remember - no buttering necessary!


After baking and cooling I spread a swirl of dark chocolate ganache on top and sprinkled ‘em with chocolate cookie crumbs. Yum.

For the next I added lemon zest to the other half of the batter, piped it into ovals, made a shallow well, piped a dollop of lemon curd in and topped with blueberries..


Once baked, I gave them a light lemon juice/confectioners sugar glaze for that extra special something.


The next duo involved subbing ground toasted hazelnuts for half of the almond flour. When ready to bake, I divided the batter in half and to one half added about 2 tablespoons finely diced crystallized ginger and about 50 g diced, dried apricots that I had soaked in some hot water and a splash of rum to soften them up. Pat the apricots dry before adding to the batter.

My square savarin molds give me a blank canvas for garnishing. I had some lightly spiced peach apricot Swiss meringue buttercream in the freezer from a previous macaron project. A nice swirl is all it takes to dress these up a bit. You could even put a dollop of apricot jam in the well before piping on the buttercream.

How about some garnish?

You could even top ‘em off with some oat crumble or toasted candied pistachios for some added texture.


I piped the remaining half into mini muffin molds and pressed some halved blackberries into the top.


While these are delicious as is, I gave them a nice swirl of orange caramel Swiss meringue buttercream. Mmmm . . . . . good!


These petite cakes are simply delightful, no matter how you make them. What a wonderful way to vary your creations by flavors, seasons, favorite fruits or nuts or . . . . . . You get the idea. Now go make your own version of financiers!

One big bearded iris among giant allium. Love that purple!

Gorgeous rhodedendrons at D&D’s in Massachusetts

Flowering astilbe along our front walk