For the love of baking

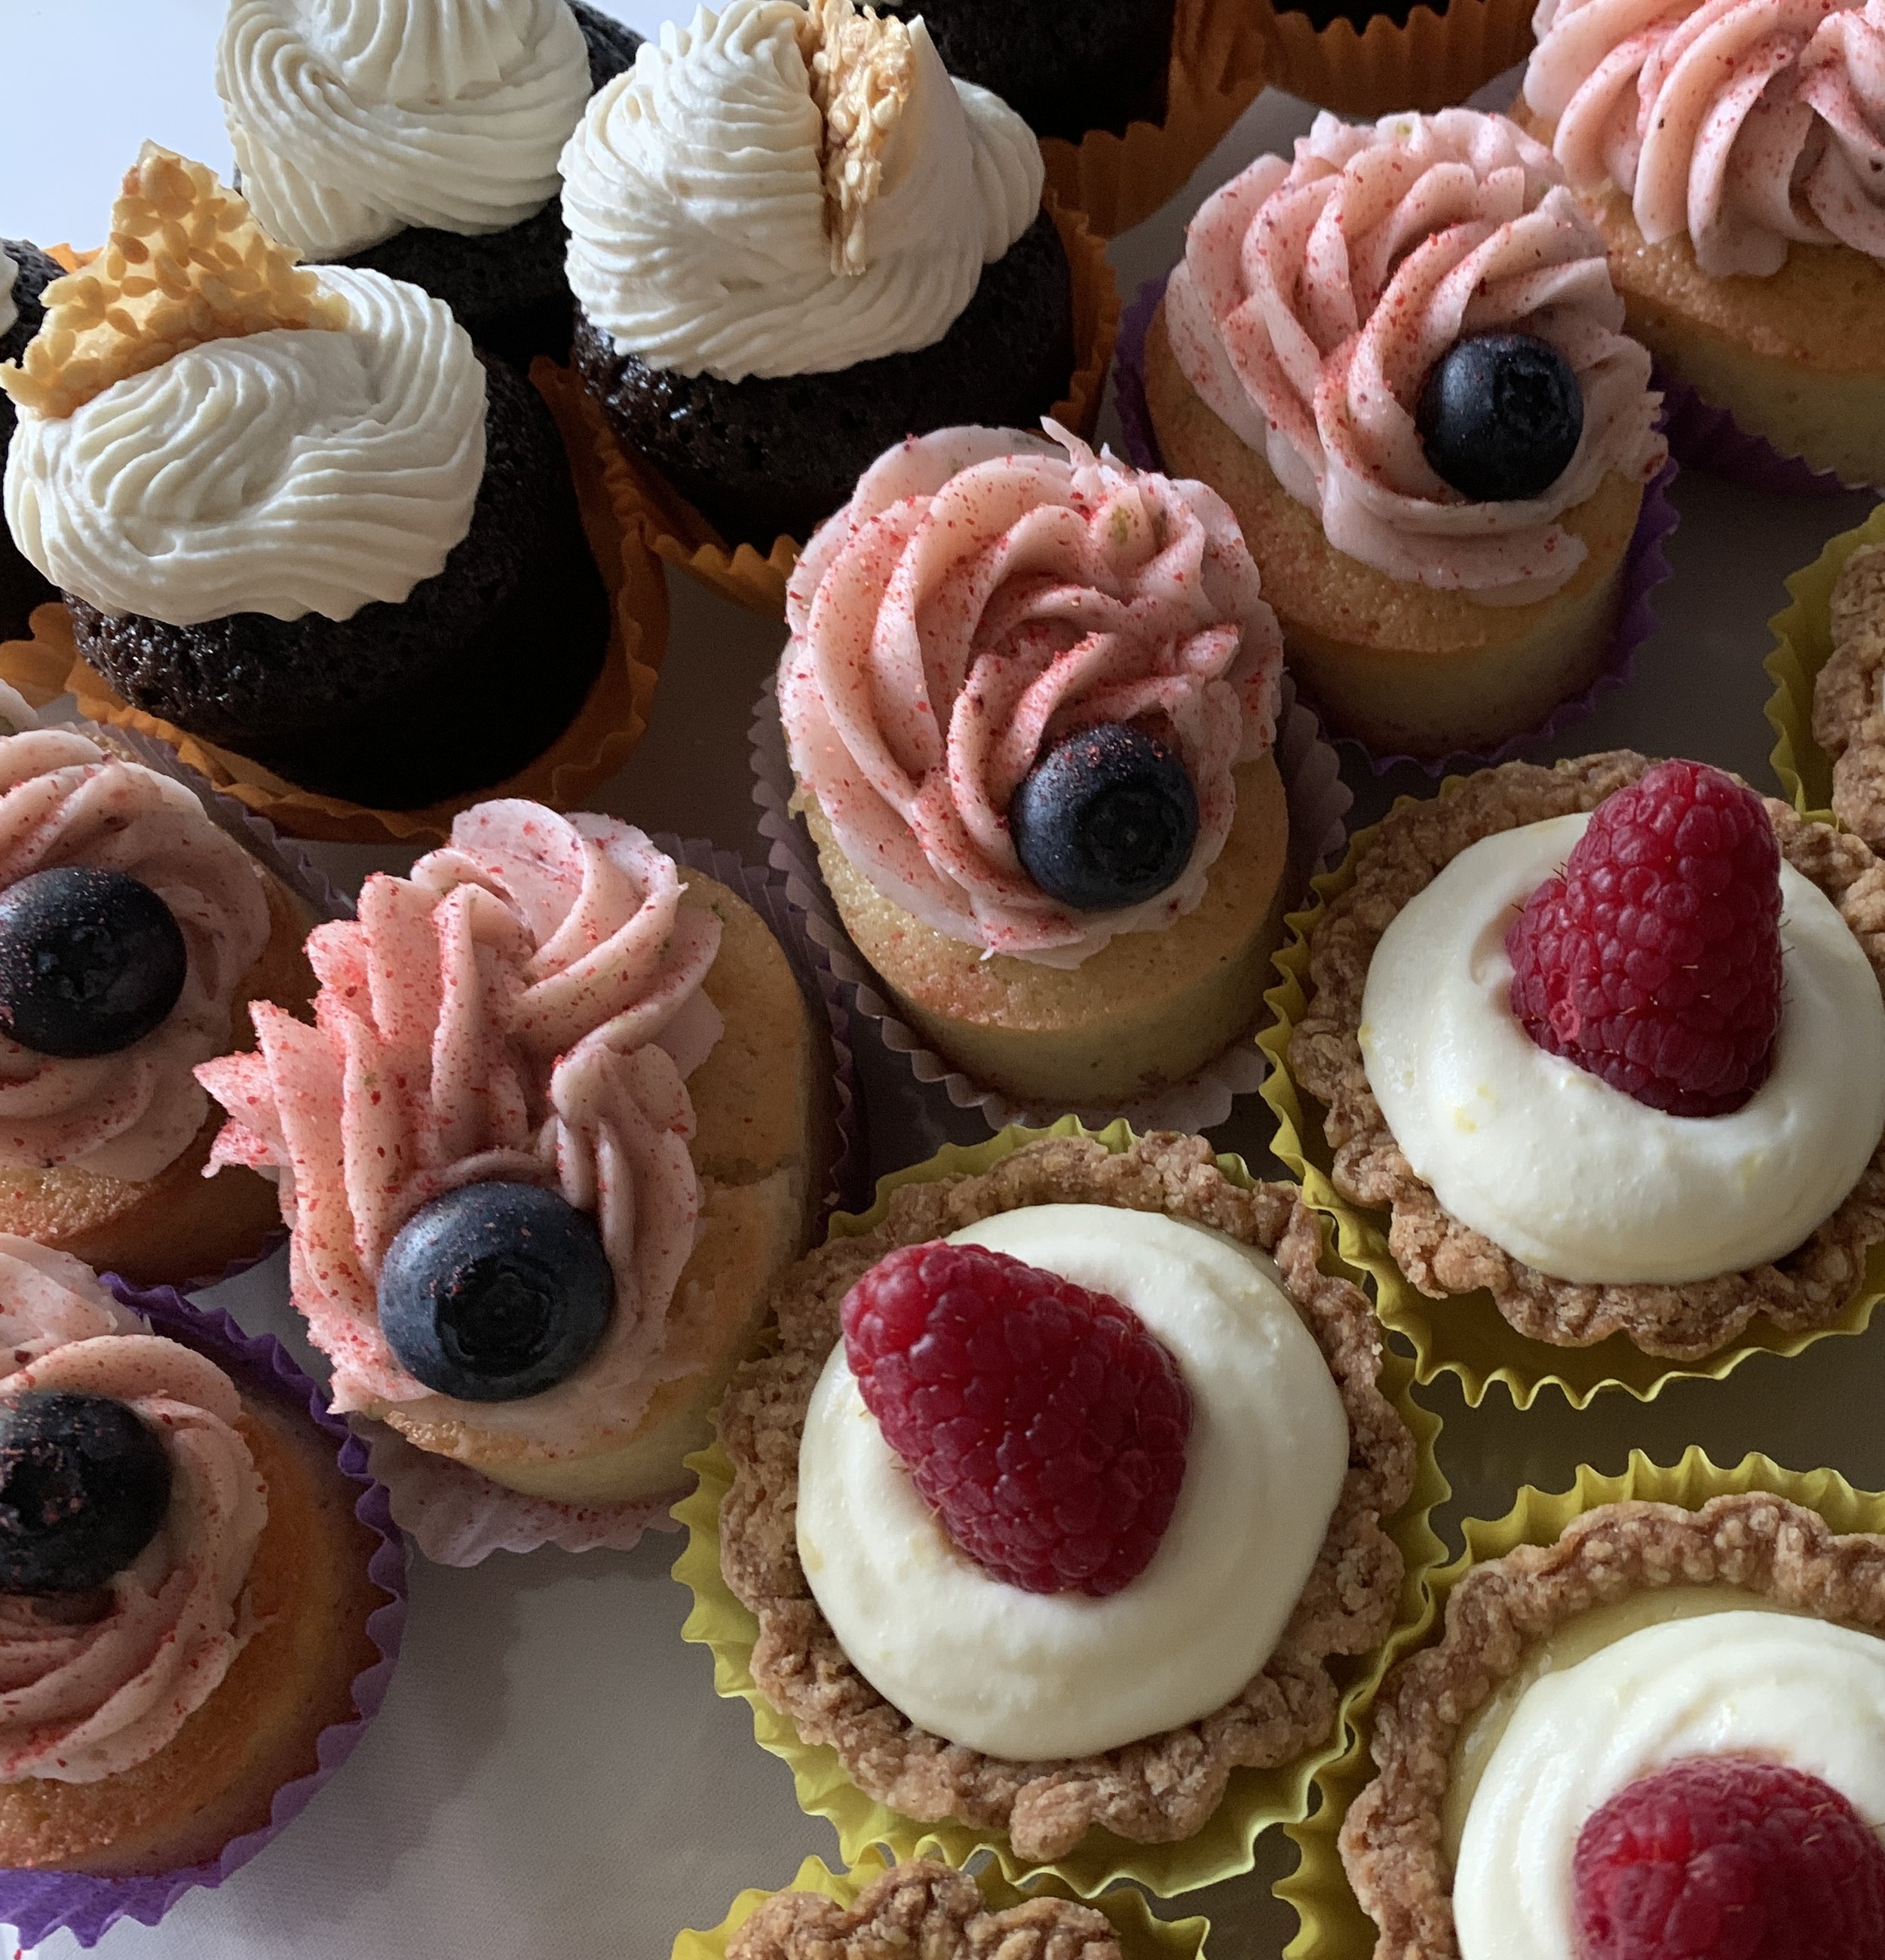
Assorted goodies for a neighbor’s birthday party

Many of us pursue baking simply for the love of it - I know I do. Believe me, I know how fortunate I was back in 2006 to attend pastry school in both Florence and Paris. As a new career and later-in-life endeavor, it was exciting, emotionally charged, exhausting at times and well worth it.

Though I’m both “home schooled” and professionally trained, it’s not a search for fame or fortune that keeps me in the kitchen. Trying new things, reading about how others approach their craft, tweaking a recipe to create a different flavor combination all help to keep me coming back for more.

I find the process - planning, prepping and baking all the way to tasting and sharing - so calming and rhythmic. Even cleaning up, when all is said and done, is its own rite. Everything washed/dried, organized and stored in it’s own place, ready for the next baking adventure.

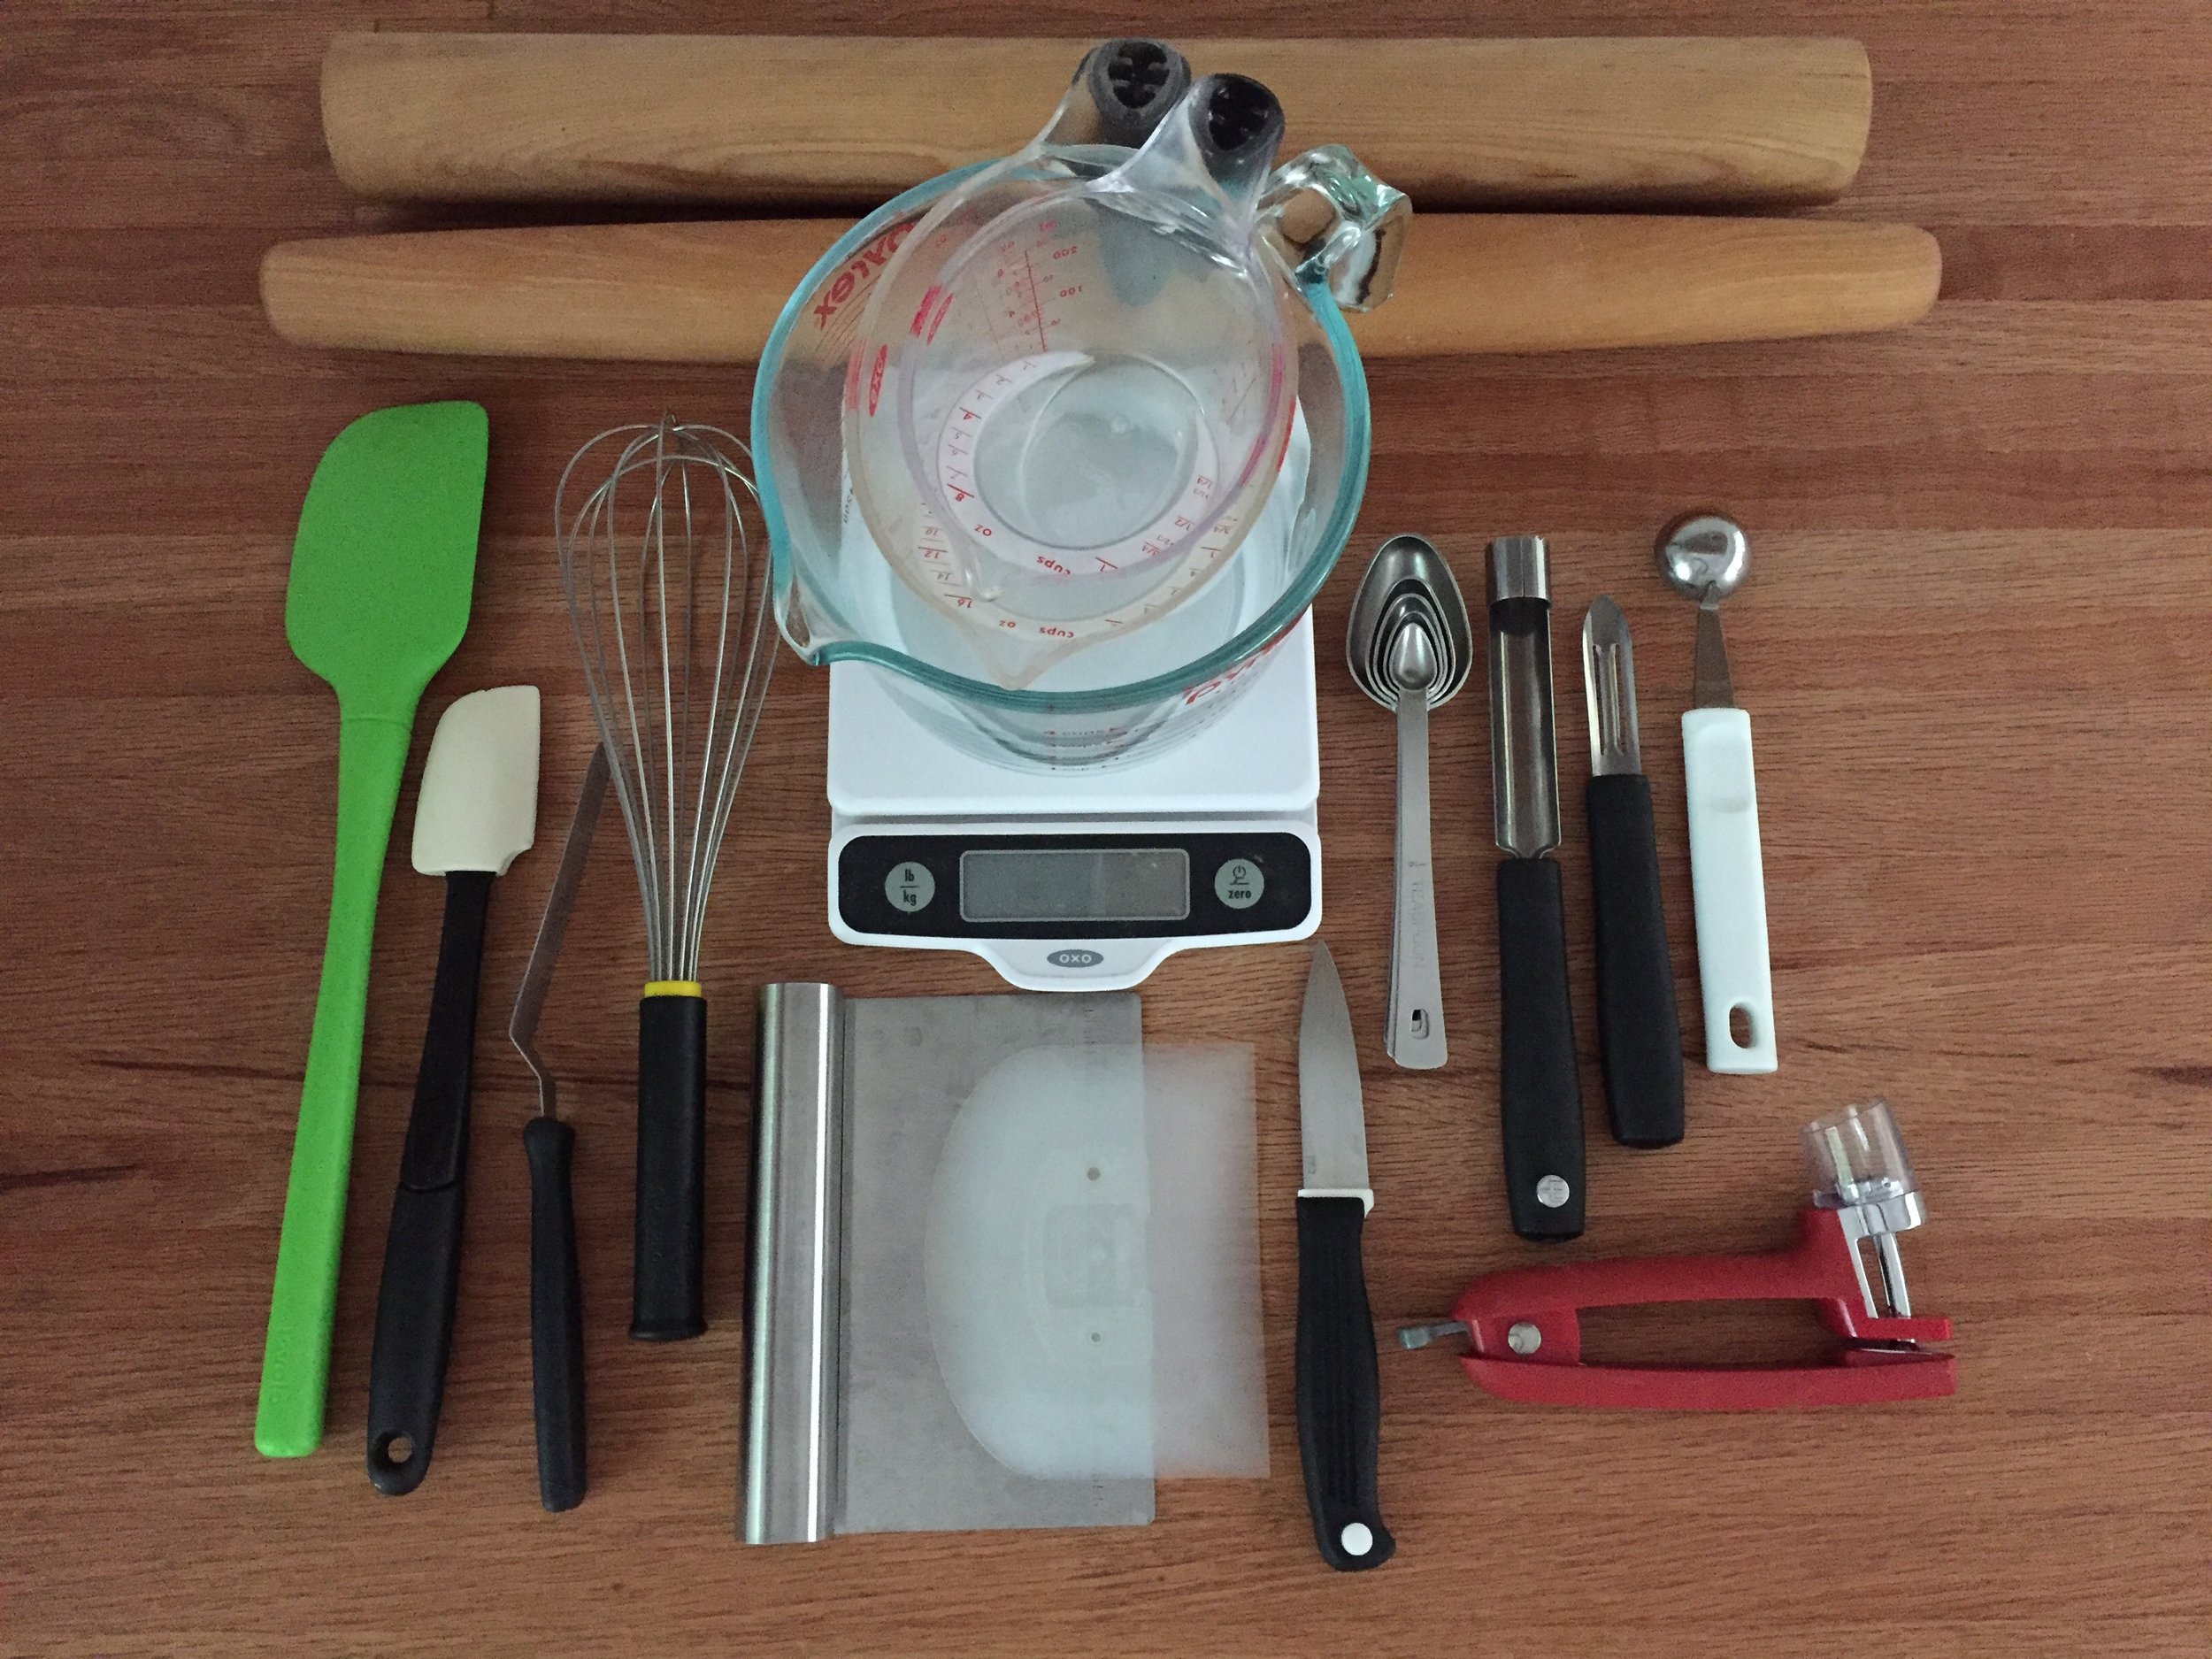
Just a few frequently used tools


Apricot blueberry danish
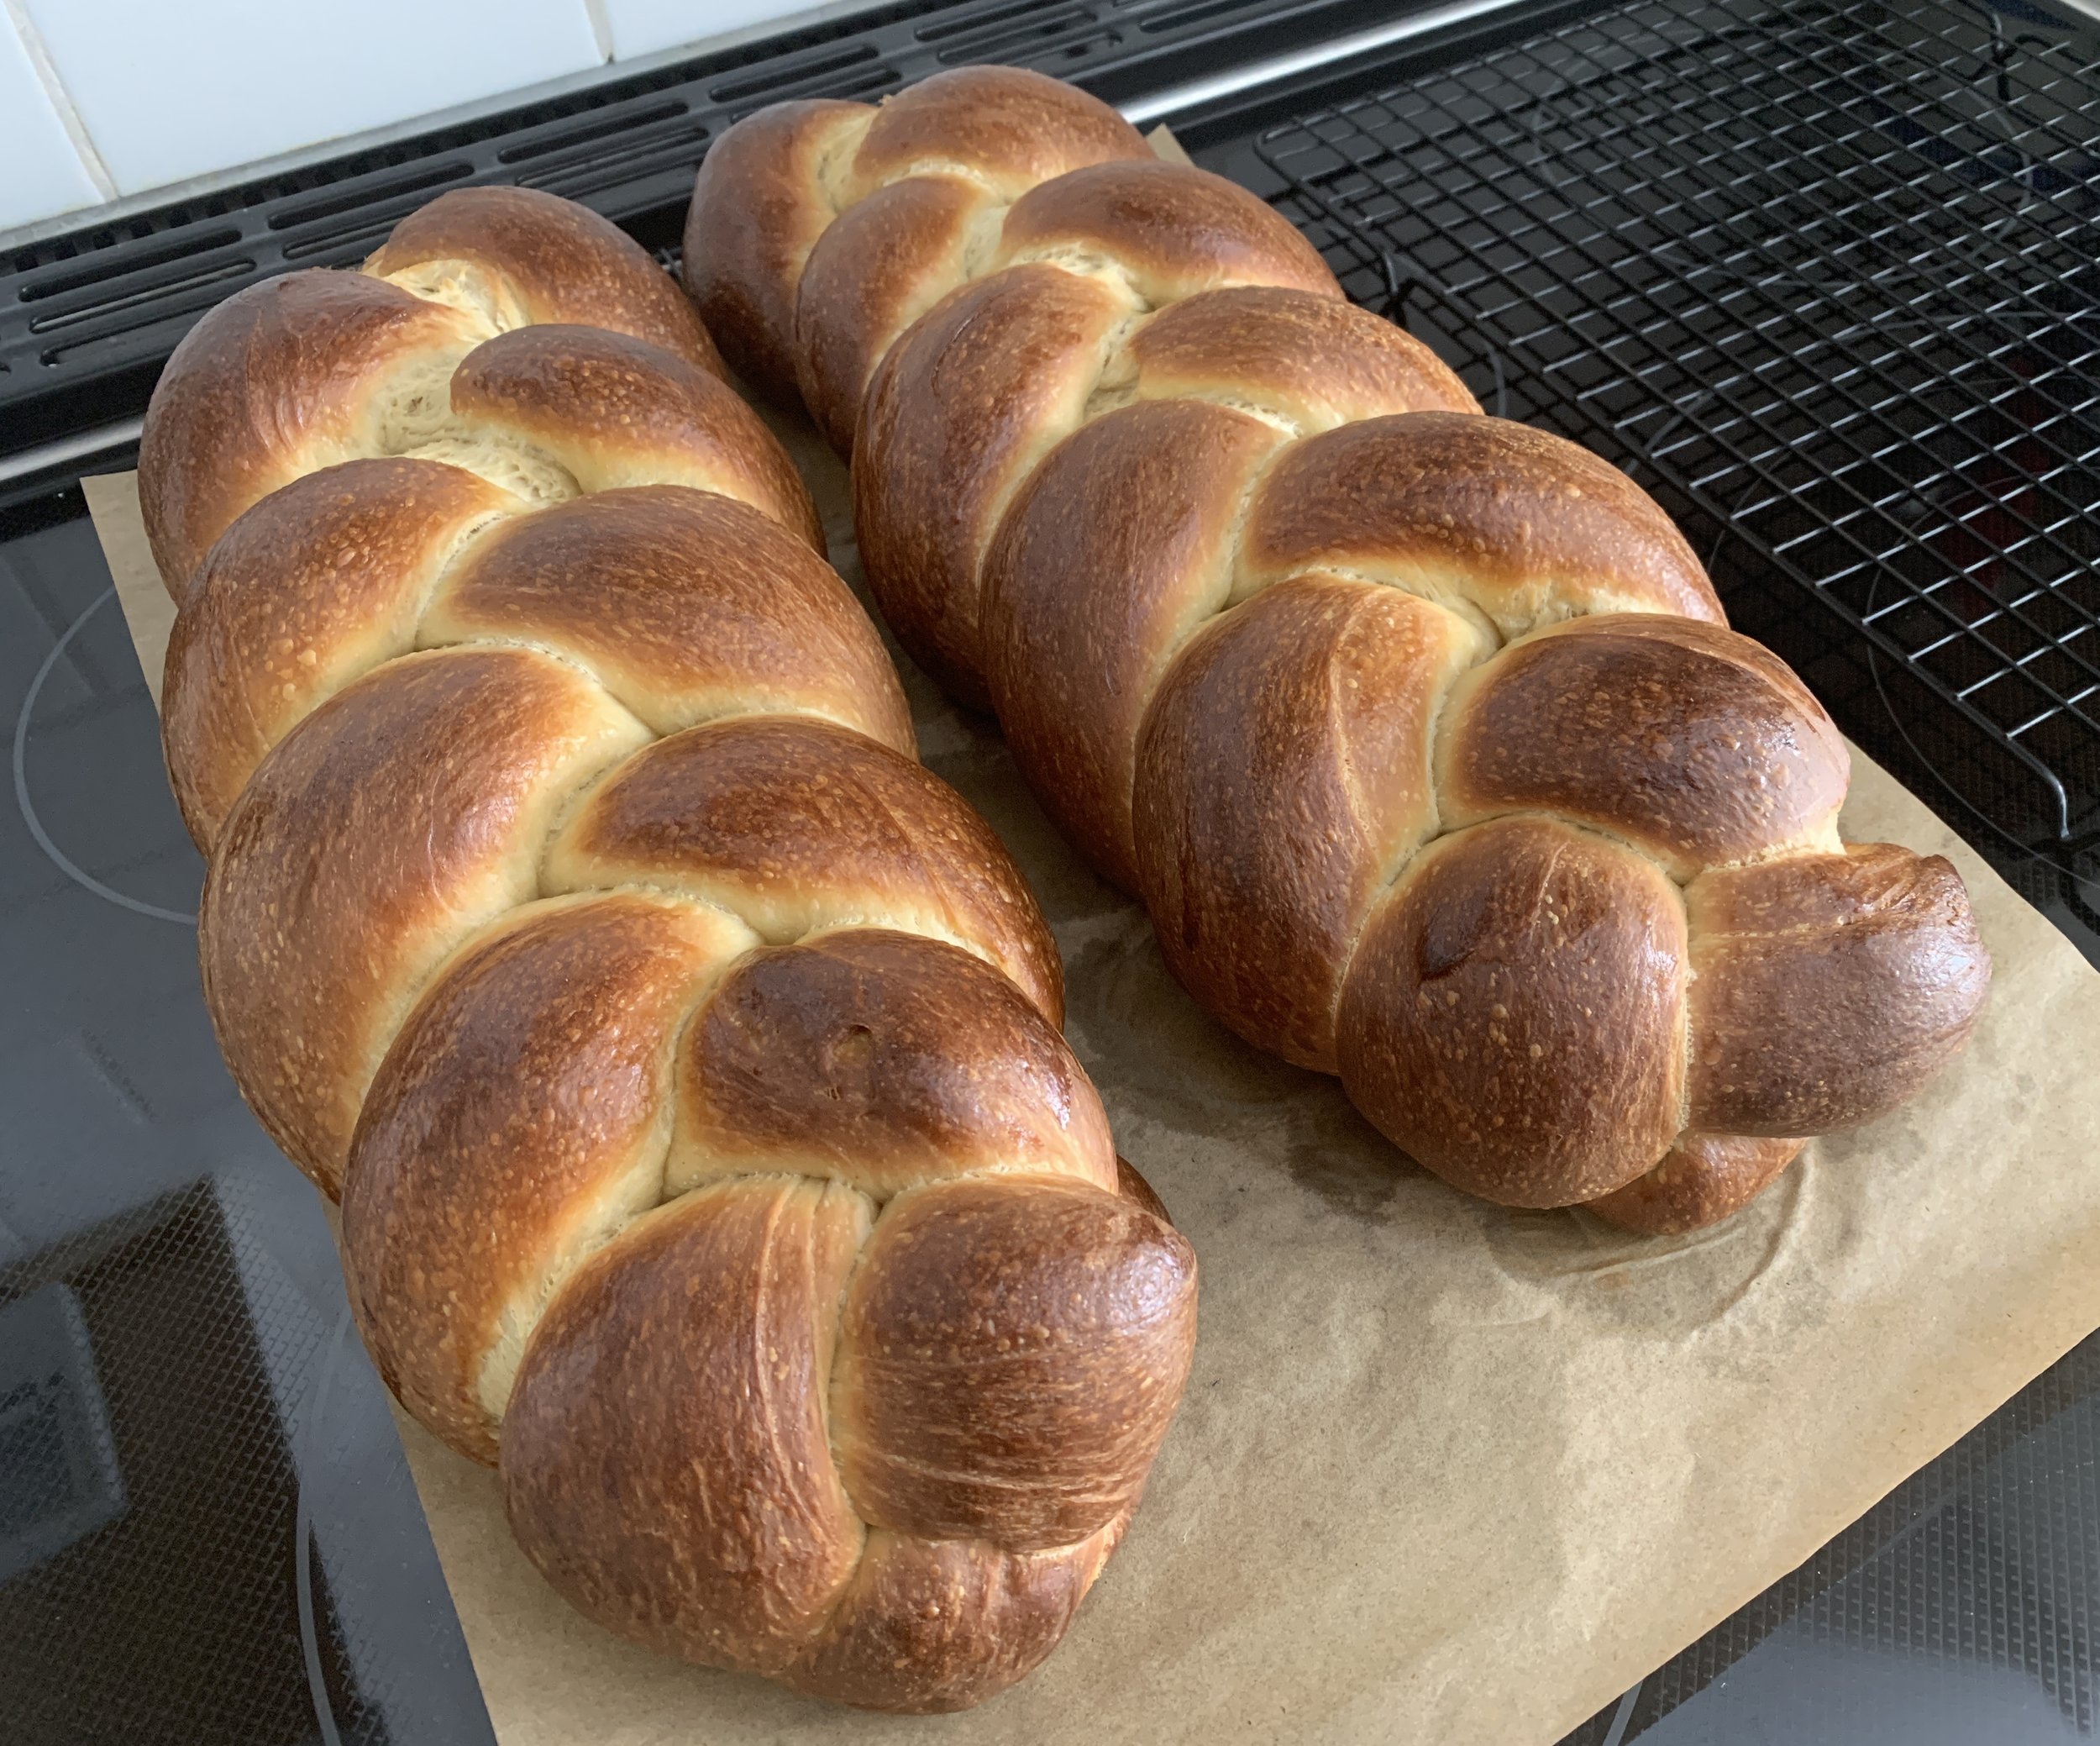
 

Cooling challah


Fresh berry tarte


Caramel knots

The remaining content is taken from a post I first published on March 14, 2022 in the early weeks of Russia’s invasion of Ukraine. I posted it right on the heels of another post, and I suspect many of you who tend to follow this blog may have missed it.

“If pastry could change the world” still captures what baking means for me and so many others. Enjoy!

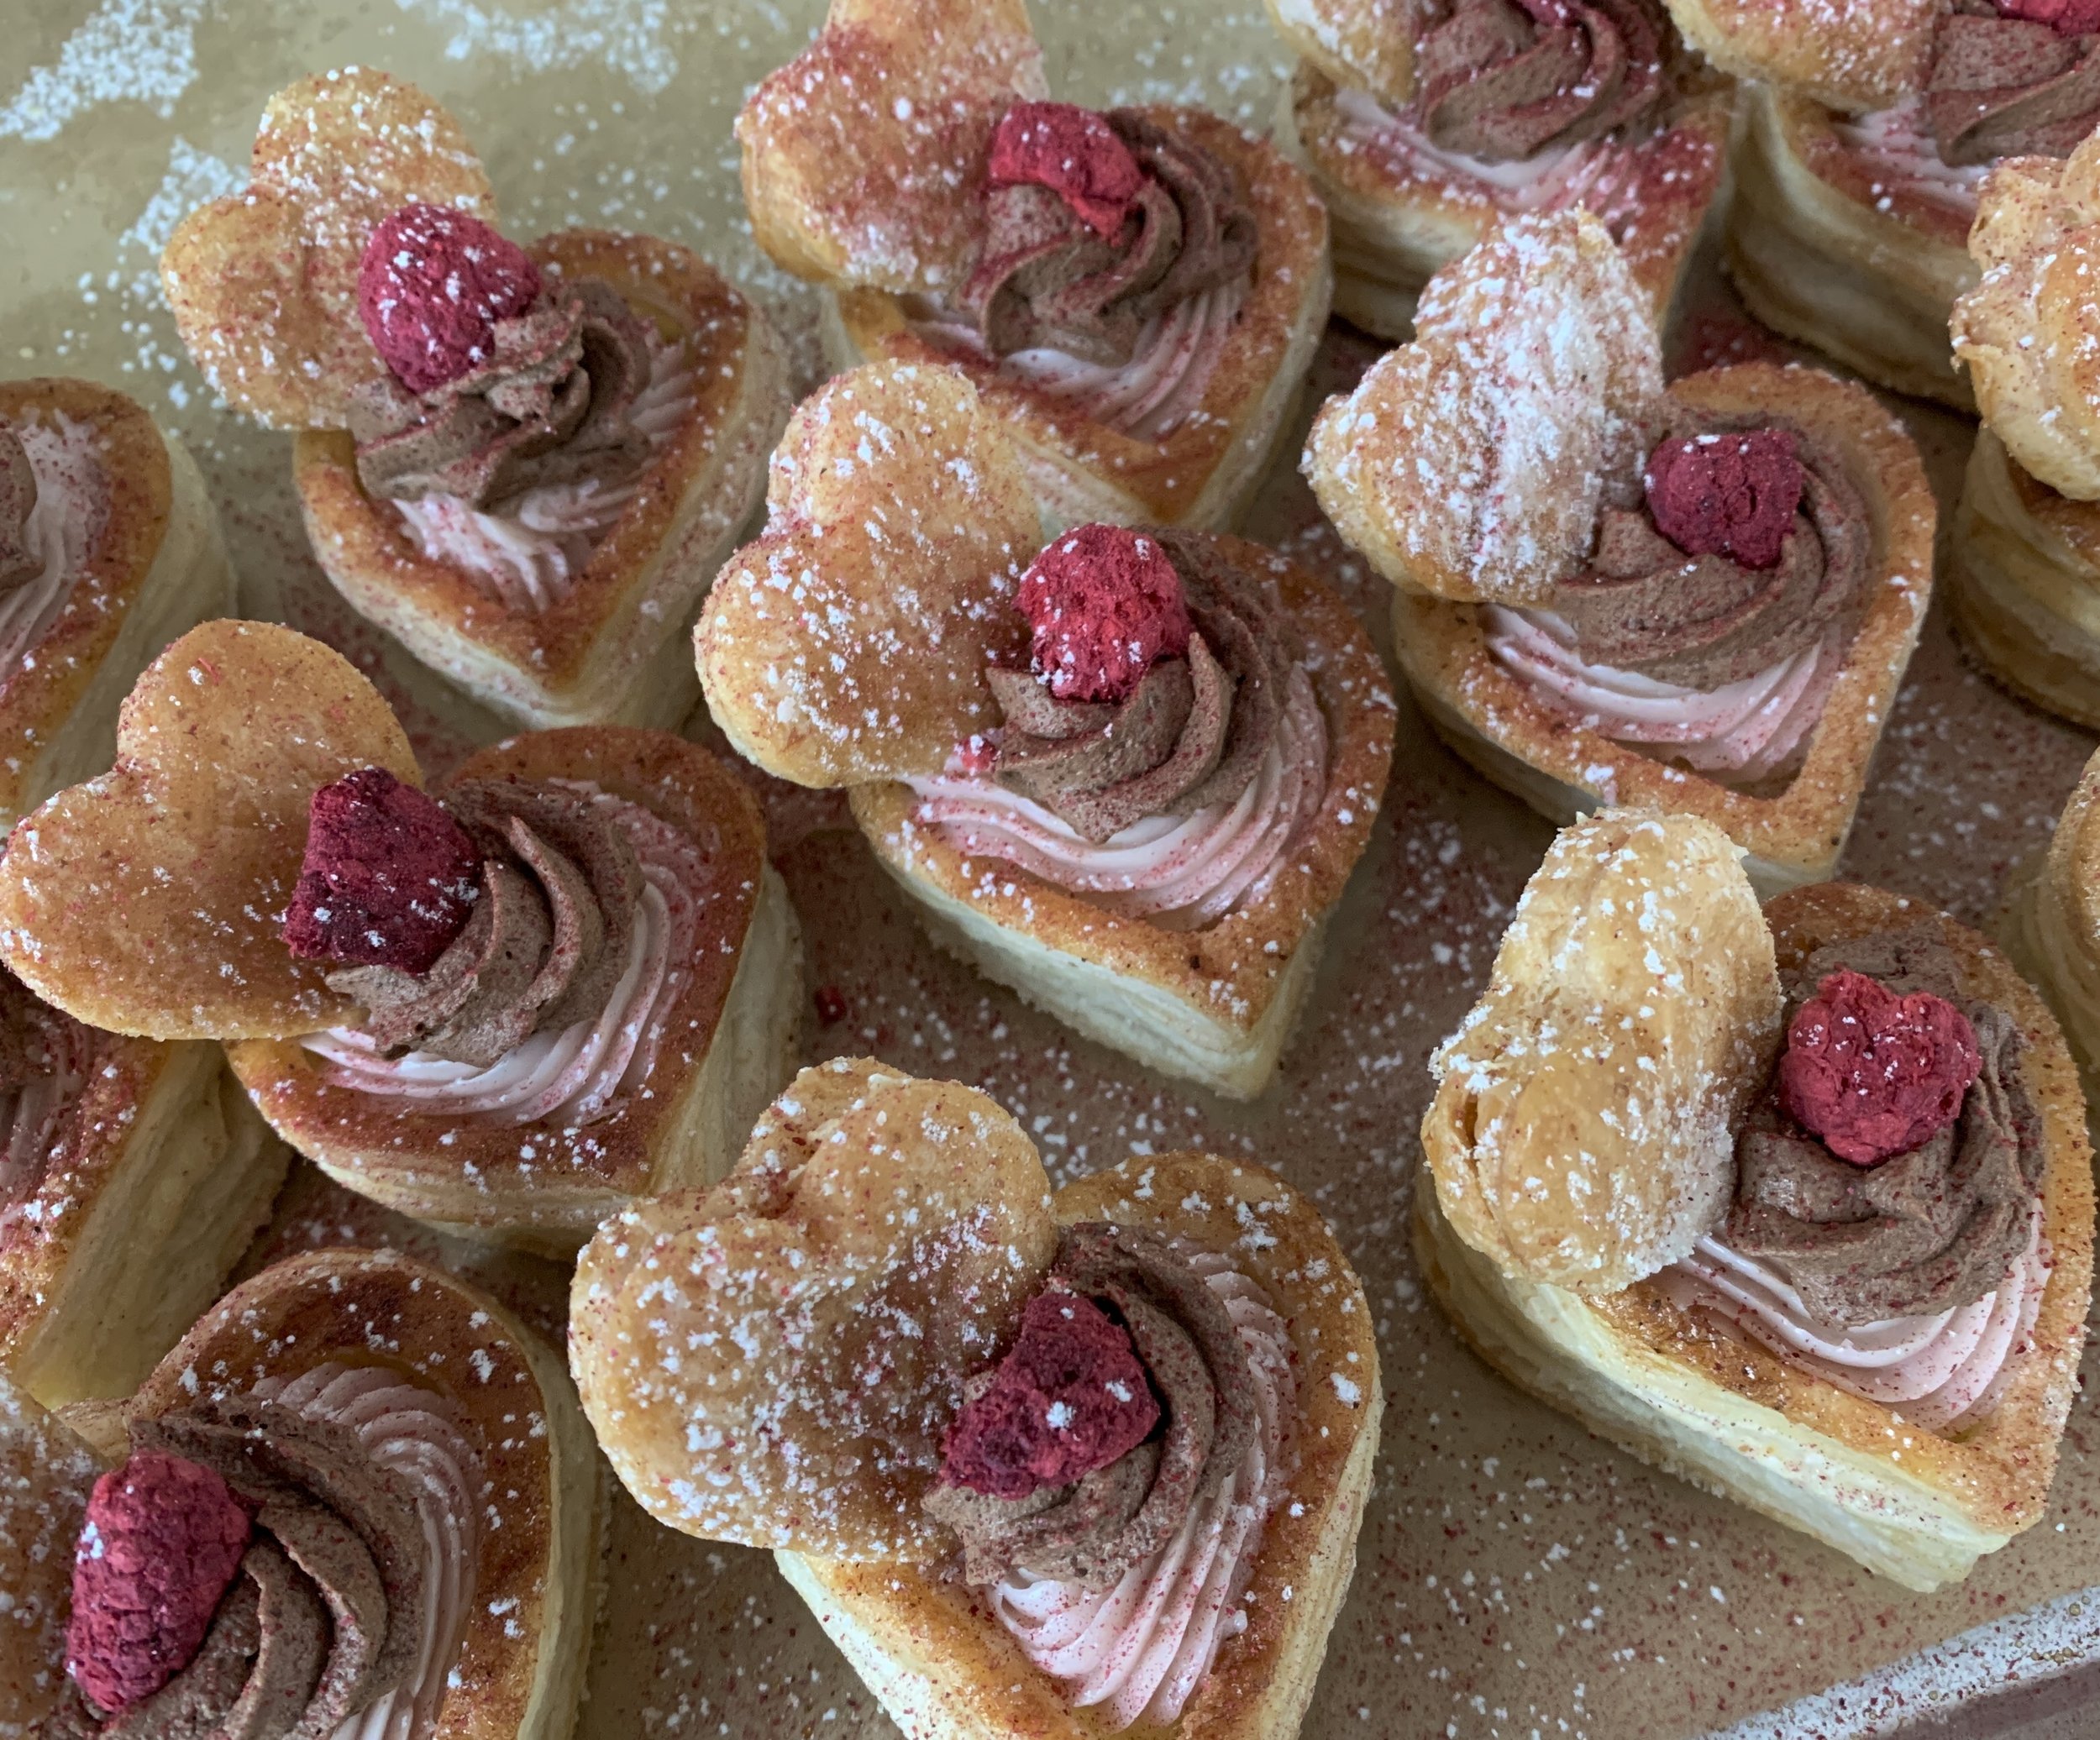
Valentine feuilletés

If everything could remind us of love . . . . .


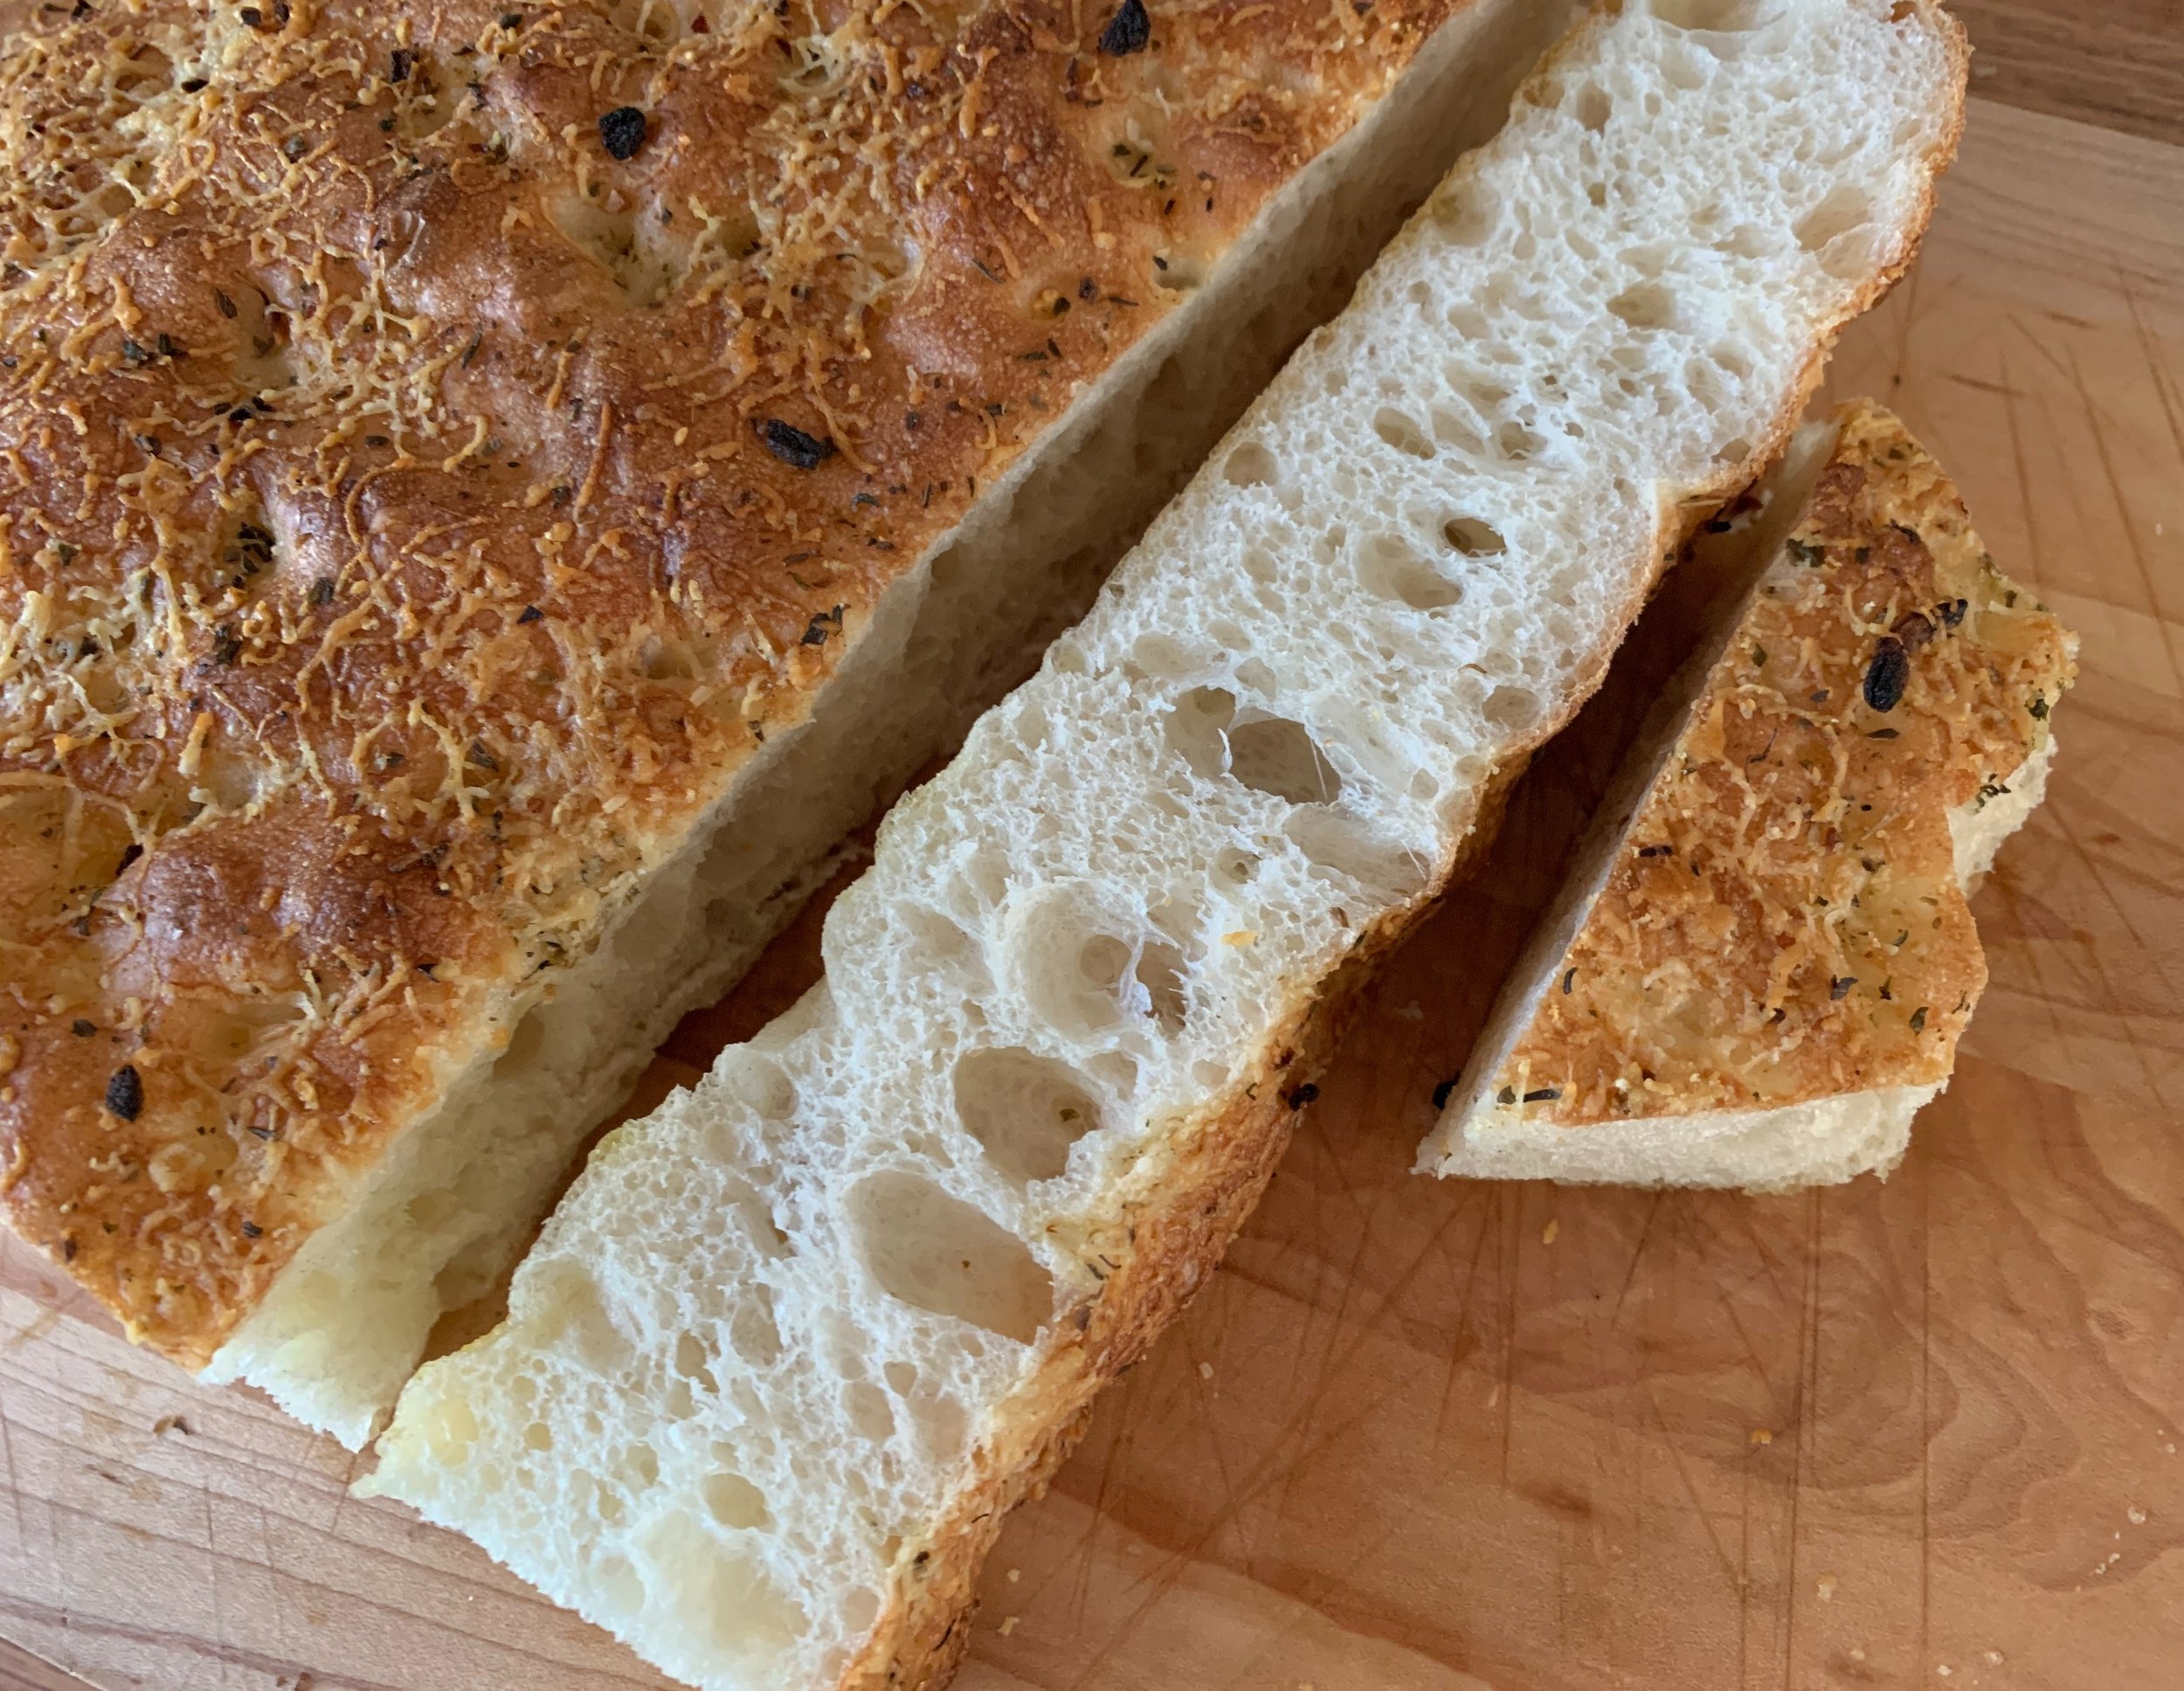
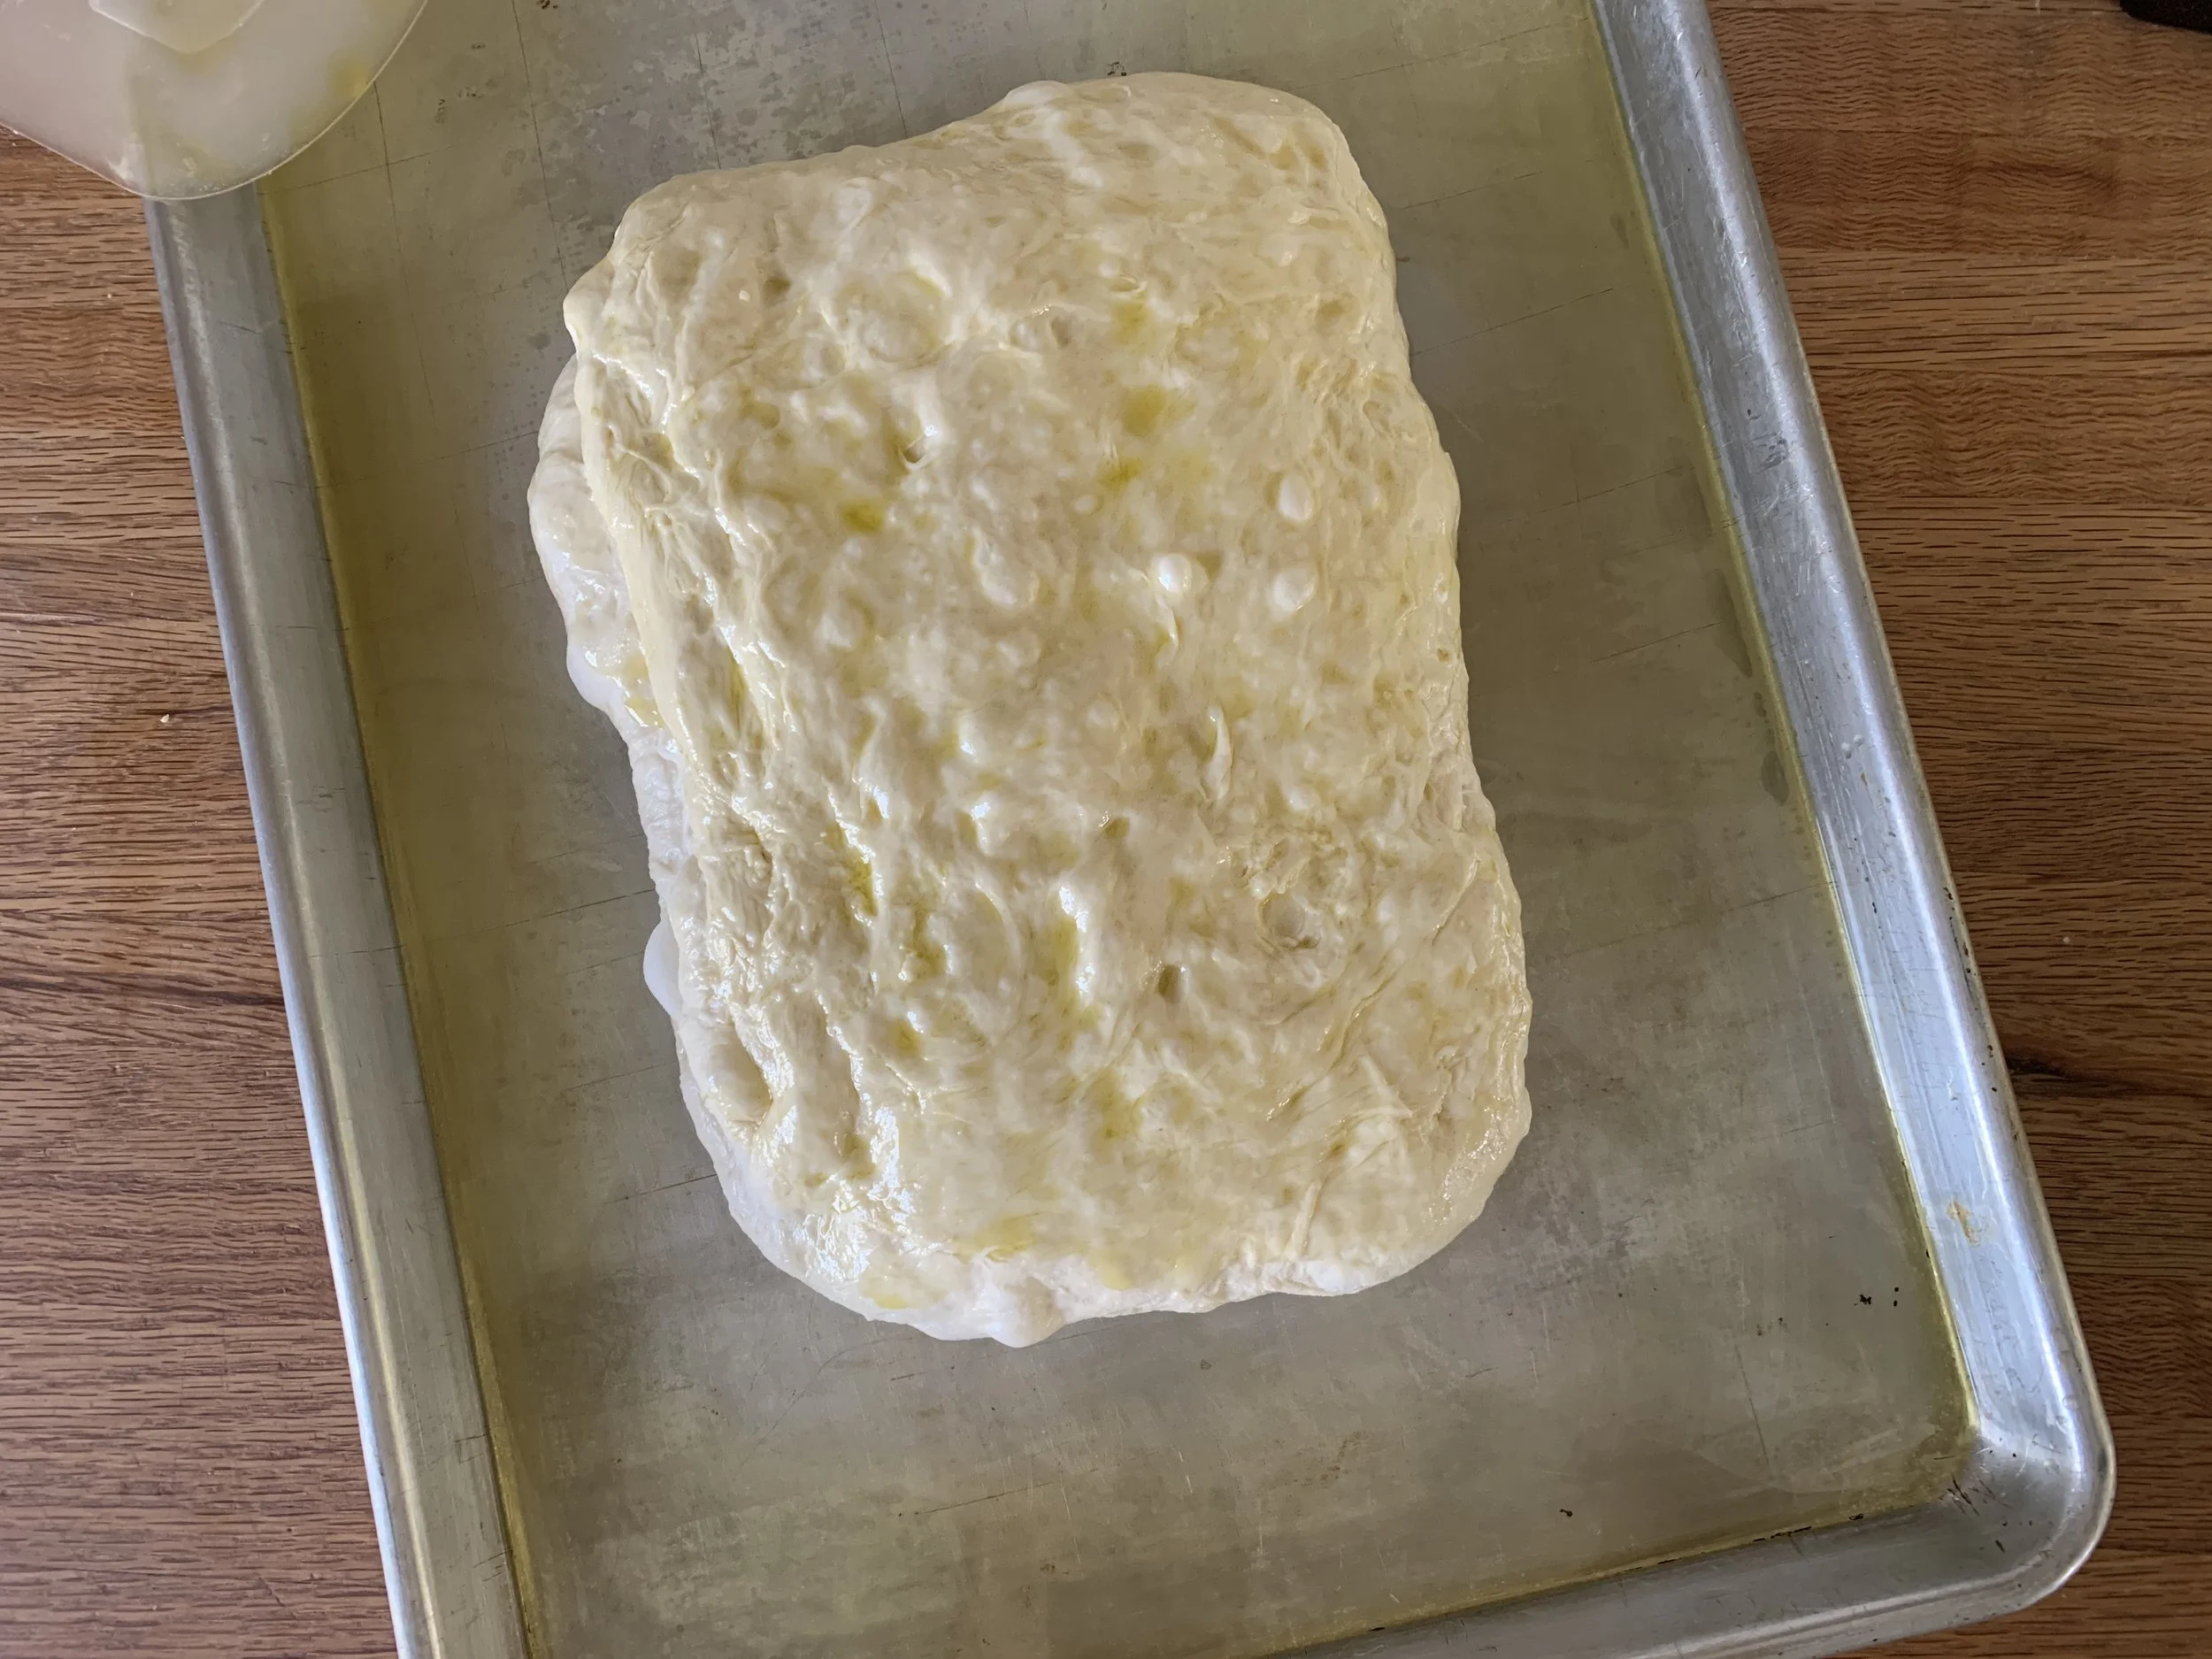
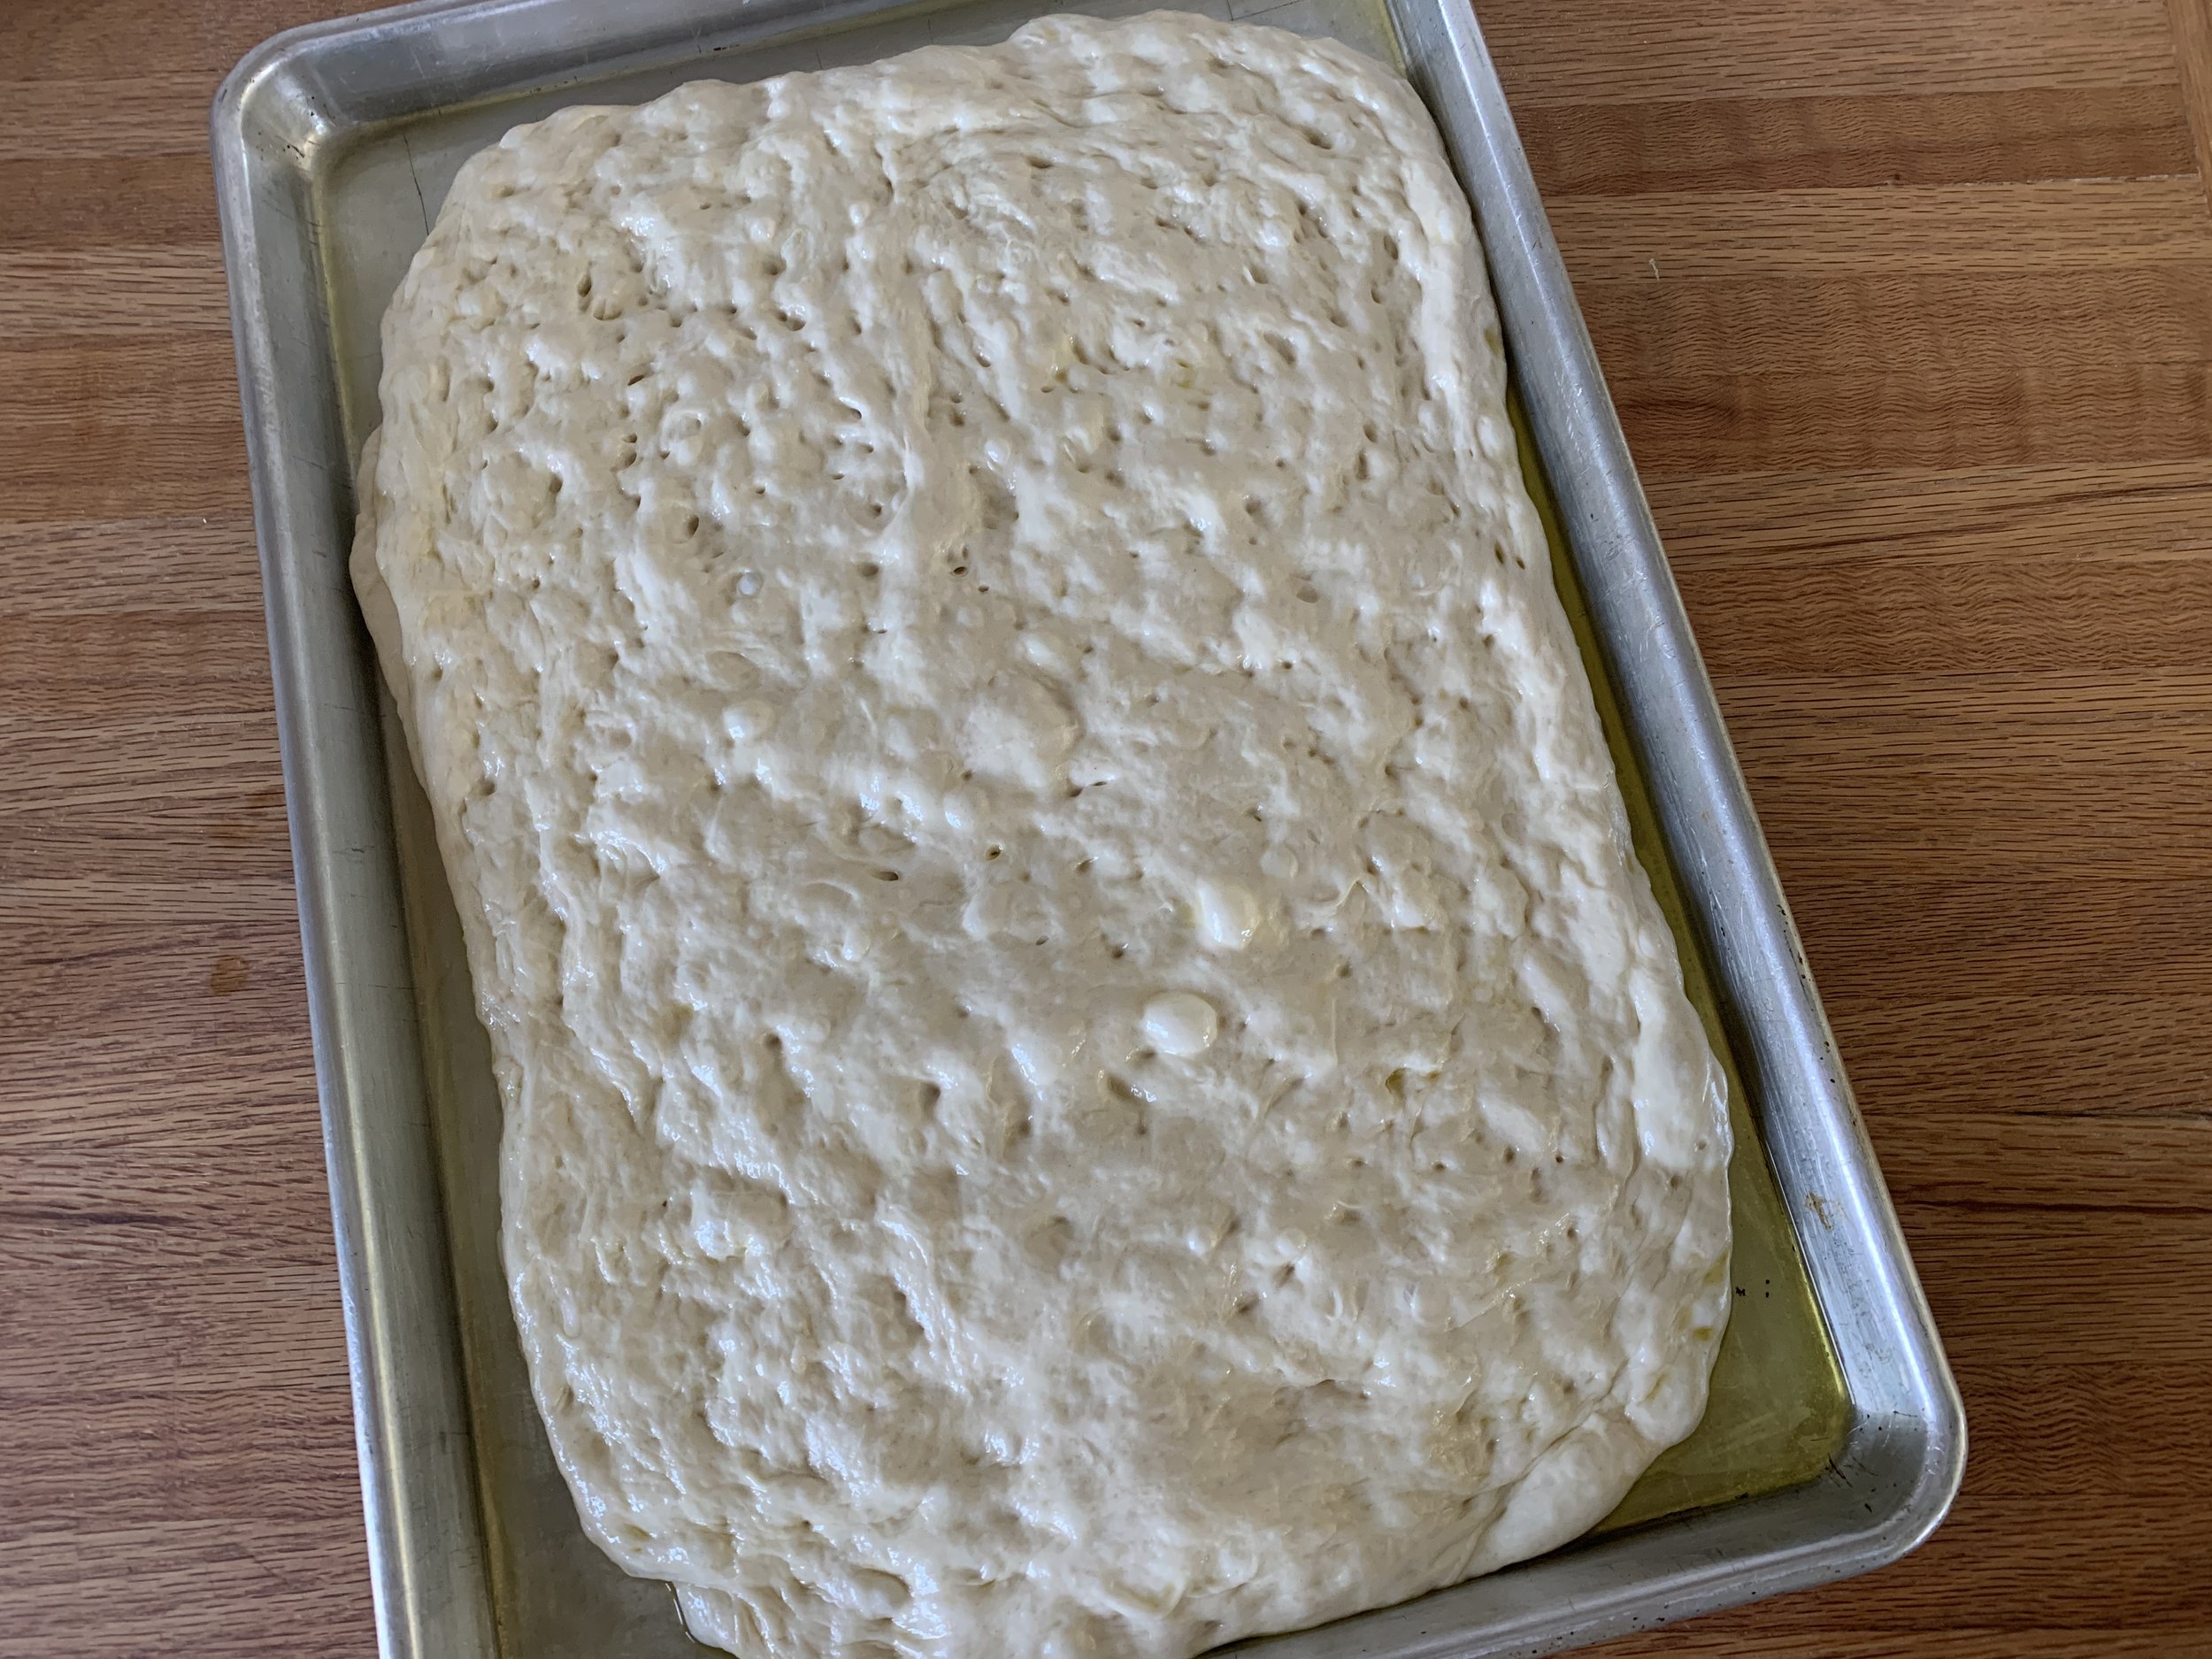
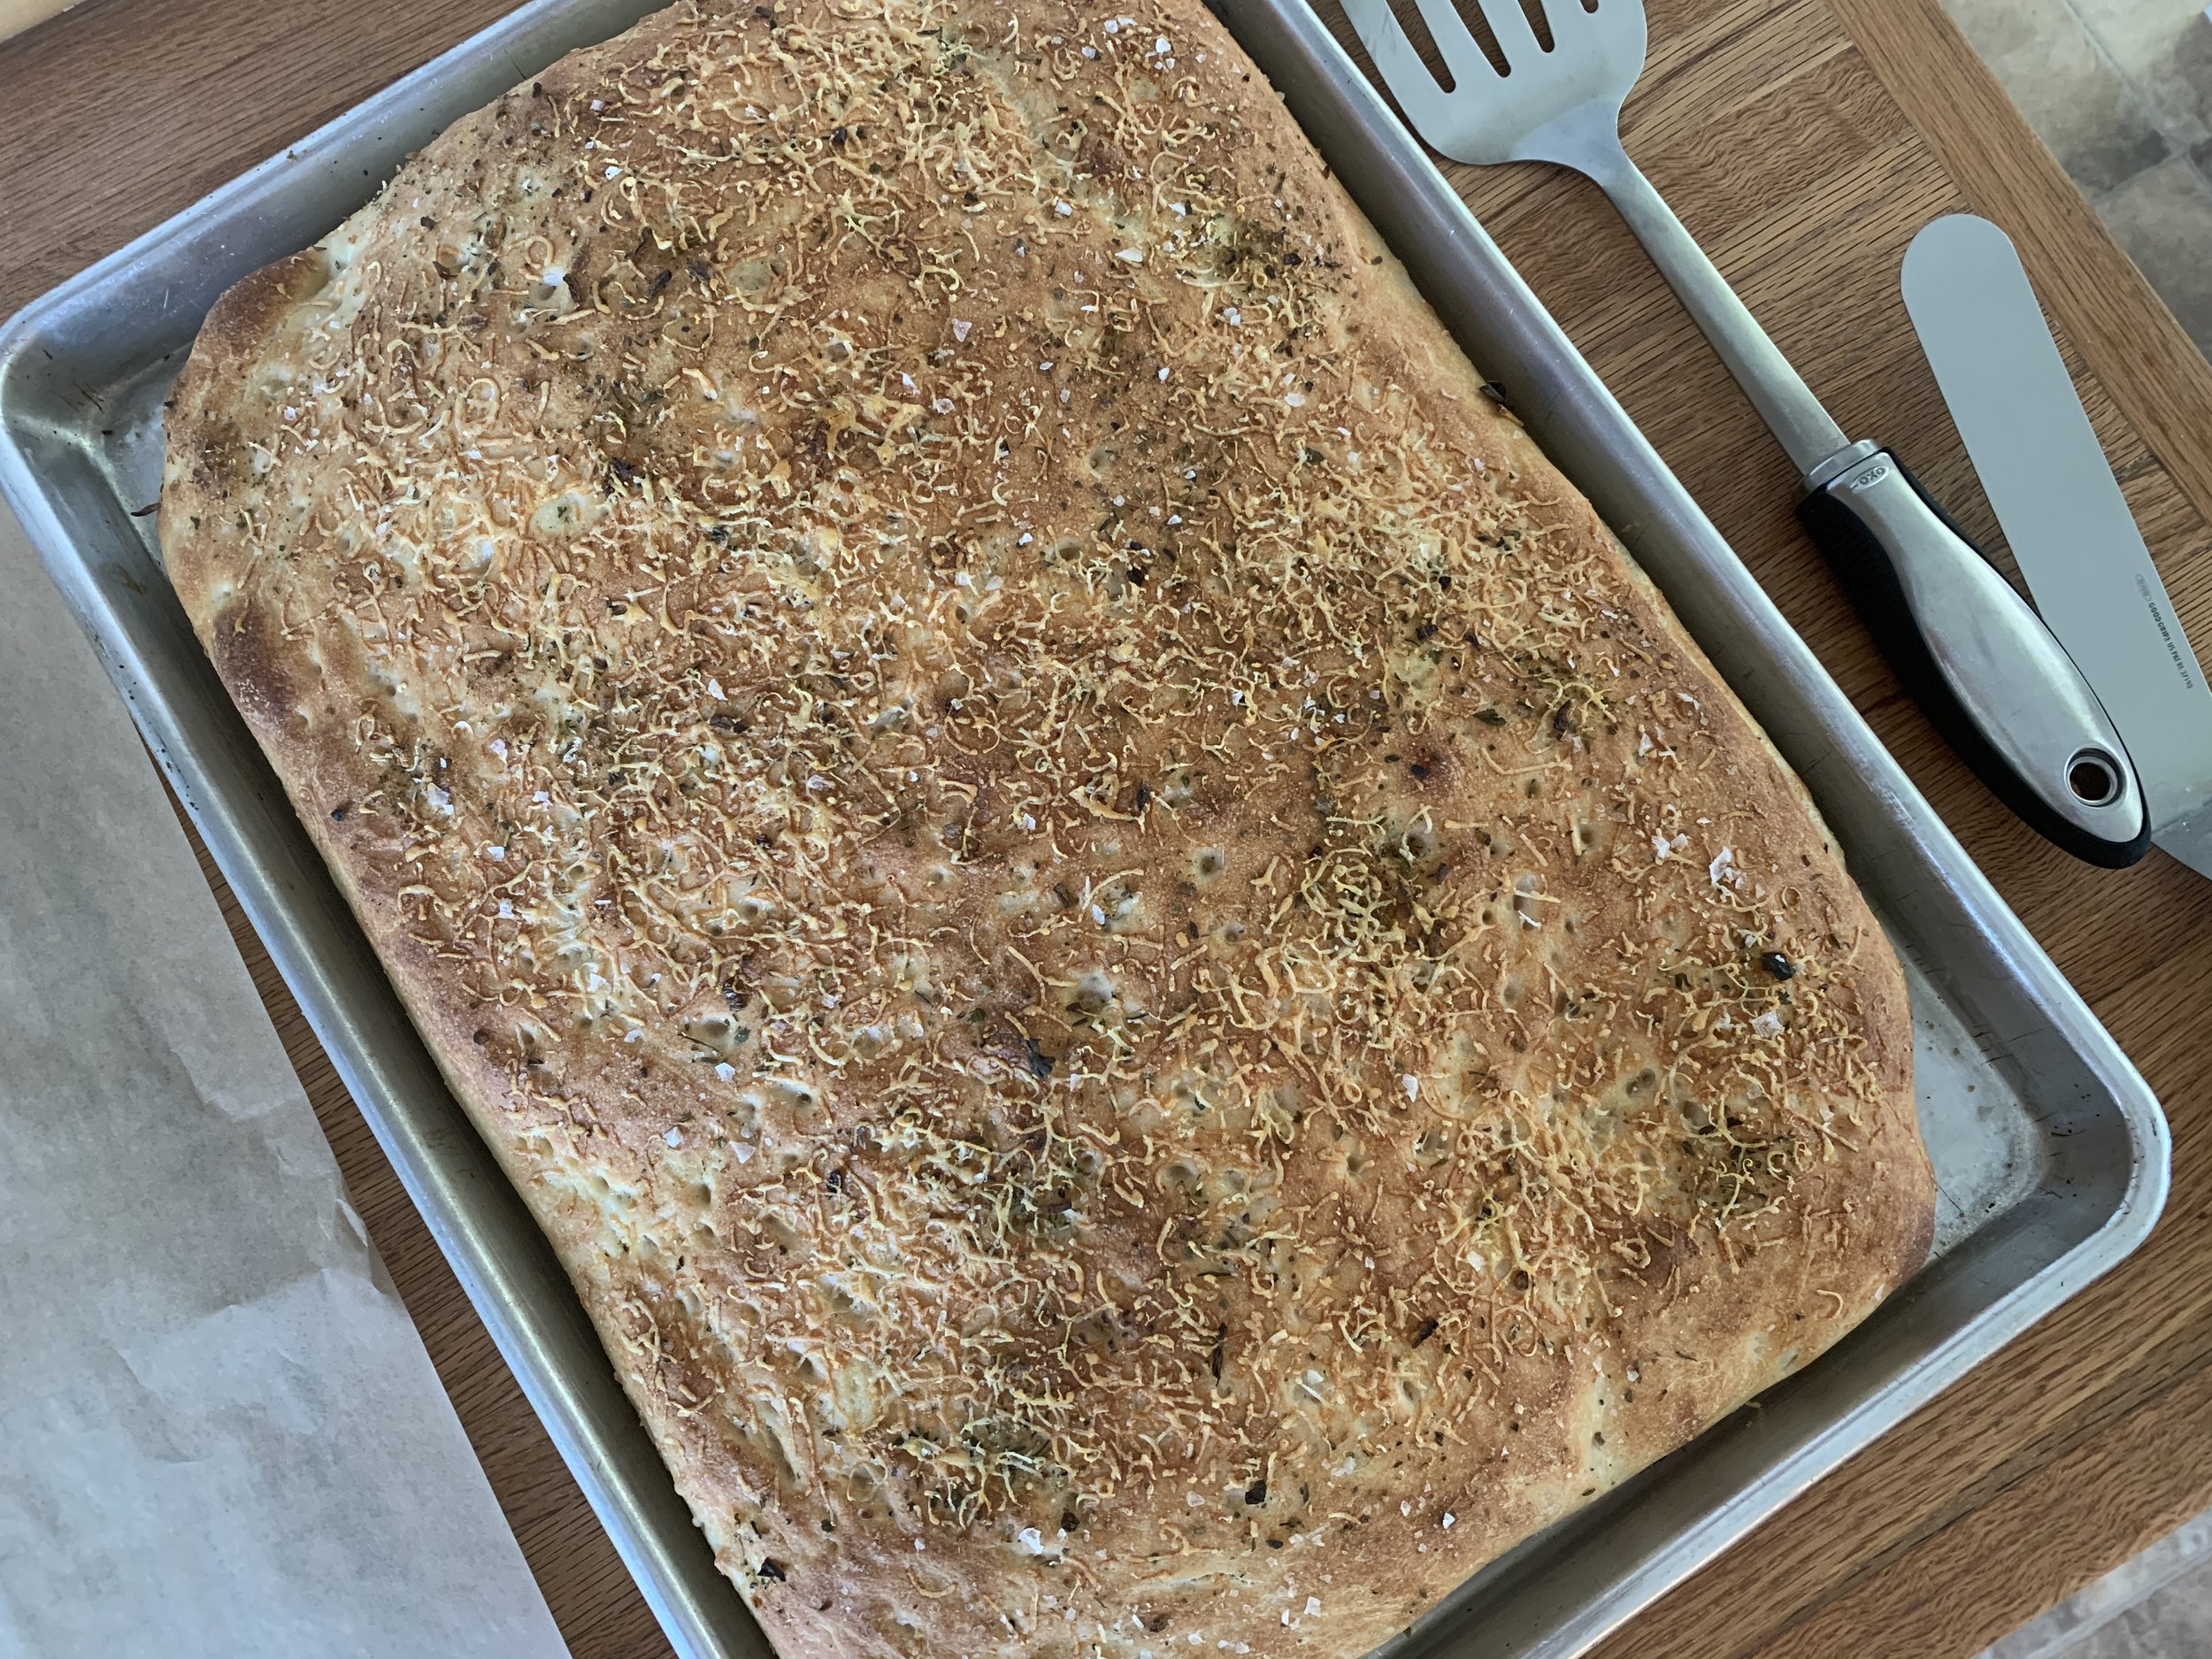
If we could all share fresh bread, cheese and wine . . . . .


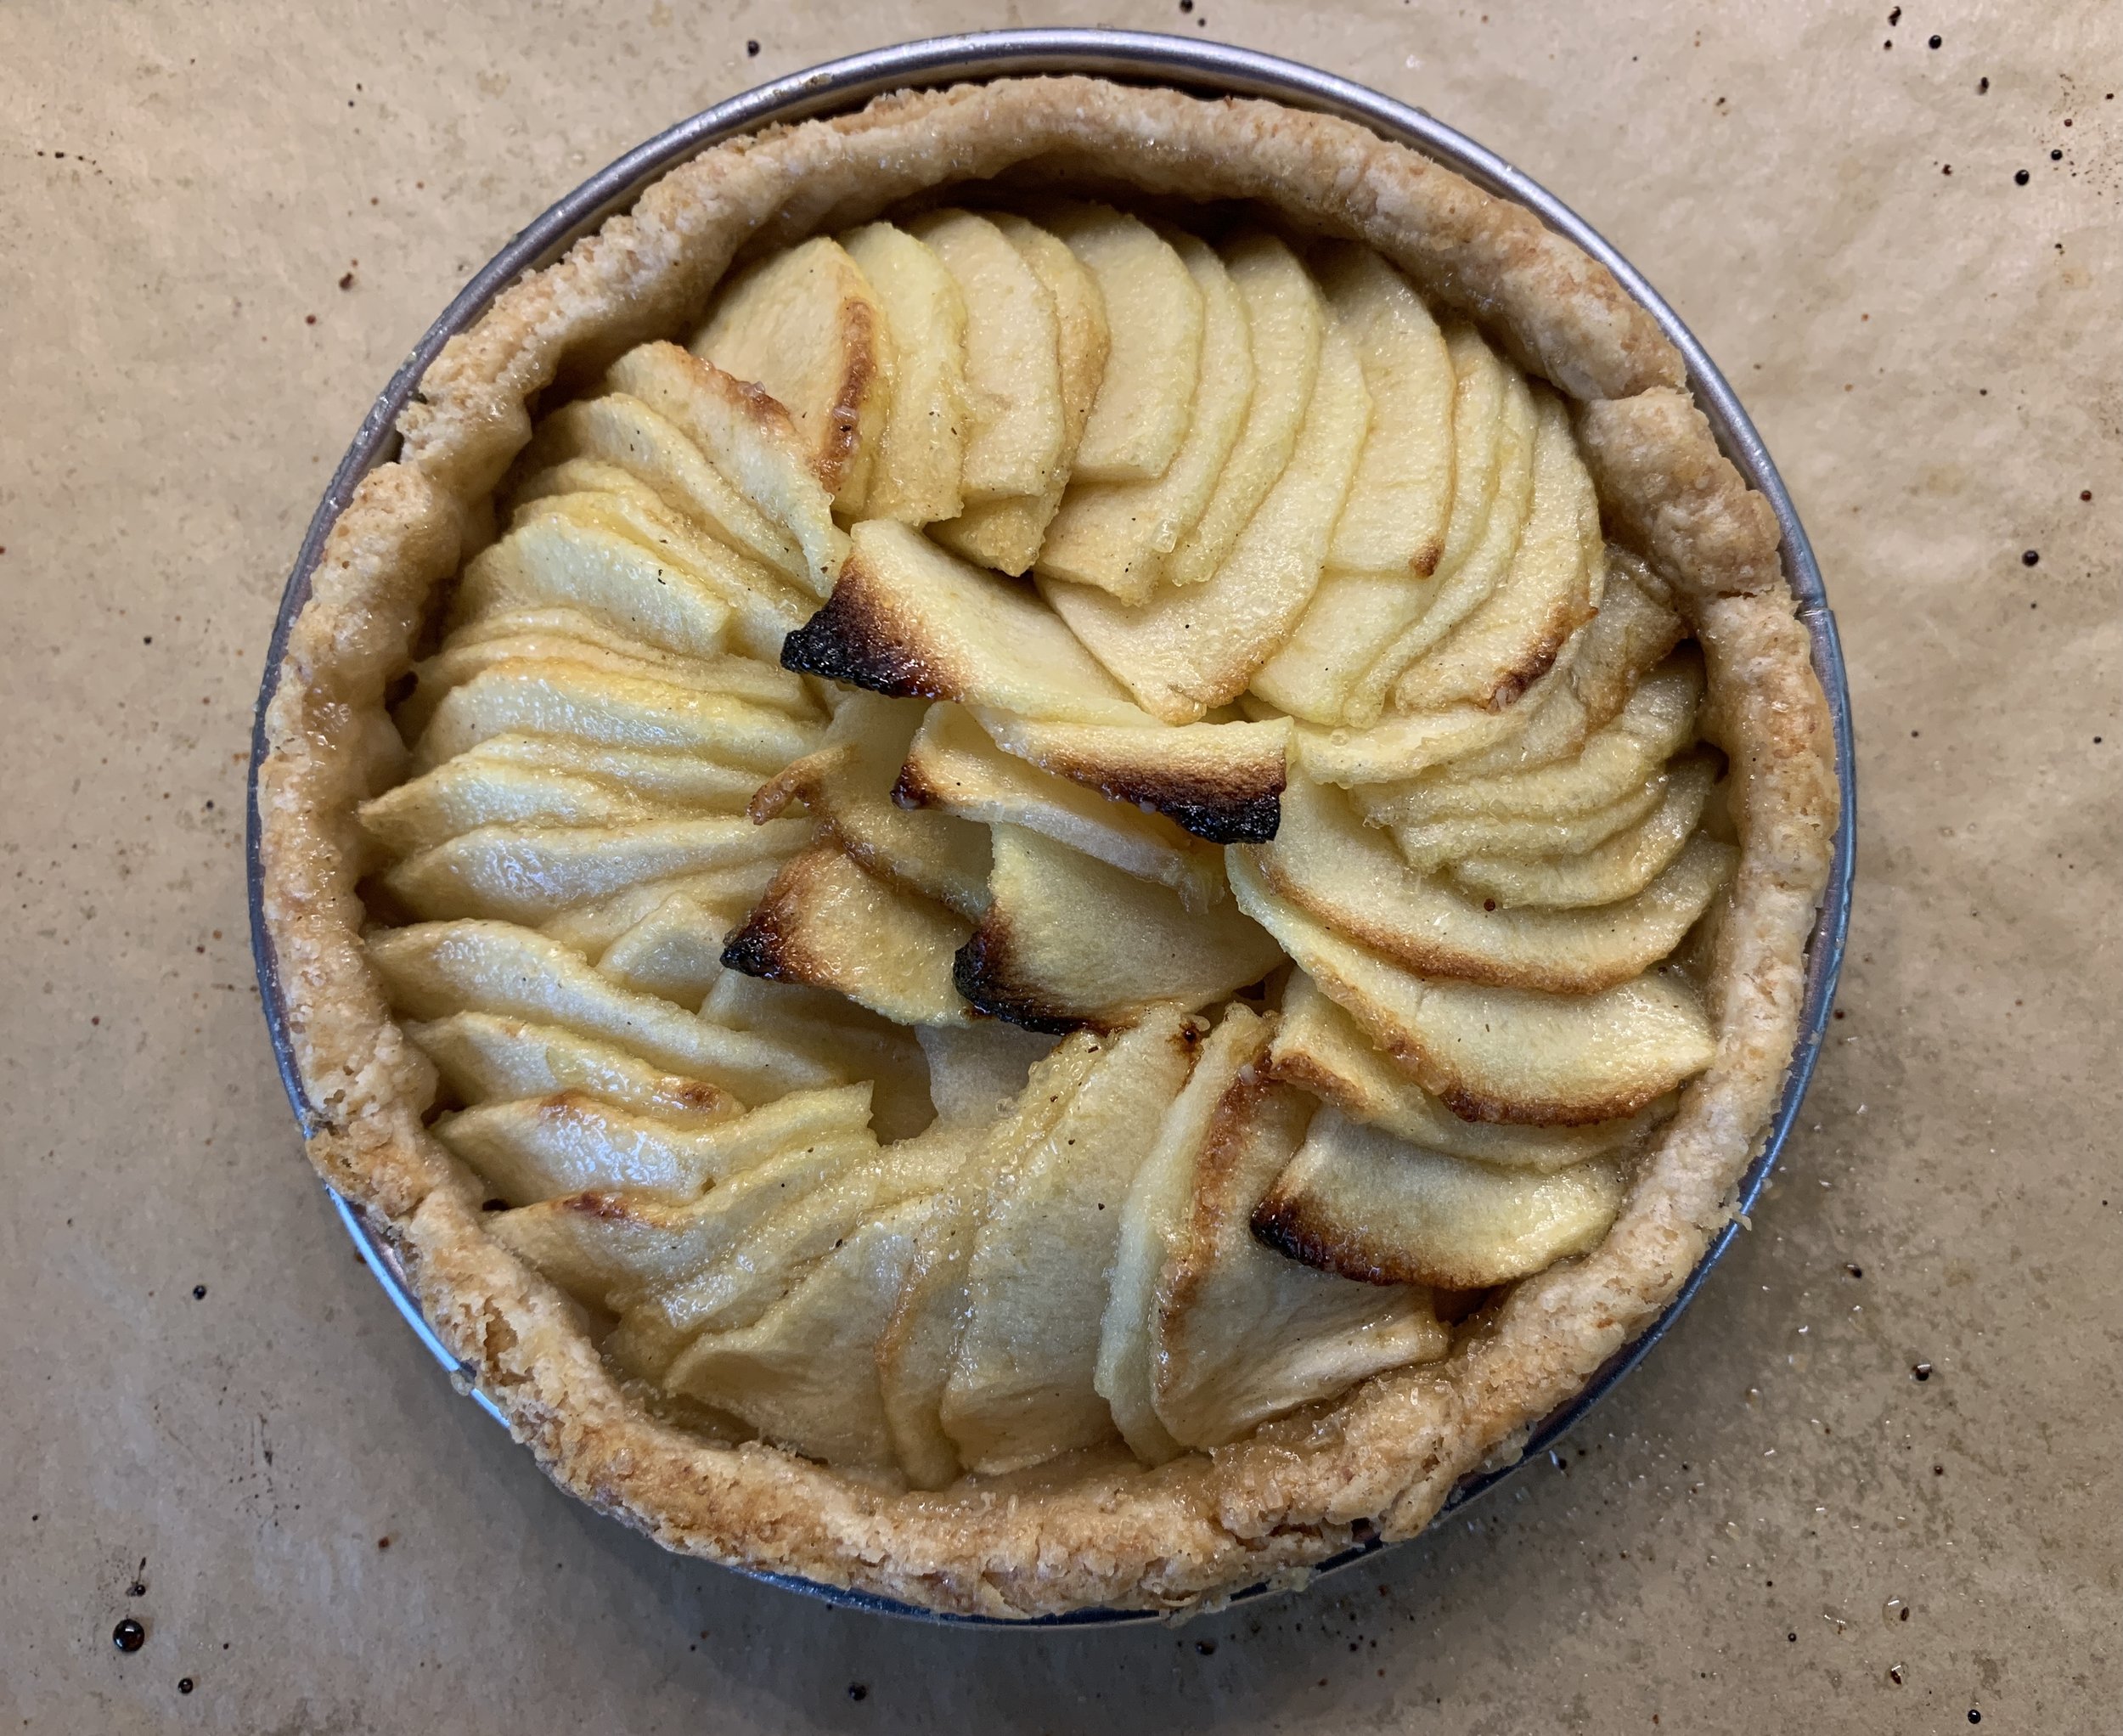
If a simple and delicious apple tart could make each day better . . . . .


If a bright, flashy, chewy macaron could shout “Be Happy”! . . . . .


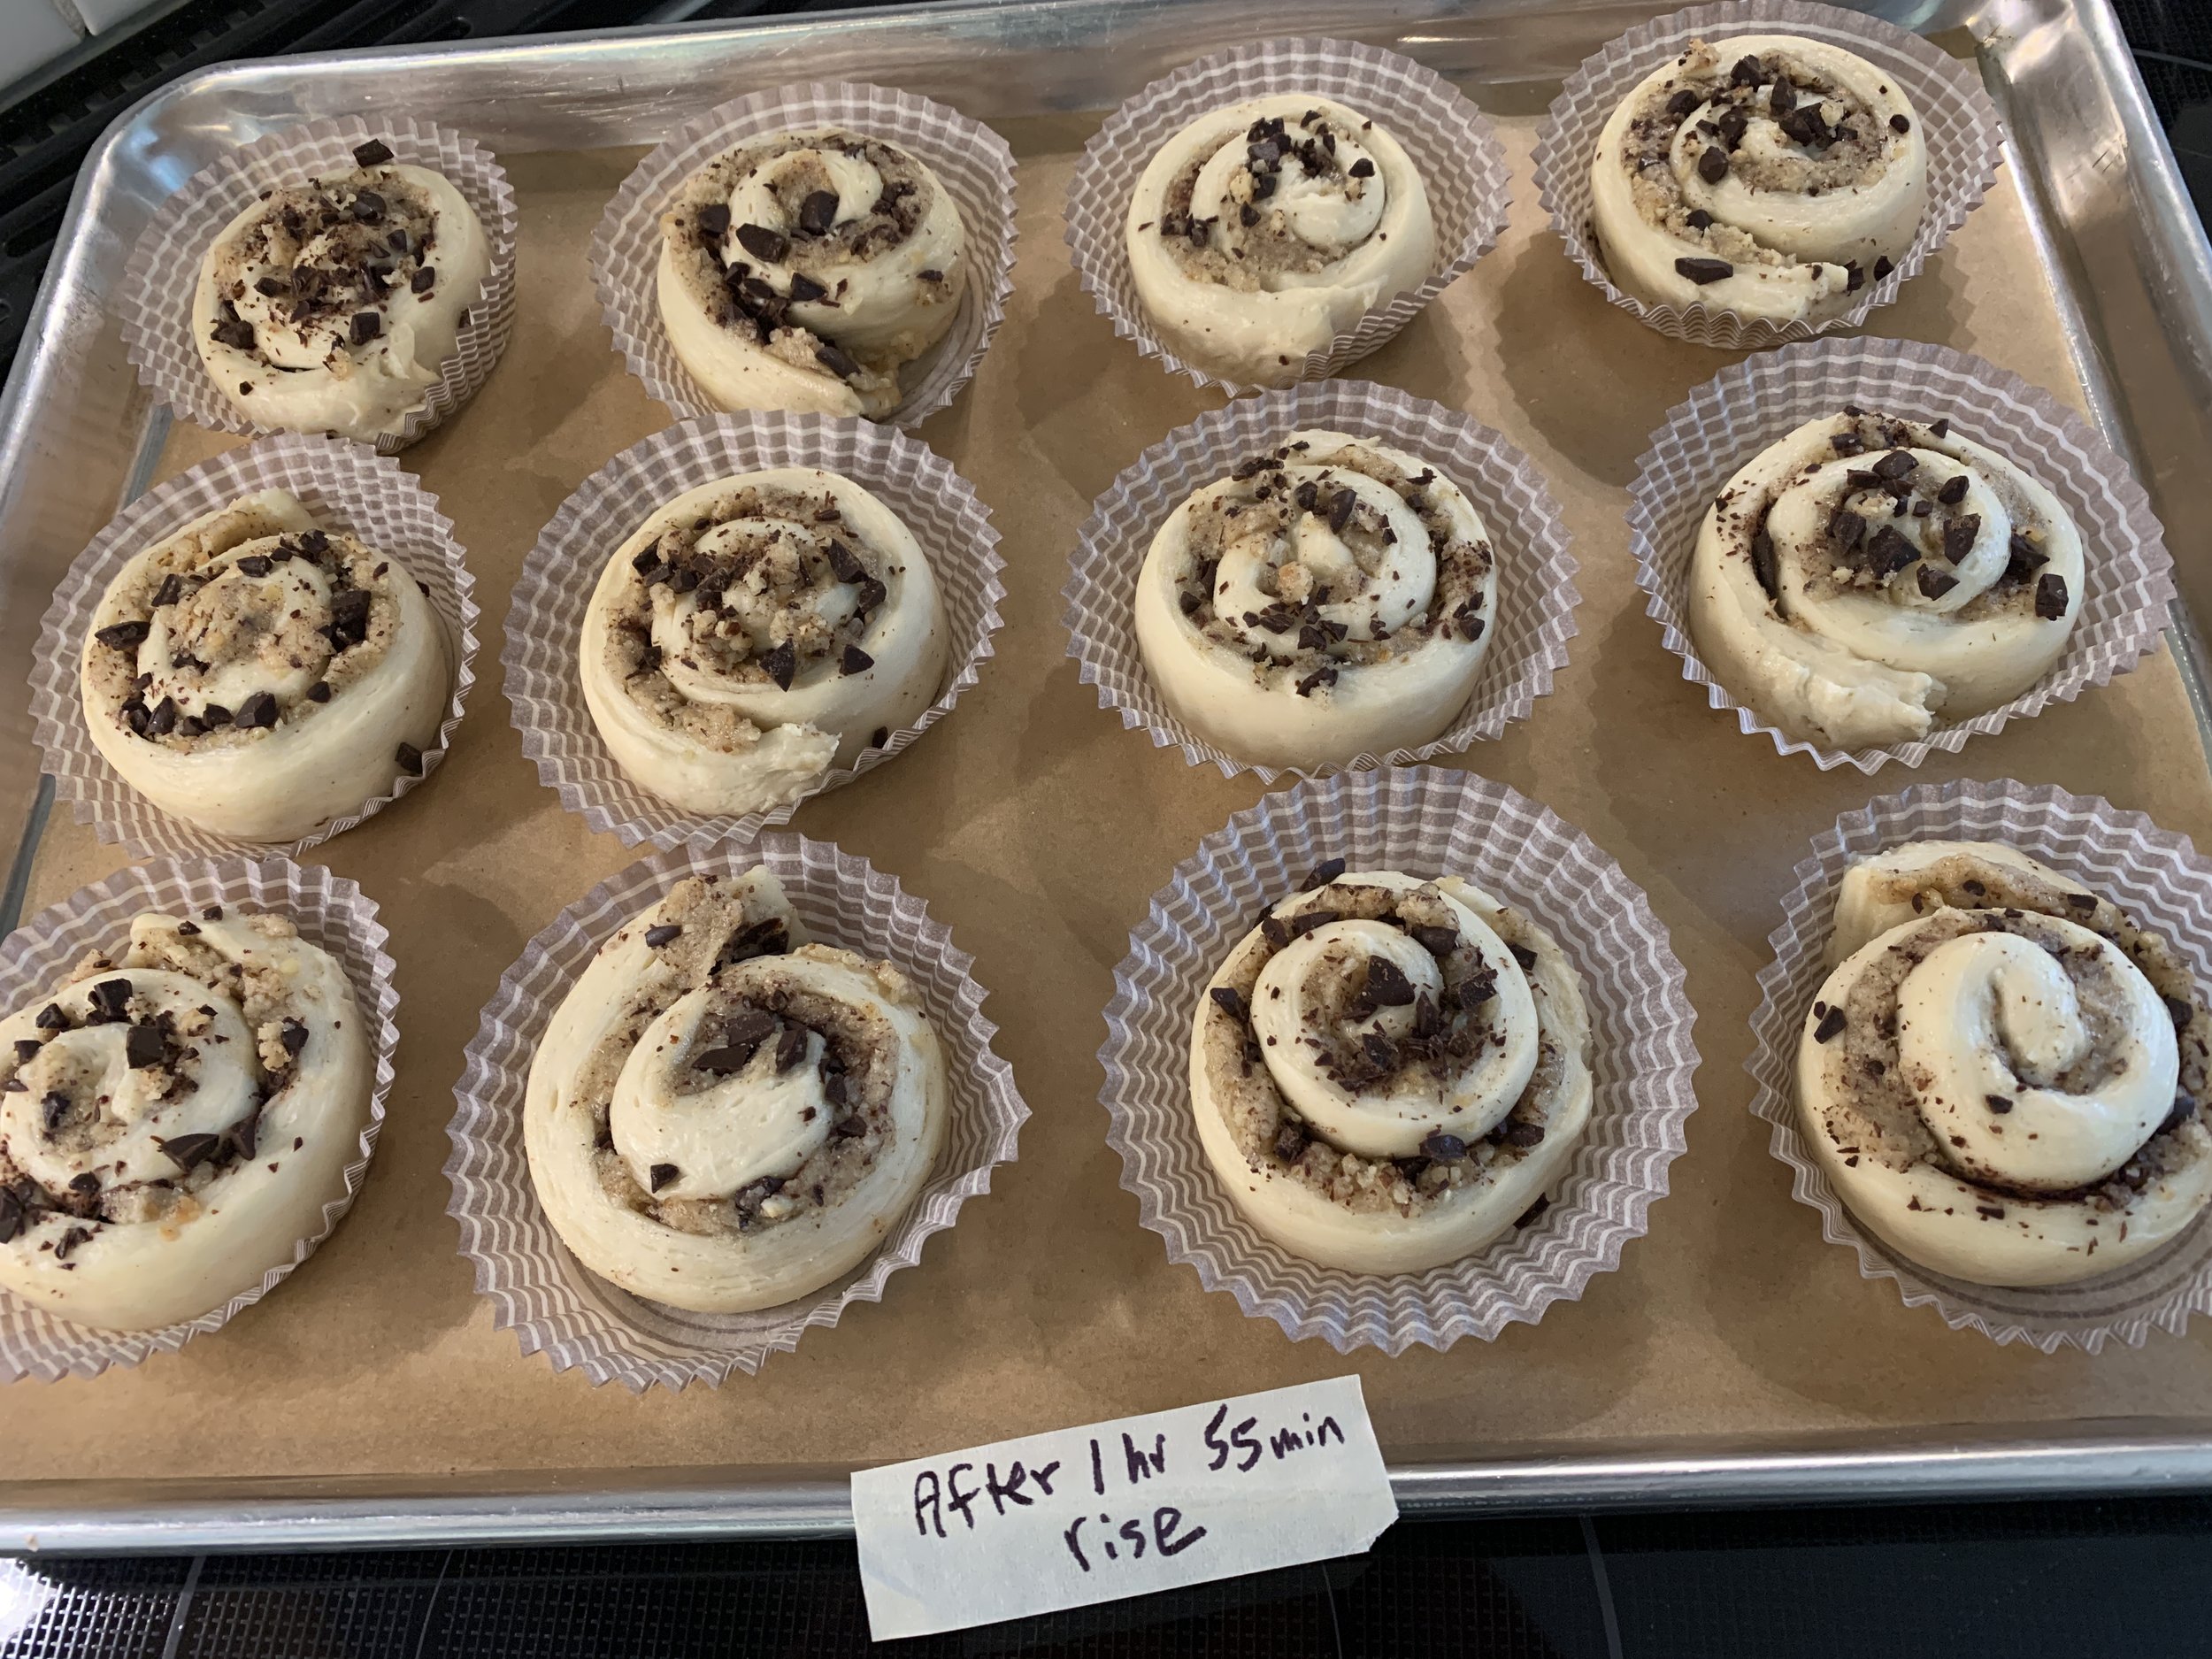
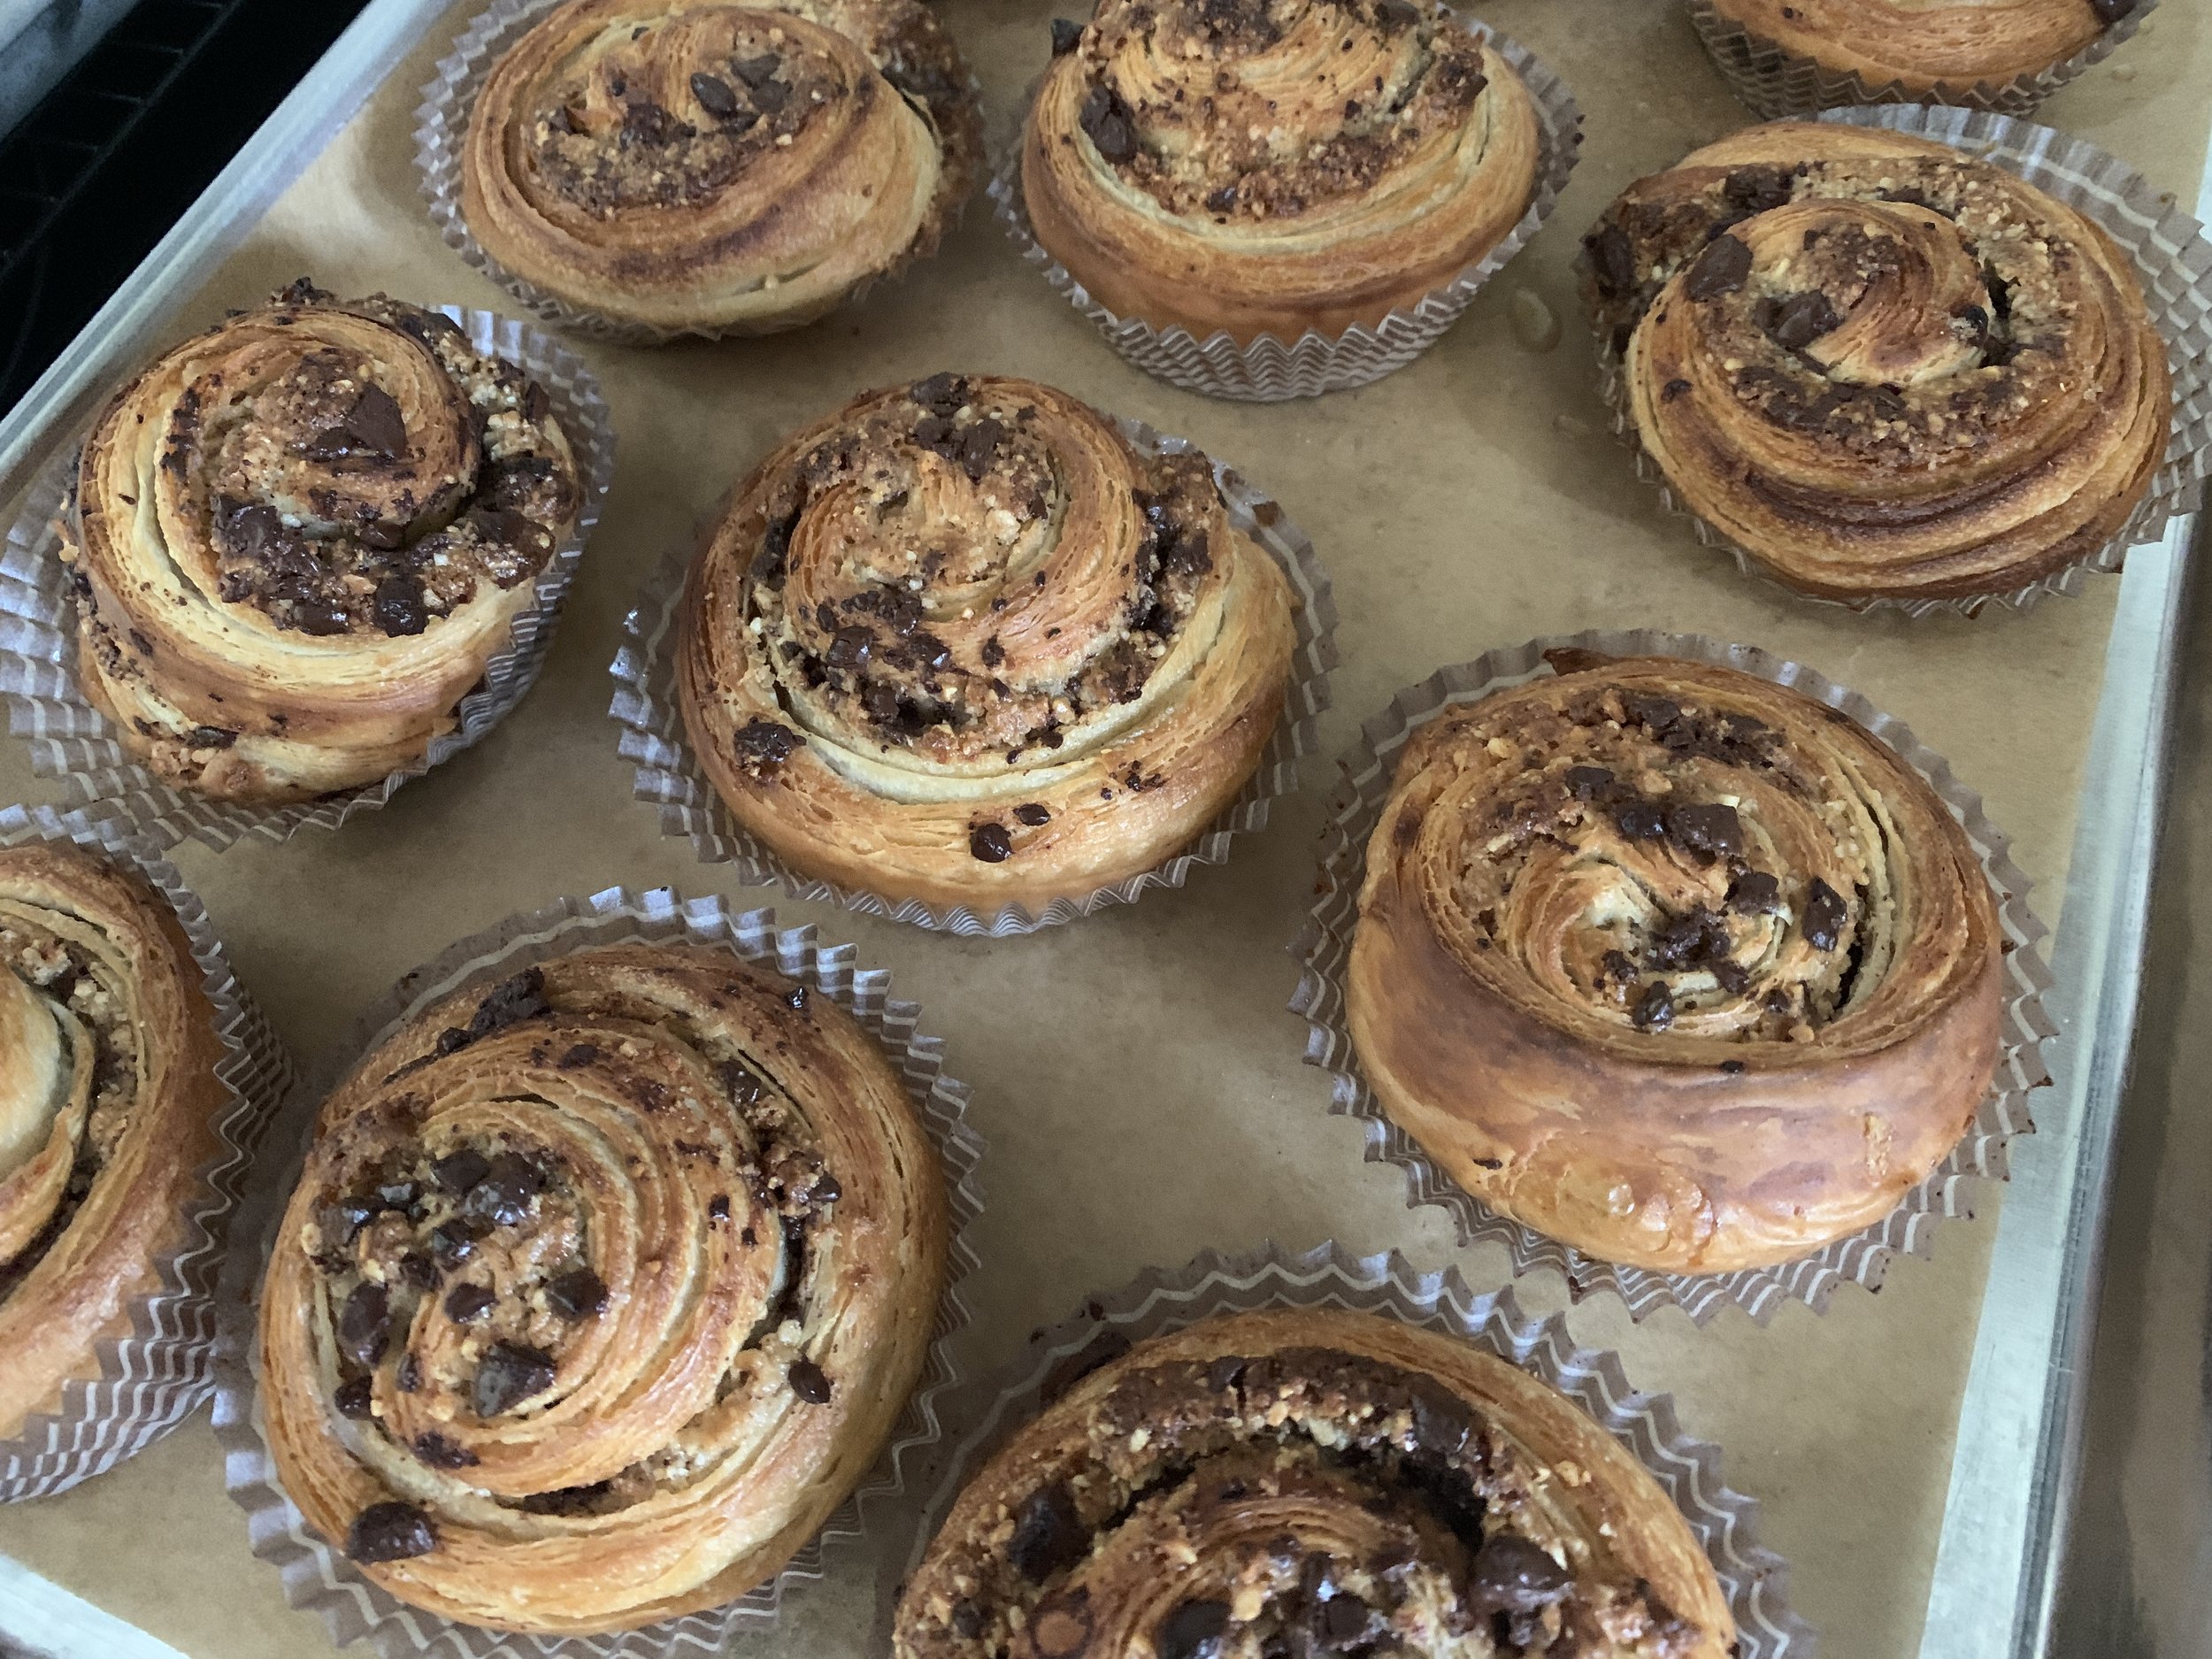
If croissants could bring us together as one, multi-layered as we are . . . . .


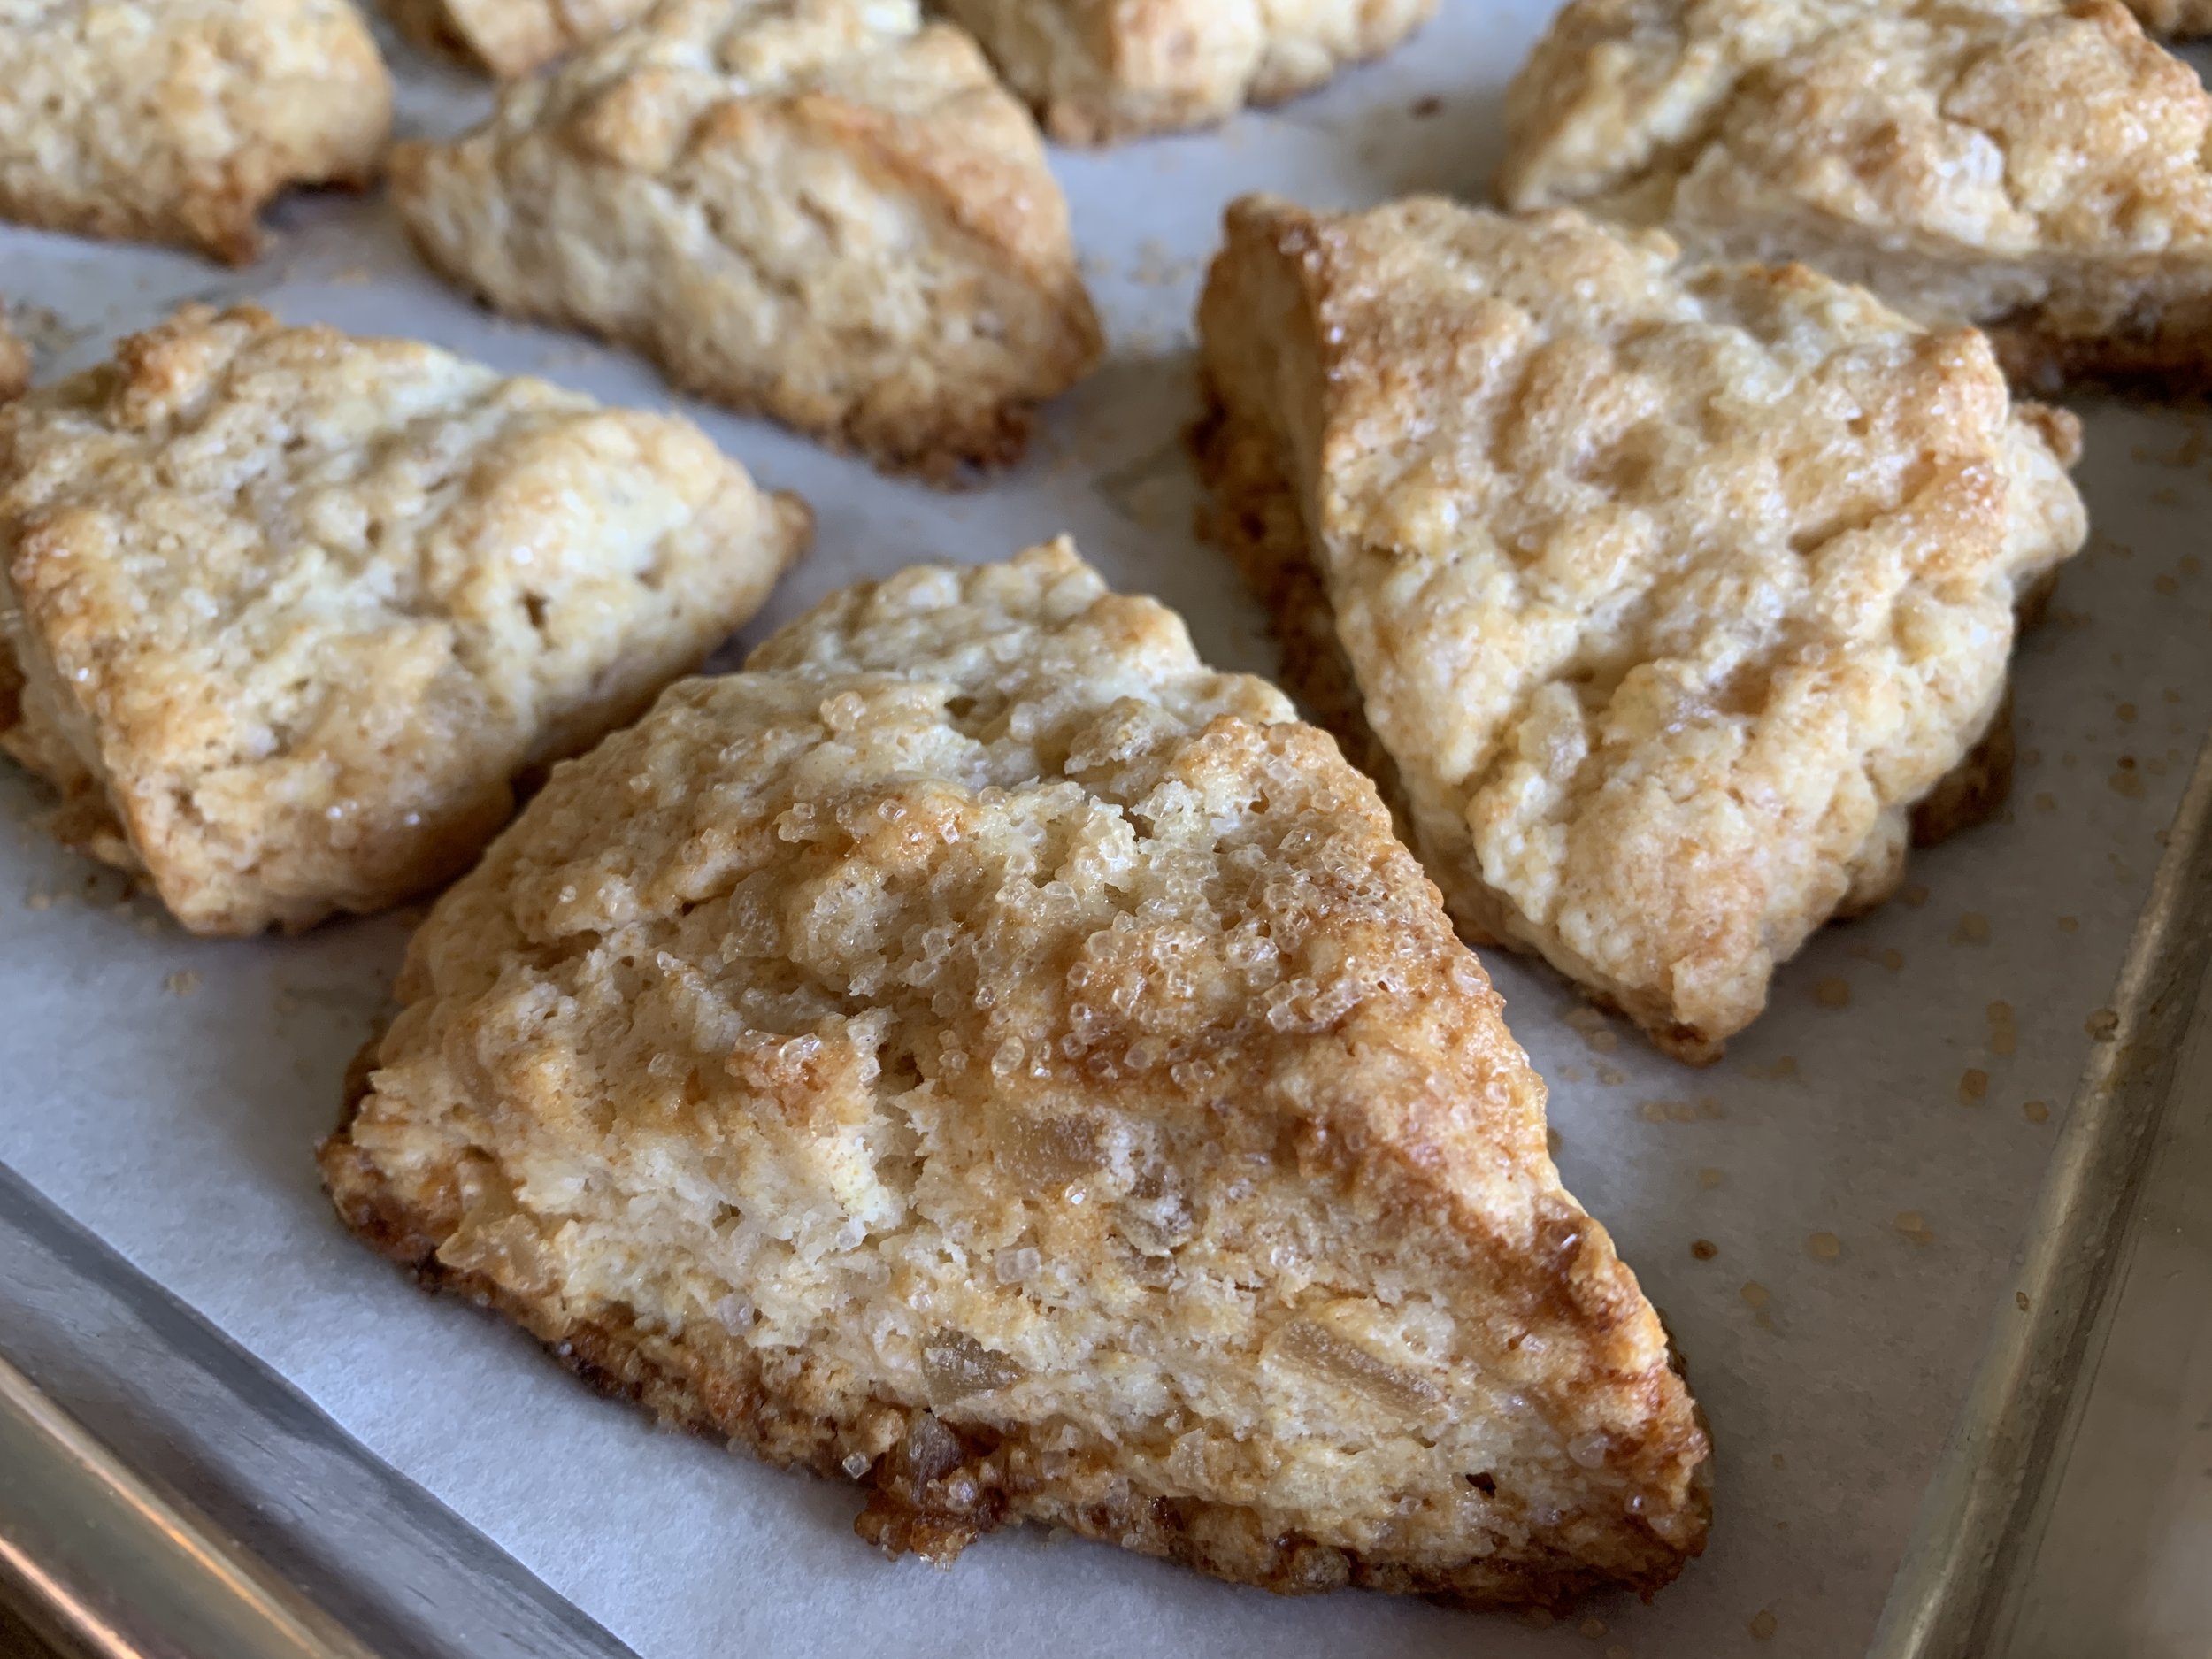
If a buttery scone could make us giggle with delight . . . . . .


If creamy profiteroles could smooth out all the kinks amongst us . . . . .


If a shortbread sandwich cookie could hug each and every one . . . .

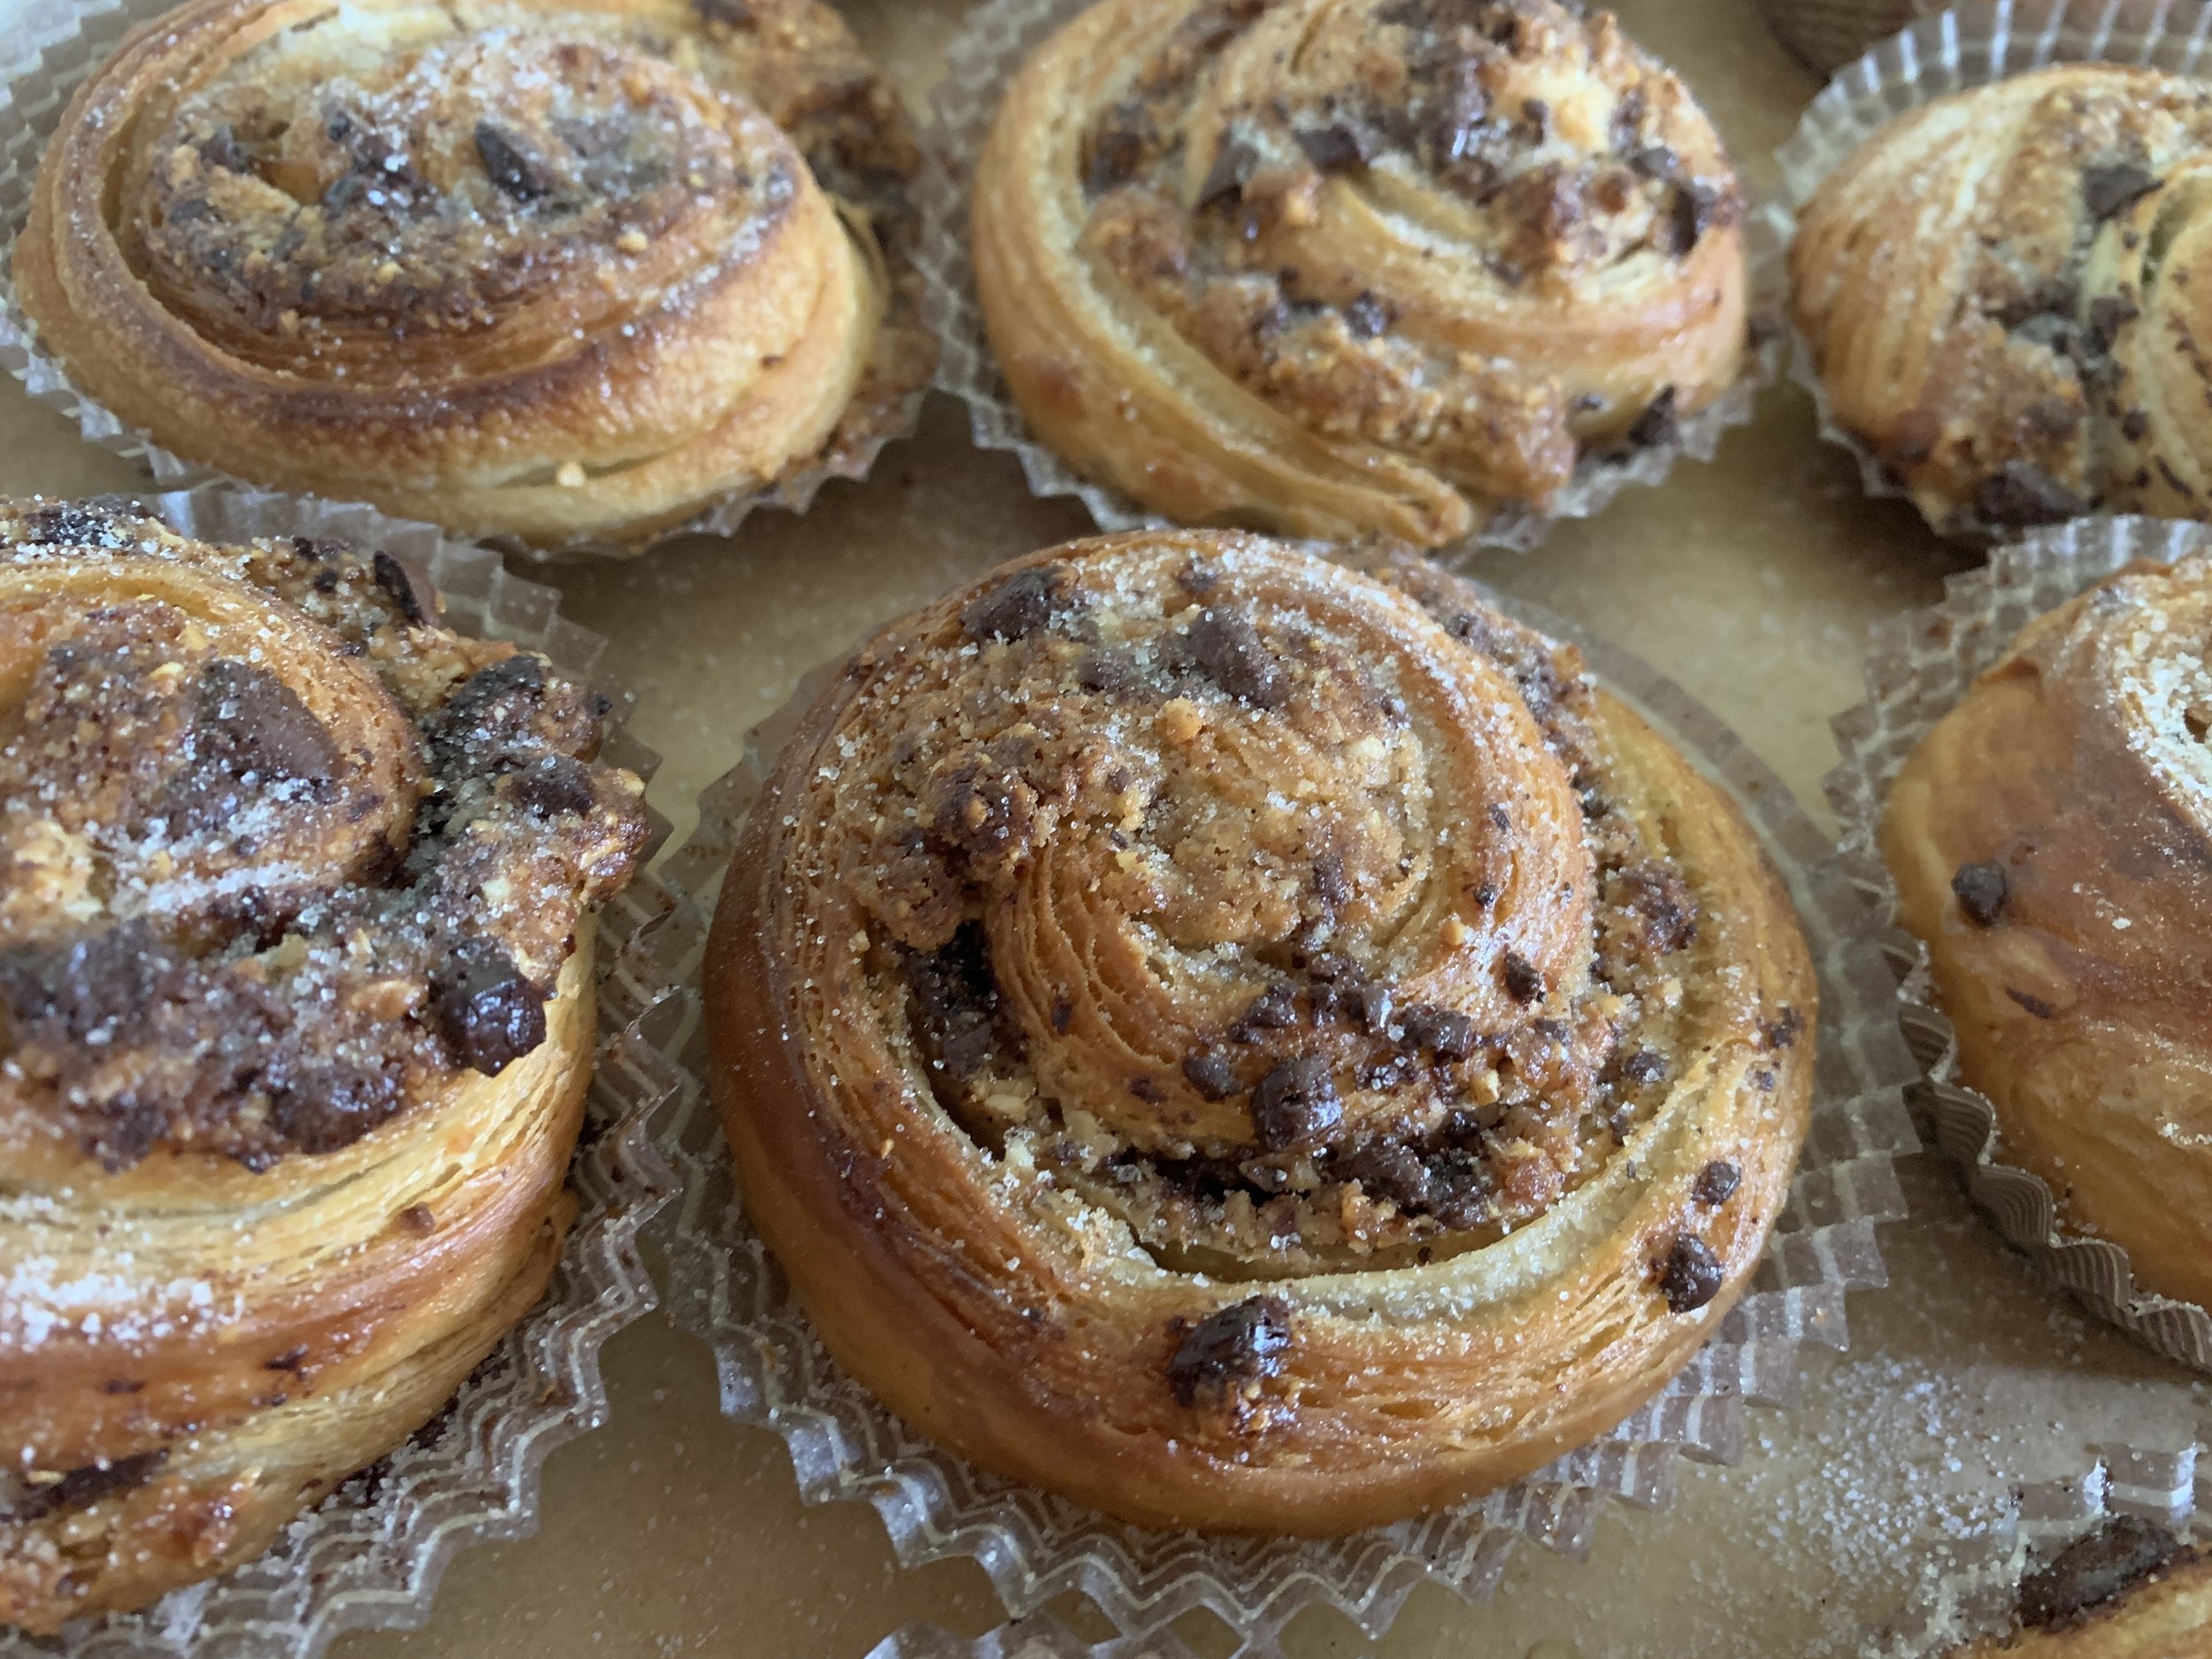
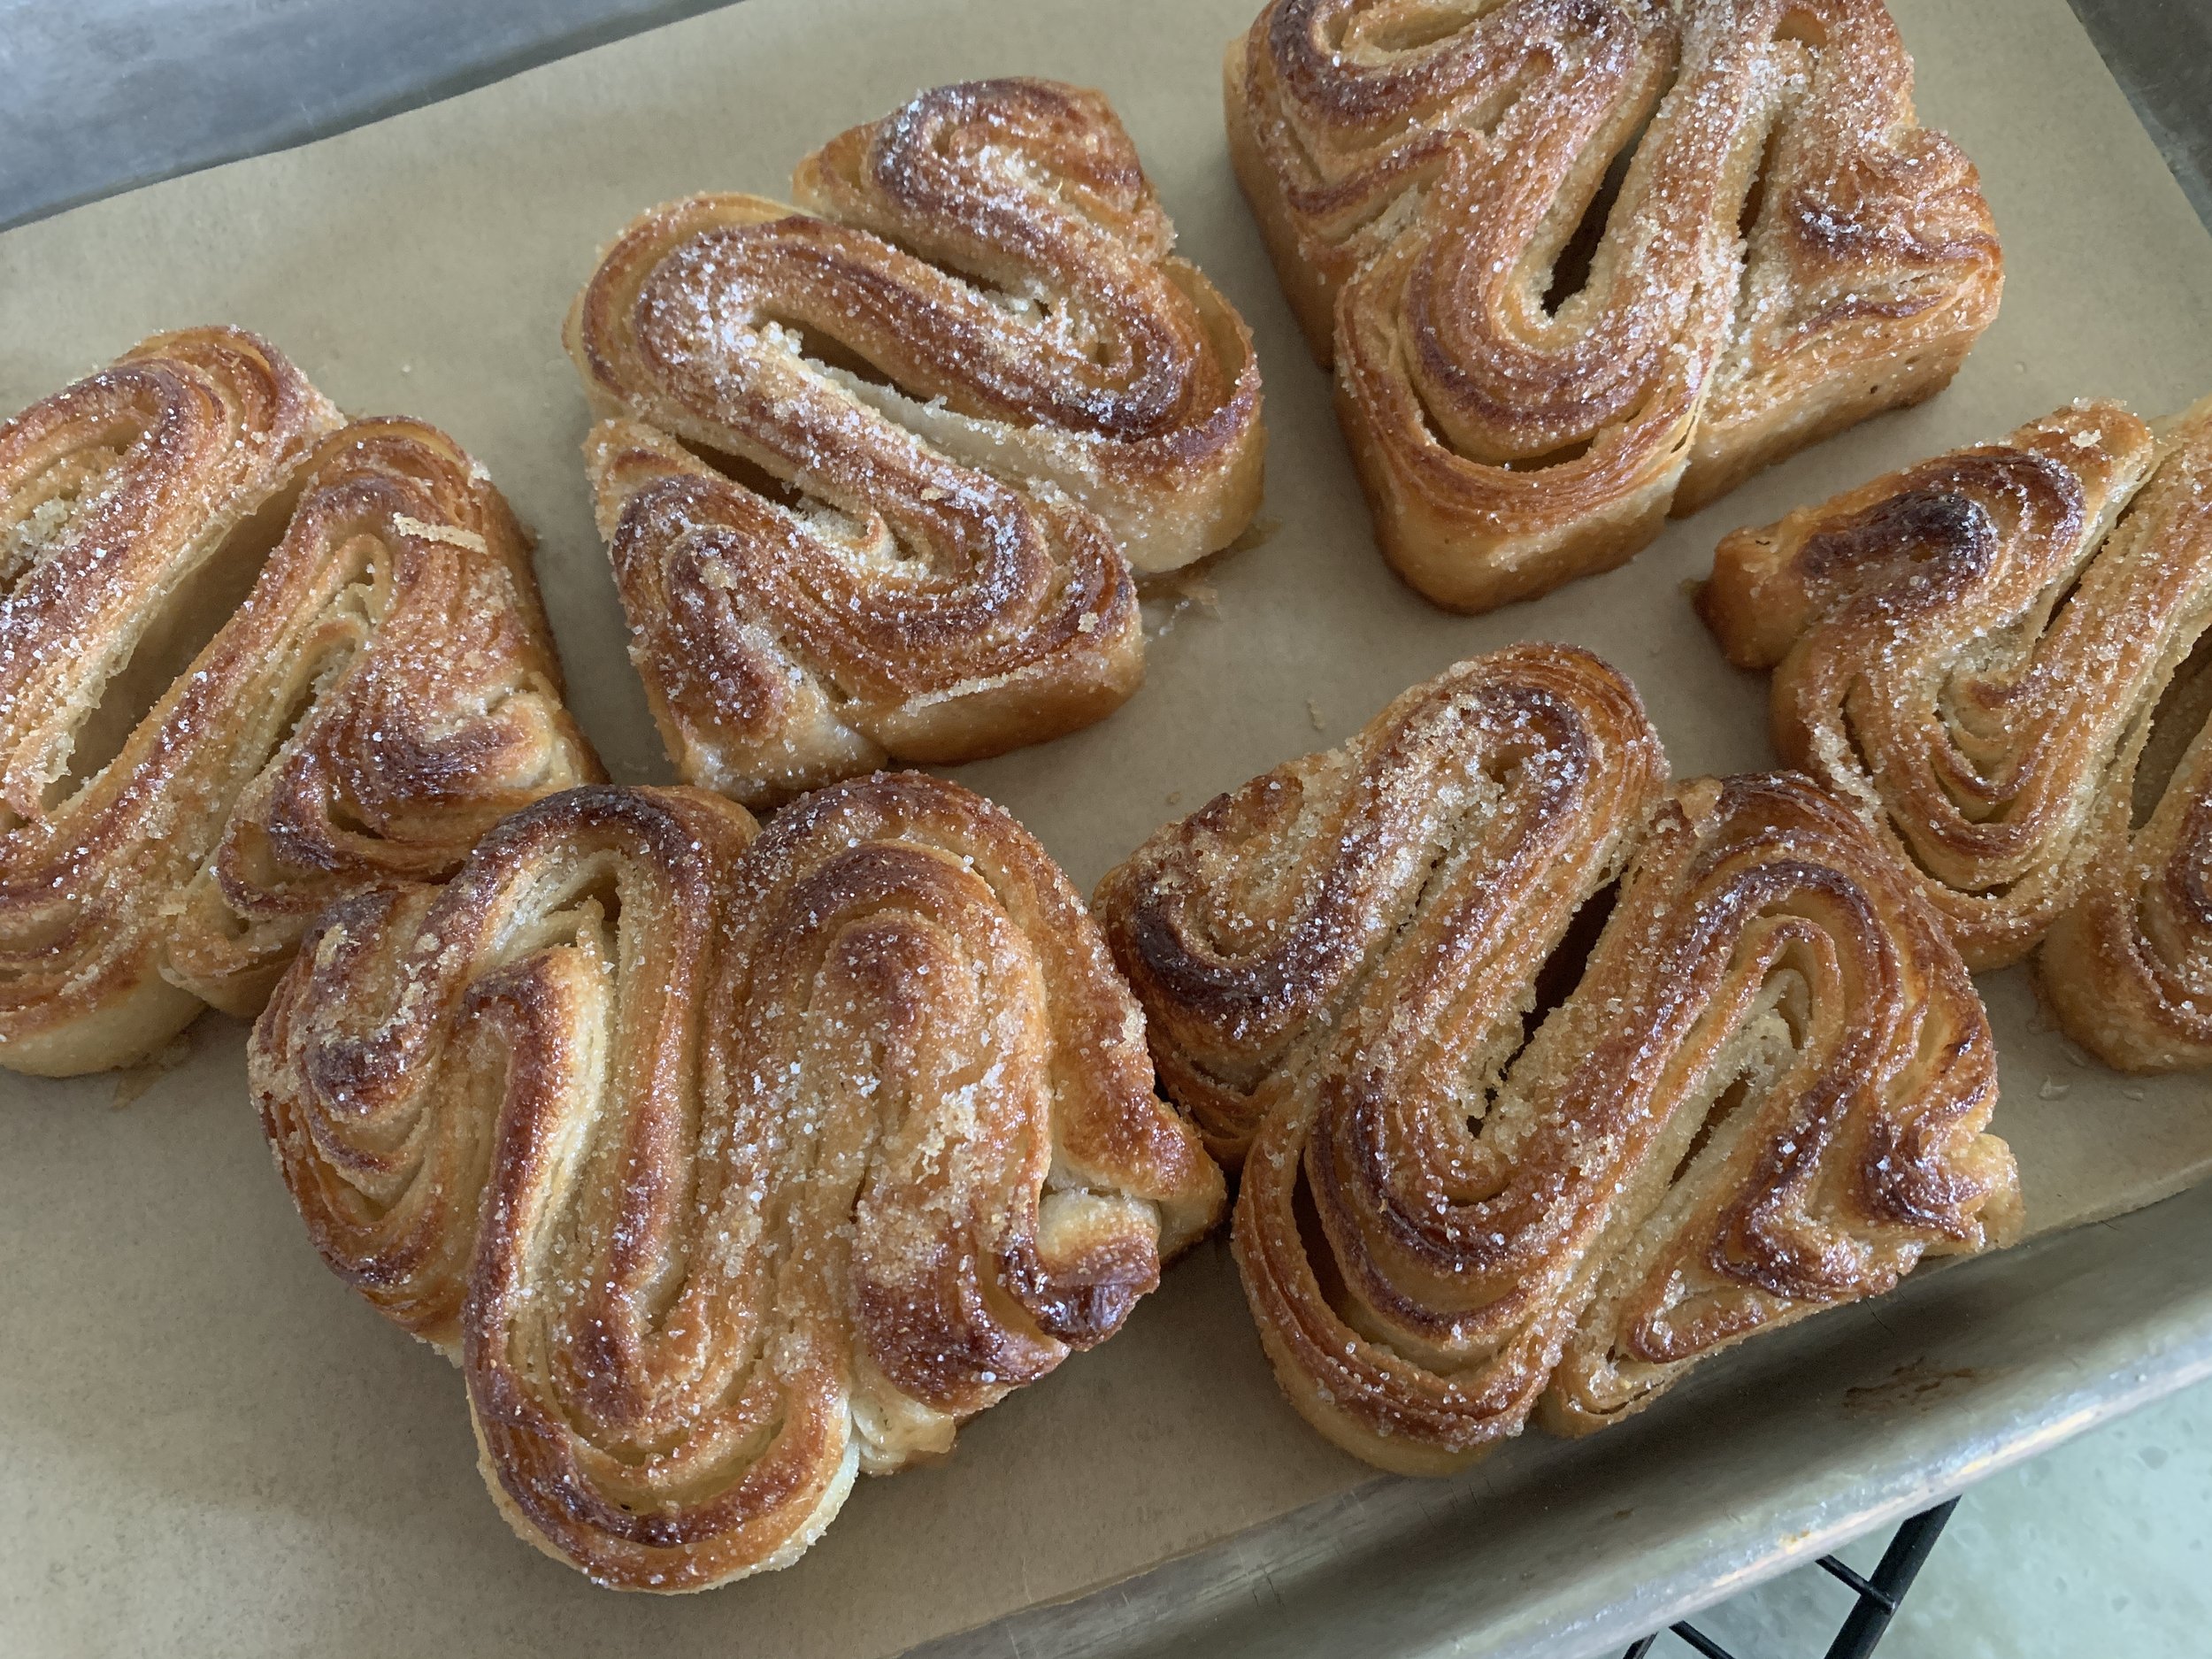
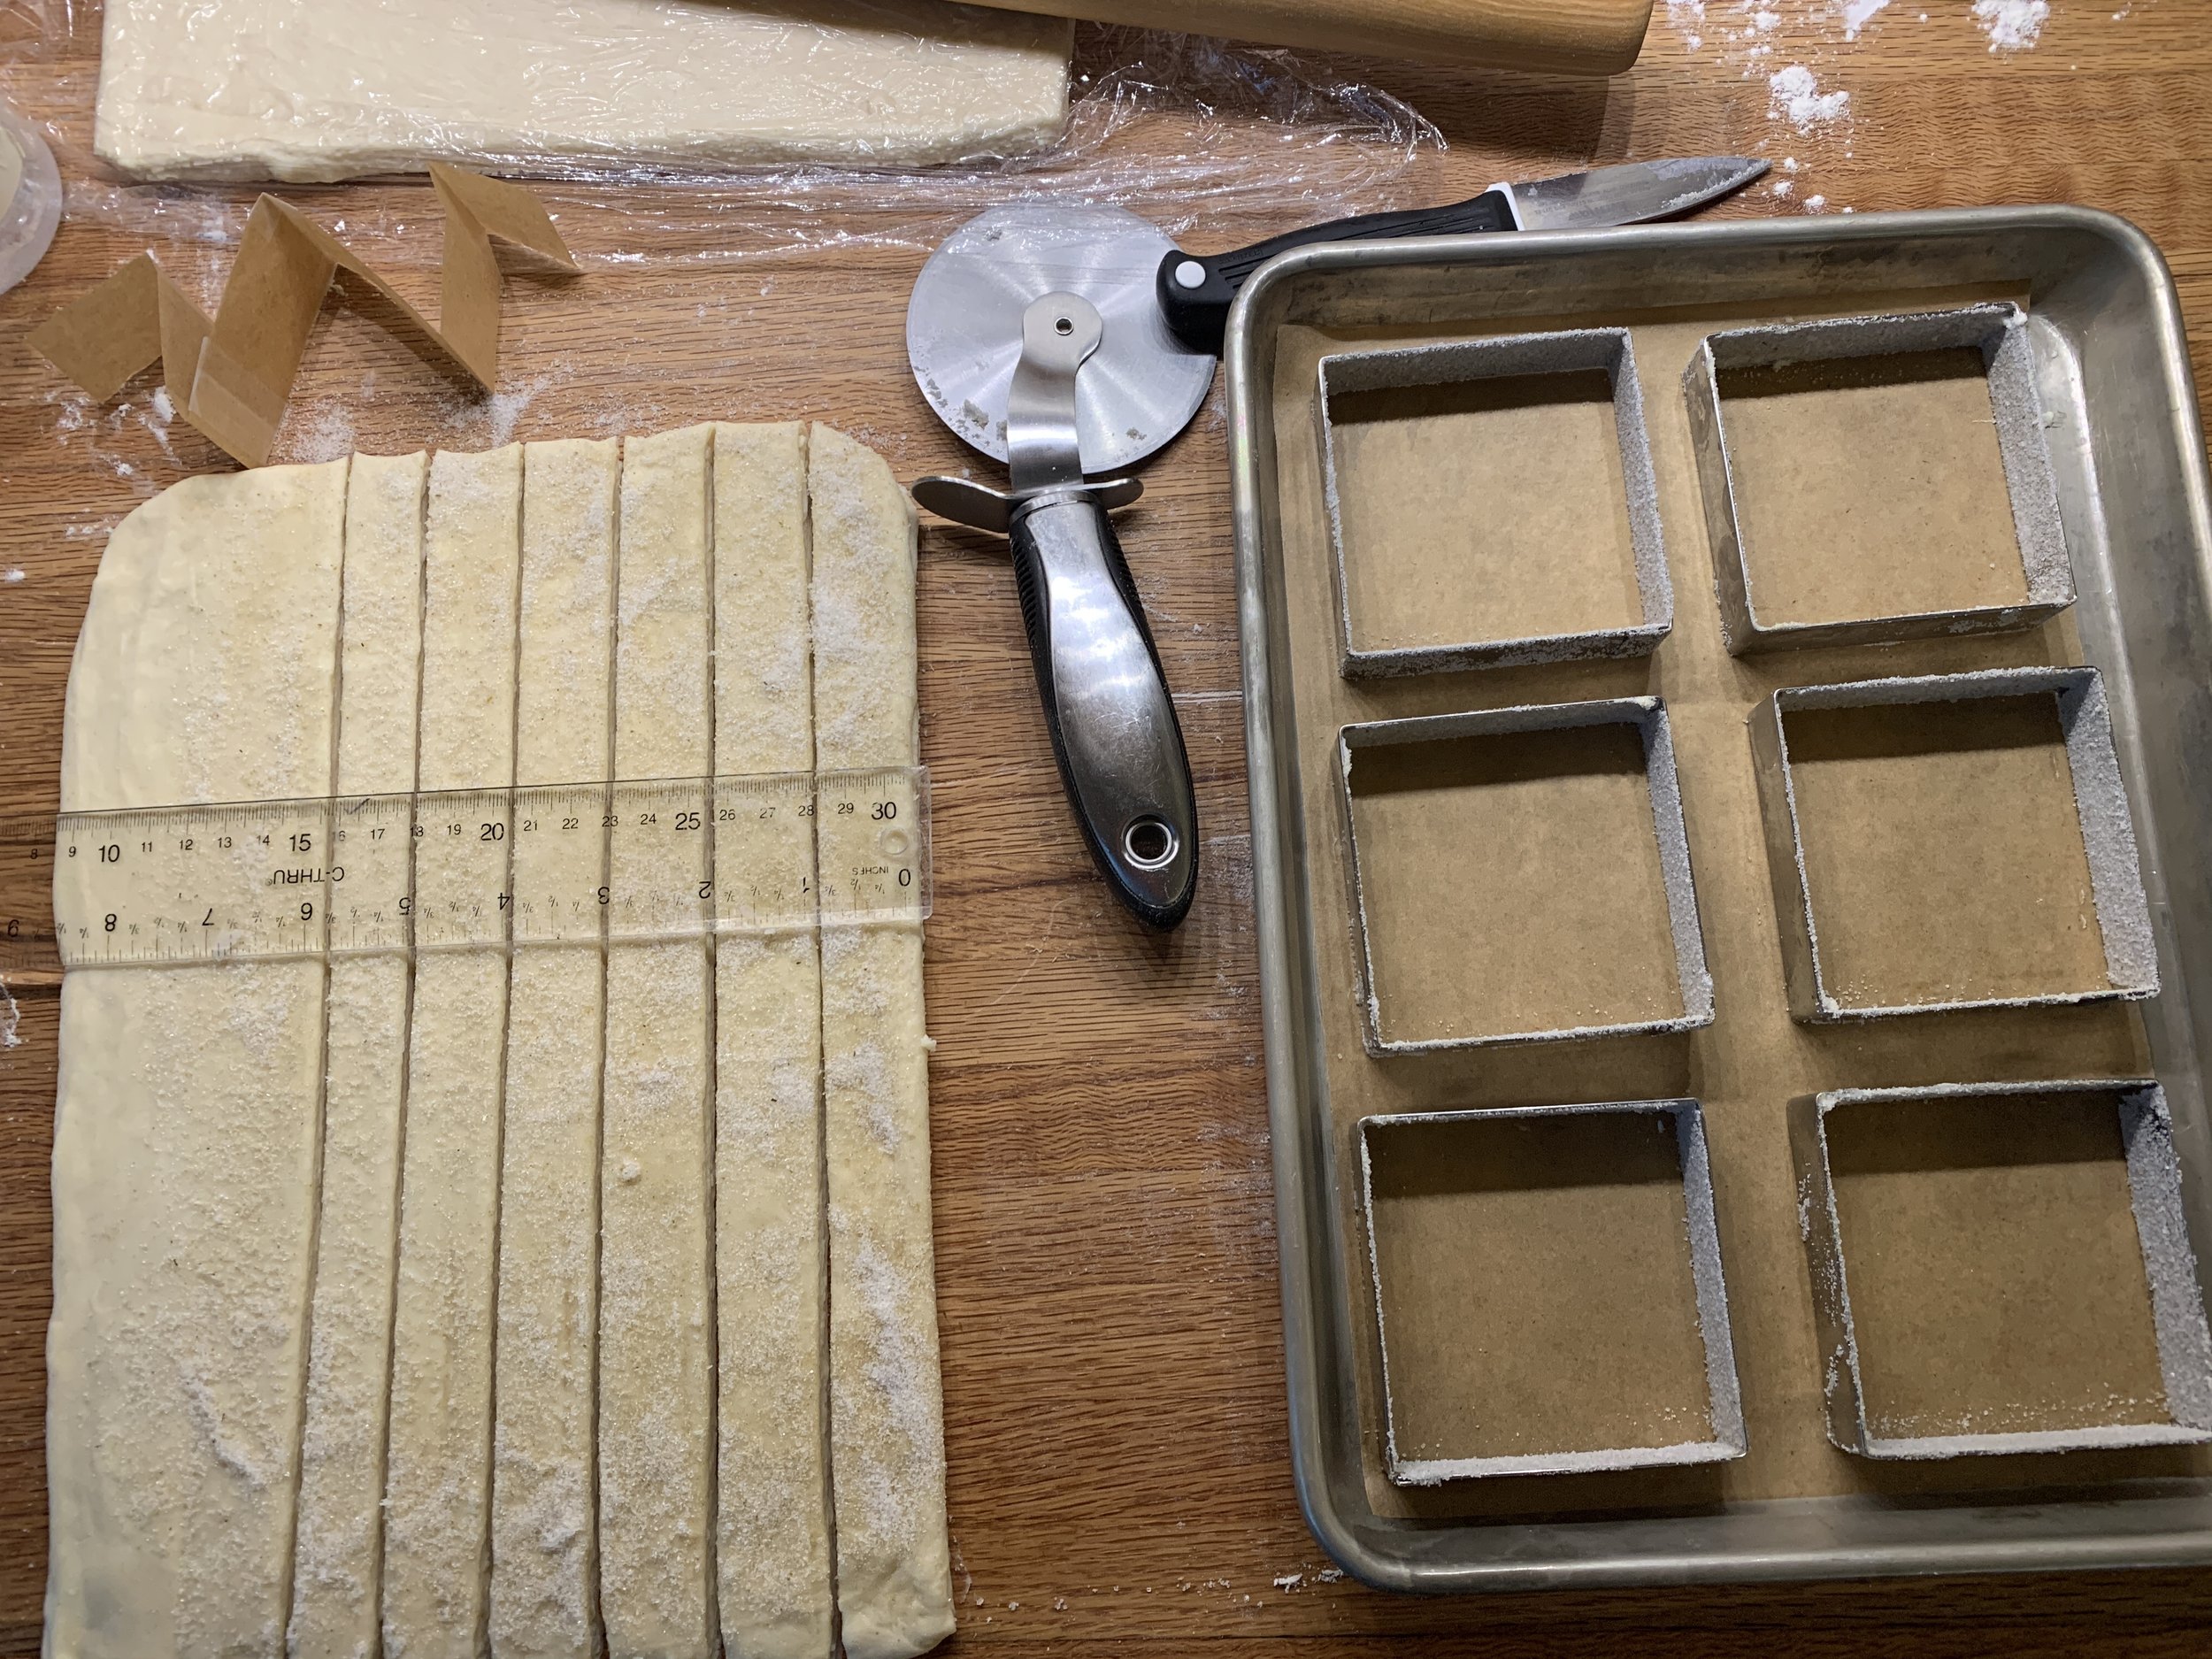
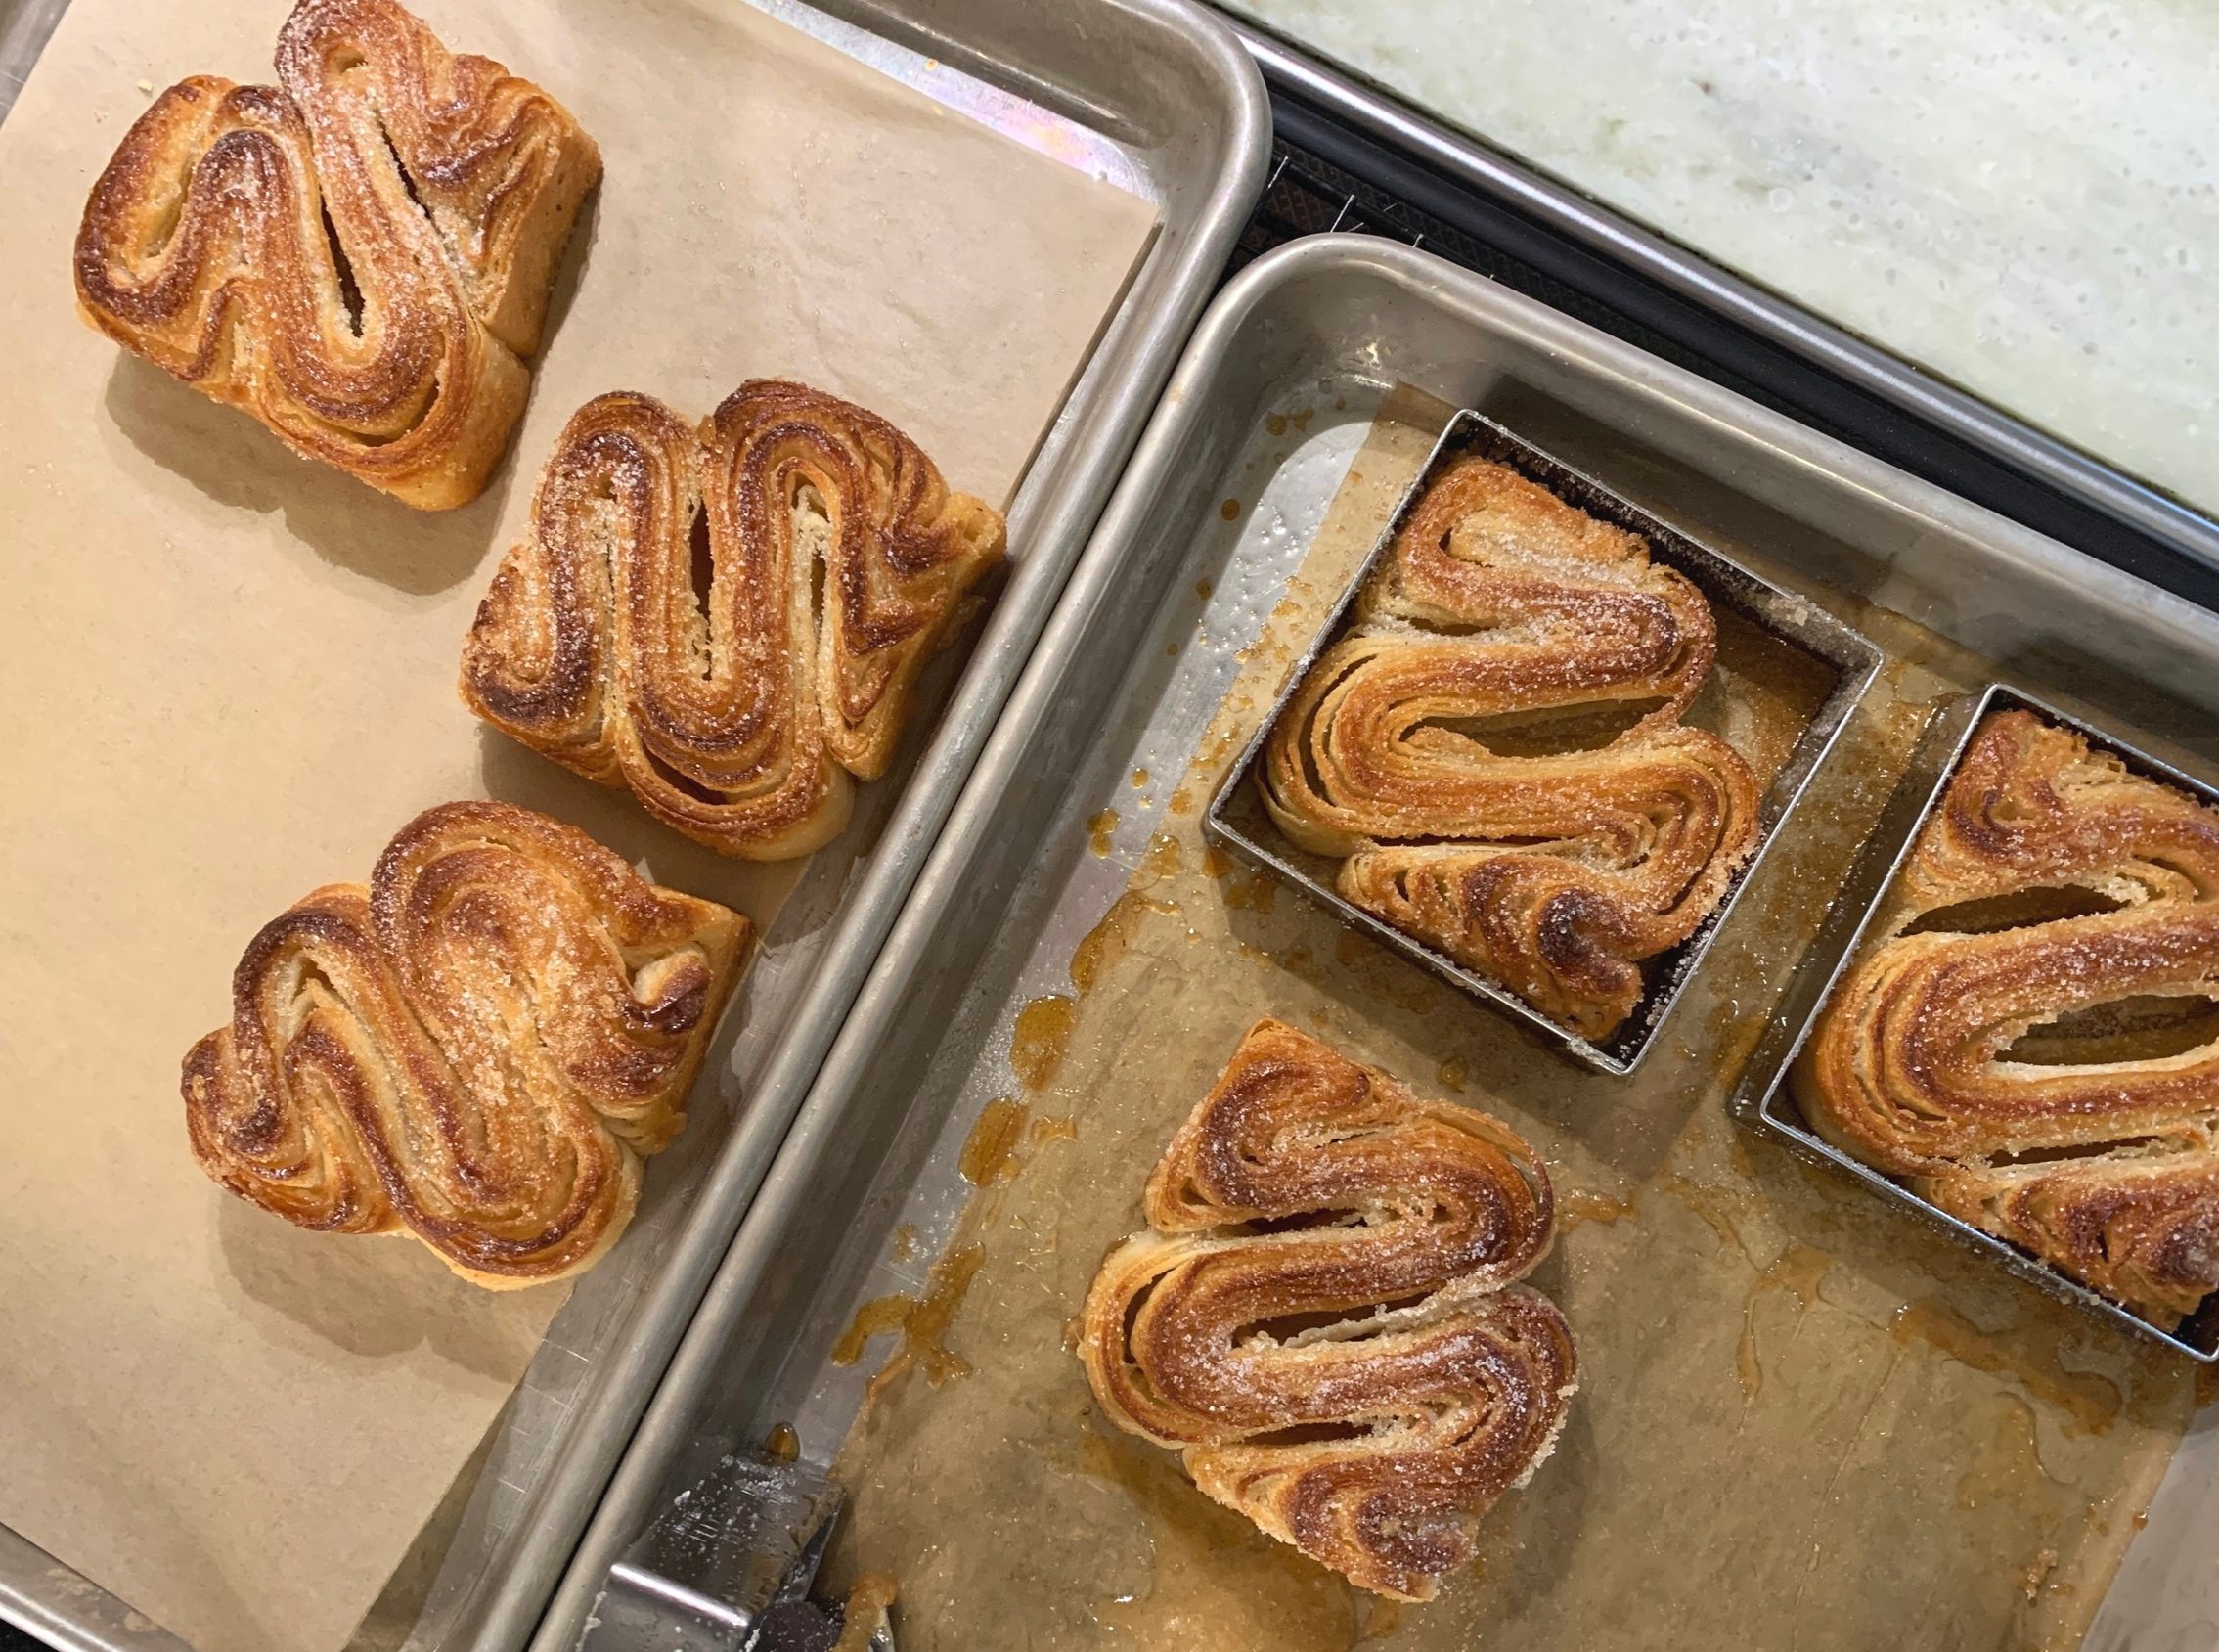
If caramelized Kouign-amann could roll us up in a big warm embrace . . . . .

Don’t you think the world would be a better place?

Here’s to all the bakers out there everywhere. Cheers!!

Summer beauty

Hazel-chocolate spirals plus croissant squiggles

Back on our stage once again - it’s time for more fun with croissant dough! Some weeks back I came across an article about the various ways that many baking and pastry folks are shaping their laminated dough - eye opening to say the least. I wanted to give one of those shapes a try in addition to making some spirals for a group event.

First let’s review the classic spiral process (here’s one version), using one of my favorite fillings - hazelnut remonce topped with chopped chocolate for a match made in heaven.

A quick sidebar: I first made remonce about 3 years ago based on Brontë Aurell’s recipe - 100 g each of almond paste (preferably 50% almond/50% sugar), sugar and butter. As I thought about that mix, I realized it’s essentially 50 g almond, 150 g sugar and 100 g butter. After my lovely class experience in Copenhagen in May of 2022 where we made remonce with 100 g each almond flour, sugar and butter - essentially créme d’amande without any egg or flour - I tweaked the almond paste version to 100 g almond paste, 50 g almond flour, 50 g sugar and 100 g butter for a more almond, less sweet version than Aurell’s. Add 300 g of toasted, ground hazelnuts to the mix for the hazel version. Did you follow that?? It’s all in the details.

As many of you know, the spiral is what we all use for cinnamon rolls - roll out a rectangle of dough, spread or sprinkle your filling on, roll it up into a log, slice, pan up, proof, bake and enjoy! There are tons of filling options, either sweet or savory, so use your imagination and go for it.

I’m using a half batch of croissant dough here - roll to about an 8” x 12” rectangle (20 cm x 30 cm).

Ready for the filling

Spread 227 g / 8 ounces hazelnut remonce filling over the dough and sprinkle with 50 g chopped chocolate. I use Guittard 61%.

Ready to cut

Cut ten 3 cm wide strips, roll ‘em up and place each in a standard sized baking paper. PSST - this is a new approach for me. Rather than tucking them in a pan cheek-by-jowl or setting them openly onto a sheet pan without any ring or form, the papers give them just enough of a boundary to allow for rising/spreading and baking very nicely. Yes!

Rolling, rolling, rolling


Cover lightly with buttered plastic wrap and let rise 1.5 to 2 hours. Not to confuse you, but I cut two additional strips from the half batch of dough I was using for the squiggle test (coming up) to give me an even dozen as you see below.


Toward the end of the rise heat the oven to 400ºF. Bake 10 minutes, rotate the pan and check the browning. If browning too quickly, reduce temp to 375ºF and bake an additional 10-15 minutes until nicely browned.


For a little shine I brush them with some simple syrup and then give ‘em a sprinkle of coriander sugar. Yum.


Time for the new shape! Squiggles. They remind me of fleur-de-lis.


Using a half batch of dough, I rolled it out to an 8” x 12” rectangle, this time with the short side parallel to the edge of the counter. I have only six 80-mm square tart forms so six pastries resulted from this experiment.

Butter and sugar the tart forms which serve as the boundary for the dough to keep it in check, so to speak, as it proofs and bakes. Cut six 30 cm (12”) long and ~ 2.5 cm (1”) wide strips. My cutting eye was a bit off and a couple came out a bit narrower - going forward I’d cut them all a tad wider, ~3 cm each.


Shape each strip into a squiggle (I had practiced with a strip of paper first and figured out the curves I was going for), tuck each into a prepped form at an angle as seen below and sprinkle with some coriander sugar.


Cover lightly with buttered plastic wrap and let rise about 1.5 hours.


Bake at 375ºF about 20 minutes until nicely browned. I also gave these the simple syrup, coriander sugar treatment.


All in all, a fun time in the baking kitchen! I hope you’re having fun too!!

Summer marches on.

Focaccia

This one is a dandy folks! What a wonderful, luscious and tasty bread.

Let me go back a number of years and tell you about my discovery of Claudia Fleming’s book “The Last Course”, a wonderful and delicious ode to pastry and desserts. Back in 2007 to early 2010 I was the pastry chef at Gracie’s in Providence RI. Being a newbie in the pastry/restaurant world, I was always looking for inspiration for desserts. As it turns out, the Providence Public Library was just a couple of blocks away from Gracie’s, and I would occasionally wander over there after my day’s work to peruse the baking book stacks. Thrilled by the discovery of this particular book, I would often turn to Claudia’s recipes and glean ideas from her creations.

Imagine my delight when learning of Claudia’s second book “Delectable” published in 2022 and dedicated to her late husband Gerry Hayden who, as I understand it, was a very talented chef. For many years the two of them operated the North Fork Table and Inn on Long Island (now under new ownership), and Claudia baked focaccia for the restaurant every day. That kind of experience and expertise is invaluable.

One of the things I love about acquiring new baking books is reading the introduction and gaining an understanding of the author’s philosophy and approach - and, let’s not forget, the recipes aren’t bad either!

I’ve made this recipe a couple of times so far and you can be certain that it will remain a staple in my bread baking repertoire from here on out. I topped mine with a pizza seasoning herb mix we keep on hand along with grated parmesan cheese, but you can create your own version.

I’ve adapted the recipe with some tweaks in ingredient portions based on %hydration (76% here) and the weight of a cup of bread flour that I use. If you’re a recipe reader/comparer as I am, you soon realize the variables that can appear in measures vs. weights, particularly for flour. Some may indicate a cup of flour is 5 oz (140 g), some 4.5 oz (128 g) and some 4.25 oz (121 g). I’ve tested out what a cup of flour weighs for me - typically 127 to 130 g - so that’s my benchmark. I take weights over measures any day.

You need only the very basic ingredients for the dough (bread flour, water, dry yeast and salt), plus olive oil for the pan. Dissolve ~6 g / 2 teaspoons active dry yeast in 483 g / 2 cups room temperature water in the bowl of a stand mixer and let sit about 10 minutes until creamy. This step activates the yeast, however you can skip it if using instant yeast which can be mixed directly with the flour, water and salt.

Add 635 g / 5 cups bread flour and 10 g kosher salt to the yeast/water mixture and mix first with the paddle until combined. Rest the dough for 30 minutes to hydrate. Here’s my dough after that rest.

After initial hydration

Now switch to the dough hook and knead on med-high speed for 20 minutes until smooth. My 8 quart Kitchenaid commercial mixer (with which I can also use my 6 qt bowl!) does a great job with it’s workhorse of a dough hook and powerful motor. It’s a beautiful thing.

8 qt mixer with attachments/6 qt bowl

After the 20 minute knead

Place the dough in a lightly olive-oiled bowl and do a folding of the dough to develop the structure by stretching and pulling up one edge of dough into the middle, then the opposite edge, then the other two edges one at a time. This forms a tighter ball of dough. Flip the dough over to coat with oil, cover with plastic wrap and let rise at warm room temperature for 1 to 2 hours until doubled. You can also do an overnight fridge rise if it better suits your schedule.

The first time I made this, I did a 4 hour fridge rise (must have had something unexpected come up?) which I followed by an additional hour at room temperature. It worked. For my second batch I followed the room temperature approach, completing the project over the course of several hours.

Turn the dough onto a lightly floured work surface, pat it into a square of sorts and stretch it out to about 16”x20”(ish).

Now fold it in thirds length wise (à la the letter or 3-fold we use for laminated dough).

Now fold in the short sides in thirds (another letter fold). Press out air pockets.

Dough package before panning

Pour 6 tablespoons extra virgin olive oil onto a half sheet pan, put the dough on the pan and turn to coat with oil. Let rest 10 minutes.

Stretch the dough to fit the pan as best you can. I did this in two steps, letting the dough rest 10-15 minutes in between. Dimple it all over, cover with plastic wrap and let it rise about 30-40 minutes. It will become more puffy.

Before the rise

Heat the oven to 500F. When ready, top with herbs and grated cheese (or your chosen topping(s).

Bake 8 minutes, rotate the pan and bake an additional 7 minutes until beautifully browned.

Mmmm, mmmm!

I slid the whole thing onto a cooling grid and gave it just a few minutes before Steve’s and my tastebuds just had to be put to work. Oh boy. Just the right chew and lightness of texture.

After our initial pre-dinner taste test, we enjoyed more with our evening pasta dish and then divided the remainder to wrap and freeze. It thaws and warms up beautifully in the oven and is great to split for sandwiches or open-faced baked with grated fontina and tomatoes on top or whatever your little heart may desire.

AbsoLUTEly delightful! Thanks Claudia.