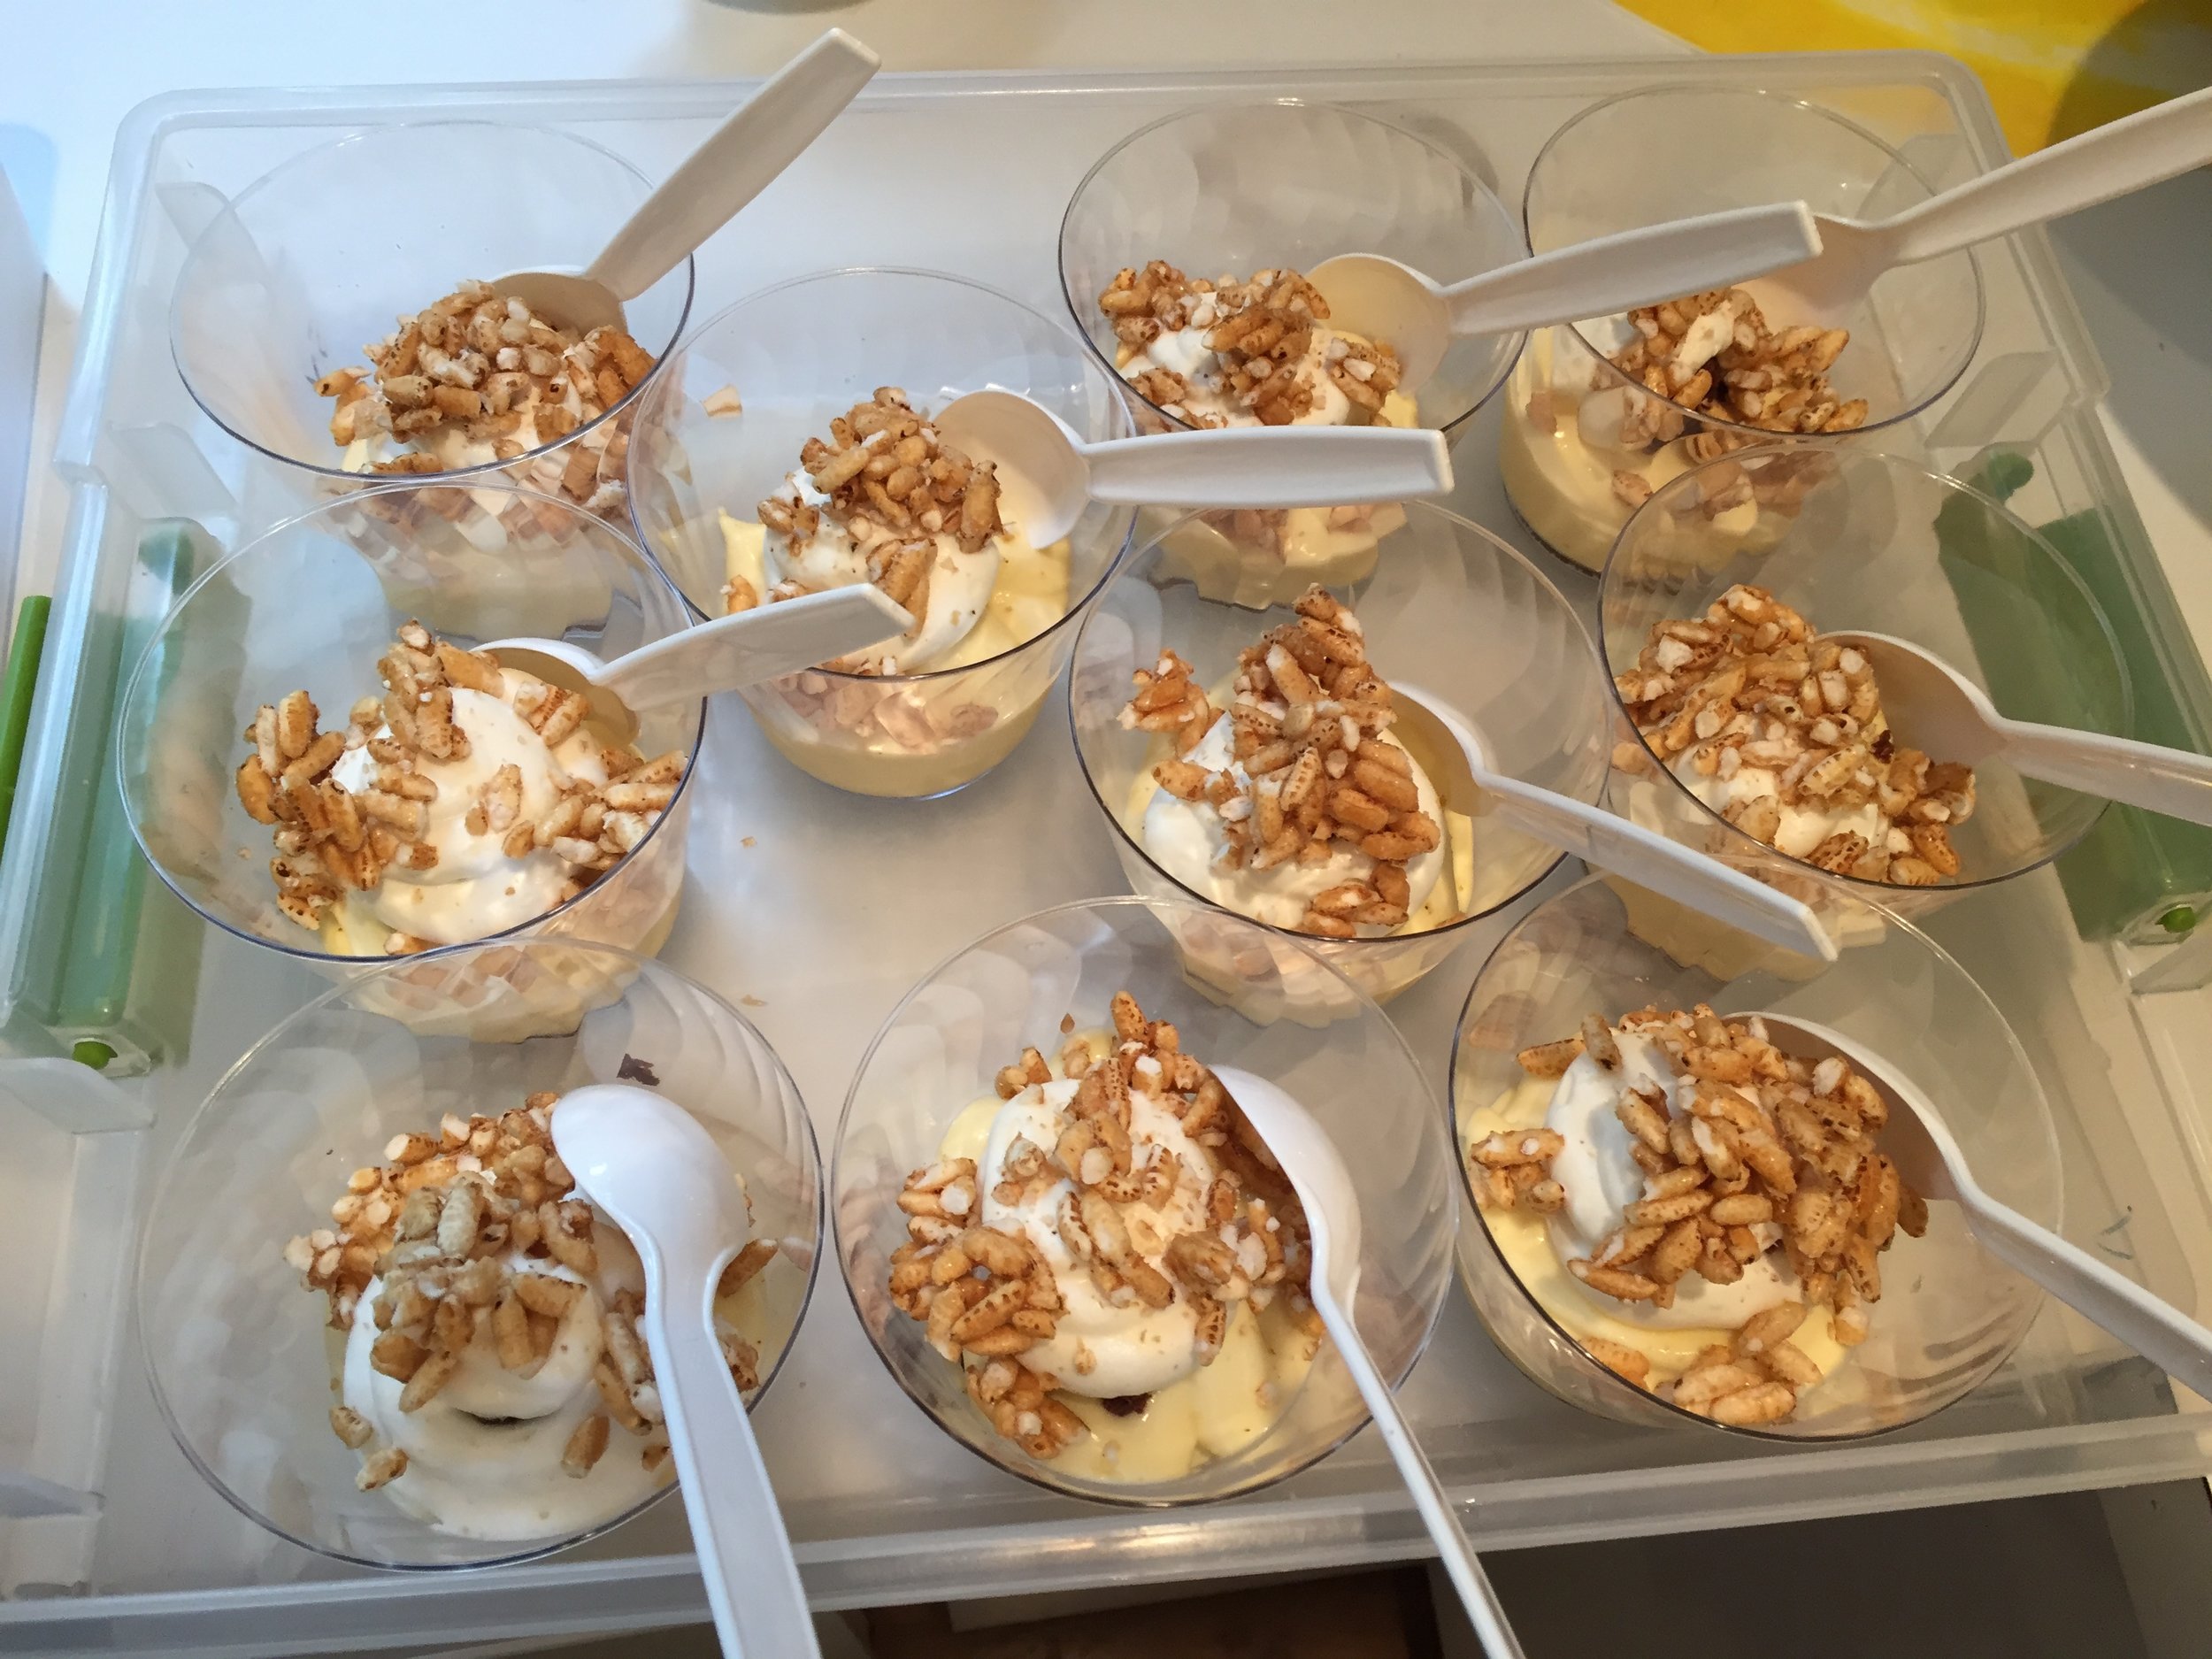
Chocolate caramel cream cheese trifle

IMG_4071.JPG

Here’s a quick look at making a simple trifle. It’s a great way to use up left over components or you can start with freshly made goodies as well. These were put together for a family gathering - transportable and self contained.

Typically a trifle consists of cake cubes (pound, genoise, classic layer or pretty much any kind of cake you’d like to use), an imbibing syrup or fruit sauce to moisten the cake, a creamy layer like pastry cream, whipped mascarpone, lemon curd or chocolate mousse, fruits of choice, or in my case, no fruit at all. I like to include some kind of crunch in the form of cookie crumbs, chopped toasted nuts, crushed nut brittle or caramelized puffed rice for something just a little different. Make your trifle in any size you’d like - a large bowl or individual cups or ramekins. A classic trifle bowl is clear glass and deep so as to show off the layers but anything works!

Remember that Reine de Saba post I wrote awhile back? Well it turns out I had some of the cake in the freezer plus some whipped-cream-lightened cream cheese pastry cream on hand from another project. Since I always have homemade caramel sauce in my fridge and chocolate crunchy crumbs in my freezer, I thought why not create a lovely layered trifle for an easy summer dessert?

The one thing I did make fresh was the caramelized puffed rice - a simple process of stirring together 50 g sugar, 50 g light corn syrup, 25 g unsalted butter and a pinch of salt in a medium saucepan, bringing it to a boil and then stirring in 62 g puffed rice.

Spread the mixture out on a Silpat lined sheet pan and bake in a 375ºF oven for 20 minutes until golden brown. Let it cool then break into shards. Makes plenty!

I used Arrowhead Mills puffed rice (ingredient: puffed brown rice - no sugar, no salt, no fat) and find it perfect for this. Once caramelized, it reminds me of an ever so lightly sweetened version of Sugar Crisp cereal which I used to love as a kid, only much better! I even added some to my morning shredded wheat and berries for that little extra something. Not a bad way to start the day.

Below you see my cream cheese pastry cream, chocolate crunchy cookie crumbs, caramel and slices of Reine de Saba waiting to be crumbled up.

IMG_4068.jpg

In go the chunks of chocolate cake, chocolate crunchy crumbs, a drizzle of caramel and a swirl of pastry cream . . . .

IMG_4069.jpg

. . . . . followed by more cake chunks, crumbs, caramel and a final pastry cream swirl. I added a final dollop of lightened sweetened whipped cream, then into the fridge until ready to serve. These can be assembled several hours ahead or even up to a day (although the chocolate cookie crumbs might get a tad soggy in that case).

I added the caramelized puffed rice on top just before serving to preserve the light crunch.

IMG_4070.jpg

What a pleasing combo of creamy, chocolate-y, crunchy and lightly sweet - not bad at all.

When making your own trifle, particularly when using an imbibing syrup or fruity sauce, it’s fine (and even recommended) to assemble the evening before or the morning of - that gives plenty of time for cake to soften and flavors meld for a delicious finale to your day.

Have fun with it!

Lemon ricotta blueberry tarts

IMG_4129.JPG

It’s definitely blueberry season here in West Michigan - love it! We’ve been deep into it for the past few weeks and they’re still coming. Of course I simply had to create something with these luscious orbs so I turned to some of my favorite base recipes.

IMG_4139.JPG

I love choosing my components and flavor profiles while giving myself plenty of time to make each part, assembling the final result when I’m ready to serve and enjoy. The freezer plays an important roll here folks and is one of the most useful tools in the baking and pastry armamentarium. Hip hip hooray for freezers!

I recently purchased a set of 80 mm square perforated tartlet forms that came with a 6-well silicone mold to create fillings that fit oh so nicely in or atop the tart shell. They’re made by my favorite Italian silicone flexi-mold maker Silikomart. What a cool way to create a composed tart - right up my alley. And let’s not forget - soooo many possibilities.

Of course I’ve been itching to try them out and what better way than creating a blueberry lemon flavor combo to help celebrate our summer’s berry bounty.

IMG_4118.jpg

Perforated tart forms have been available for some years now, the idea being that the tart crust will brown ever so golden-ly since the dough is exposed to more oven heat via the numerous little holes.

For this project I started with a version of pâte sucrée based on a Claudia Fleming recipe from her book “The Last Course”. It’s very reminiscent of a honey graham cracker: cream 227 g (2 sticks/8 ounces) unsalted softened butter with 50 g granulated sugar and 50 g dark brown sugar until smooth; add 84 g (1/4 cup) honey and beat until well blended; in a separate bowl mix together 195 g (1.5 cups) all purpose flour, 125 g (1 cup) whole wheat pastry flour, 1 teaspoon salt, a pinch of cinnamon and some freshly grated nutmeg; add the dry ingredients to the butter/sugar/honey mixture in two additions and blend just until the dough comes together. Wrap in plastic wrap and chill at least an hour before rolling out.

NOTE: this makes more than needed for the six square tarts; the extra dough will be OK wrapped in the fridge for a couple of days (if you have another use for it soon) or in the freezer for several months. If frozen, thaw overnight in the fridge before using.

I lined my square tart forms, blind baked them and filled them with my favorite lemon tart filling á la Jacques Genin, pouring the still warm mixture into the baked shells (note: the baked shells don’t have to cool all the way before adding the lemon filling). Bake at 300ºF for about 10-15 minutes until the filling is set (look for just a hint of jiggle in the center). Let cool and store covered in the fridge for a day if you’re planning on serving them soon or freeze for several days or up to 1-2 weeks. If frozen, you can top with the ricotta custards right out of the freezer (more on that coming up!).

IMG_4121.jpg

It’s all about the components - work on them step-by-step then put it all together for the pièce de resistance!

Now for the lemon ricotta filling (makes plenty for six 80 mm square tarts plus a number of additional flexi-mold shapes of your choice - I did a bunch of ingots which are just waiting in my freezer for the next creation!).

IMG_4122.jpg

Blend 2 cups whole milk ricotta with 150 g (3/4 cup) granulated sugar, 1 tablespoon cornstarch, 1 teaspoon lemon zest (or lemon/lime zest combo), 1 teaspoon vanilla and 3 large eggs. In this case I also blended in 1/4 cup of leftover lemon tart filling to add a bit more tang.

Heat the oven to 325ºF. Fill your chosen flexi-molds and place the mold(s) on a sheet pan. Carefully pour hot water around the base of the molds so as to create a shallow water bath around the molds. Bake about 20 minutes until set.

Remove from the oven, gently lift the flexi-mold(s) and place on a wire grid to cool. Once cool, place the molds in the freezer to firm up, at least 4 hours or overnight.

When ready to assemble, pop the frozen ricotta custards out of the molds and place on top of the lemon filled tarts.

IMG_4123.jpg
IMG_4124.jpg

Once this step is complete, place the assembled tarts in the fridge for several hours to allow the ricotta custards to thaw. The custards will hold their shape in the fridge and be ready for the blueberry topping for serving. Yes!

IMG_4128.jpg

For the blueberry topping: place 2 cups fresh blueberries, 50 g sugar, 2 tablespoons water and the zest of a lemon in a saucepan over medium heat until the berries pop (4-5 minutes). Cook another few minutes to jam-ify a bit, transfer to a clean bowl, stir in a splash of lemon juice and chill. When ready to garnish your tarts, stir in an additional 1 cup fresh blueberries and spoon the topping over the chilled lemon tarts. You’ll have plenty - the leftovers will keep in the fridge in a covered container for 2-3 days (hmmm . . how about on top of your favorite vanilla or berry or peach ice cream?). Sounds deelish.

Et voilà! You are ready to enjoy a delicious summer treat. The combo of the honeyed whole wheat crust, tart and tangy citrus filling, smooth ricotta custard and luscious berries is absolutely stunning!

And yes - Steve gave it a thumbs up!

IMG_4130.JPG

Ooooo - next time how about chocolate pâte sucrée, dark chocolate ganache filling, topped with an orange hazelnut custard and garnished with crunchy hazelnut praline? Sounds like a great autumn/winter project to me!

Les macarons (part 2)

IMG_4114.jpg

Welcome to part 2 of les macarons!

As we continue to look at some of the other versions of les macarons, next up are those of Montmorillon located in the Viennes department in the region of Nouvelle-Aquitaine (previously Aquitaine, Limousin and Poitou-Charente) in central-western France. They are a complete change-up from the classic macaron lisse - rather than the smooth, somewhat glossy, gently rounded cookie with the frilly pied, these are craggy, rustic mounds typically piped in a swirl using a star or channeled type of tip. They sport no particular garnish or sandwich filling and are meant to be enjoyed in their simple glory.

I actually did two different batches of these, the first using a narrower open star type tip with this result - kinda sea urchin like, eh?

IMG_3936.JPG

The process is straight forward, starting with toasting 150 g blanched almond flour for 10-15 minutes in a 300ºF oven (à la Mercotte). Cool the almond flour then blend 100 g granulated sugar with it. Neither processing nor sifting for this one folks!

Then whip 70 g egg whites (a bit over 2 large whites) with 25 g sugar to stiff peaks, add a few drops of almond extract and fold the dry ingredients into the whipped whites. Not bad at all.

Pipe the mixture onto Silpat lined sheet pan(s) using a more narrow open star tip or wider large star tip. Depending on your piped size, you should get a least a couple of dozen cookies out of the recipe. You can easily double the recipe for more!

Let them rest at room temperature for 2 hours.

IMG_4077.jpg

Heat the oven to 375ºF. As soon as you place your pans in the oven reduce the temperature to 350ºF. Bake for 3 minutes then reduce again to 320ºF and bake an additional 15-17 minutes until lightly browned.

IMG_4082.JPG

What a wonderful chew with a great almond flavor and freezing made them even better (which is true of pretty much all macarons if you ask me!).

Eat them au naturel or dip them in some dark chocolate (which, according to Mister Steve, never hurts anything). Yum.

Next up - macaron craquelé au chocolat.

IMG_4003.jpg

Another of Stephane Glacier’s recipes, this chocolate number varies from the classic Mercotte version with the amount of confectioner’s sugar reduced by about a third and the almond flour by half. The egg white/granulated sugar ratio remains the same. In addition there’s a bit of all purpose flour and unsweetened cocoa powder in the mix. All of this makes for a softer, lighter cookie with less chew.

Note: For gluten free baking it shouldn’t be a problem to omit the all purpose flour. You can easily double the amounts below to increase your yield from one half sheet pan to two. Depending on the size you pipe, you should get about 30 sandwiches from a doubled recipe.

Here’s the process (single recipe). Whisk together 75 g confectioner’s sugar, 63 g almond flour, 1/2 tablespoon all purpose flour and 1/2 tablespoon unsweetened cocoa powder.

In a clean mixing bowl using the whisk attachment whip 90 g (about 3 large) room temperature egg whites and a pinch of salt on medium-low until white and foamy. Shower in 25 g granulated sugar and, once incorporated, increase speed to high and whip to stiff peaks.

Fold the dry ingredients into the whipped egg whites in three additions then work the mixture with a spatula or bowl scraper until supple and smooth (think about flowing lava!).

Pipe rounds onto Silpat lined sheet pans and let rest at room temperature for 20 minutes.

IMG_3978.JPG

Meanwhile heat the oven to 335ºF.

Dust with a mix of 1 tablespoon powdered sugar and 1 tablespoon unsweetened cocoa powder and bake about 12 minutes. Cool.

Before the oven

Before the oven

Out of the oven

Out of the oven

While these pictures make things look like dirty snow and it’s difficult to see the surfaces, the after oven cookies are drier with some cracks on top. Notice that these do not form the pied!

For the filling I made a simple chocolate ganache with the addition of some honey. Glacier points out that the honey adds a certain unctuousness to the ganache - he’s absolutely right!

Have 130 g chopped chocolate (60-64% recommended) ready in a heat proof bowl. In a small saucepan bring 150 ml heavy cream and 1 tablespoon honey to a boil, pour it over the chocolate and blend until smooth. Cool it to proper piping consistency.

Match up your macarons size-wise, pipe a dollop of ganache on one half and sandwich ‘em up.

IMG_4001.JPG

These offer a lovely soft texture that marries so nicely with the smooth ganache. And don’t forget - they get even better in the freezer!

IMG_4006.jpg

I’ve only scratched the surface of the macaron world. There are so many variations out there, so do some investigating and testing of your own and have fun! That’s what it’s all about.