Favorite garnishes, the end: crumbles

Banana rye cakes with hazelnut crumble (and a bit of chocolate tucked underneath)

Ready to bake mixed berry crisp with pistachio crumble

Time for the garnish finale in what has become a 4 parter on some favorite ways to dress up and enhance your baked goods.

Crumbles are easy, ever so adaptable, perfect for layering or topping and they keep either unbaked or baked in the freezer for many weeks. What a great way to be ready for any garnish occasion. Yes!

If you plan to make some crumble, feel free to double, triple or quadruple the recipe for future projects. Simply mix equal weights of flour and sugar in a medium bowl then sand in the same weight of cool, diced butter with your fingertips, work it to smallish coarse crumbs and voilà, that’s it!

A basic starter quantity is 60 g each of flour, sugar and butter which easily tops a dozen muffin size teacakes, a 9” fruit tart or a 9”x9” pan of fruit crisp.

Ready for sanding

If you’re not using it right away, either spread it out on a sheet pan to bake ahead (350ºF for 15 to 20 minutes, stirring occasionally until golden brown), cool and bag up for the freezer OR store unbaked in a zip-top bag until ready to use.

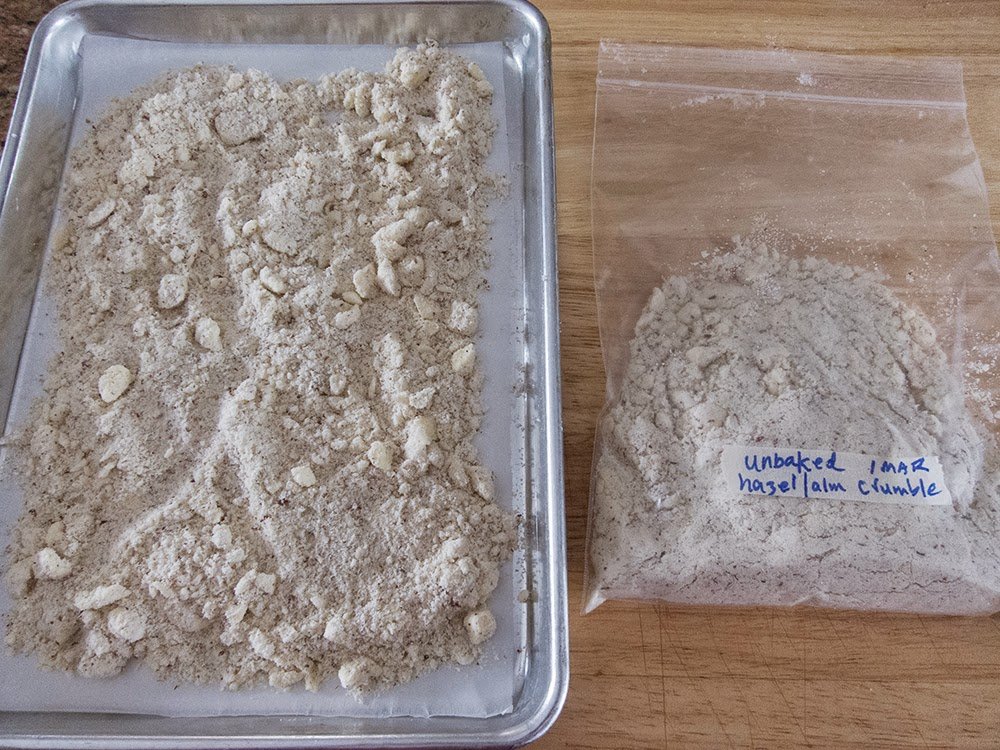
Tray ready to bake/bag going into the freezer

All baked up

You can change up your crumble by subbing in spelt, whole wheat pastry or rye flour for all purpose (or do a mix) and swap out granulated sugar for raw or dark brown. Make it more nutty by adding an equal weight of nut flour or finely ground toasted nuts. Or simply add in chopped nuts (use anywhere from half to equal the weight of the other ingredients) for more texture and crunch. Add in your favorite spice(s) and/or some citrus zest. Create!

For an alternate crumble approach I use my favorite chocolate shortbread dough (recipe compliments of Thomas Keller’s “Bouchon Bakery”) and rather than bake it as cookies I just crumble up the dough in a single layer on a sheet pan and bake it up. There’s always a bag of the stuff in my freezer. Steve and I love it on ice cream, and I use it to top teacakes garnished with Swiss meringue buttercream or my favorite chocolate ganache tart.

Black gold!

Dark chocolate ganache and caramel apple teacakes

Chocolate ganache tart

You can do the same with your favorite crispy gingersnap dough or basic shortbread dough. I love making my own graham crackers too, both for crumb crusts as well as crushing them up for a garnish.

There’s nothing like the crispy crunch of crumble married with juicy, baked fruit, layered with luscious cream or as a topping for citrus curd or ganache - the list goes on. Just go for it and have fun.

Cheers until next time.

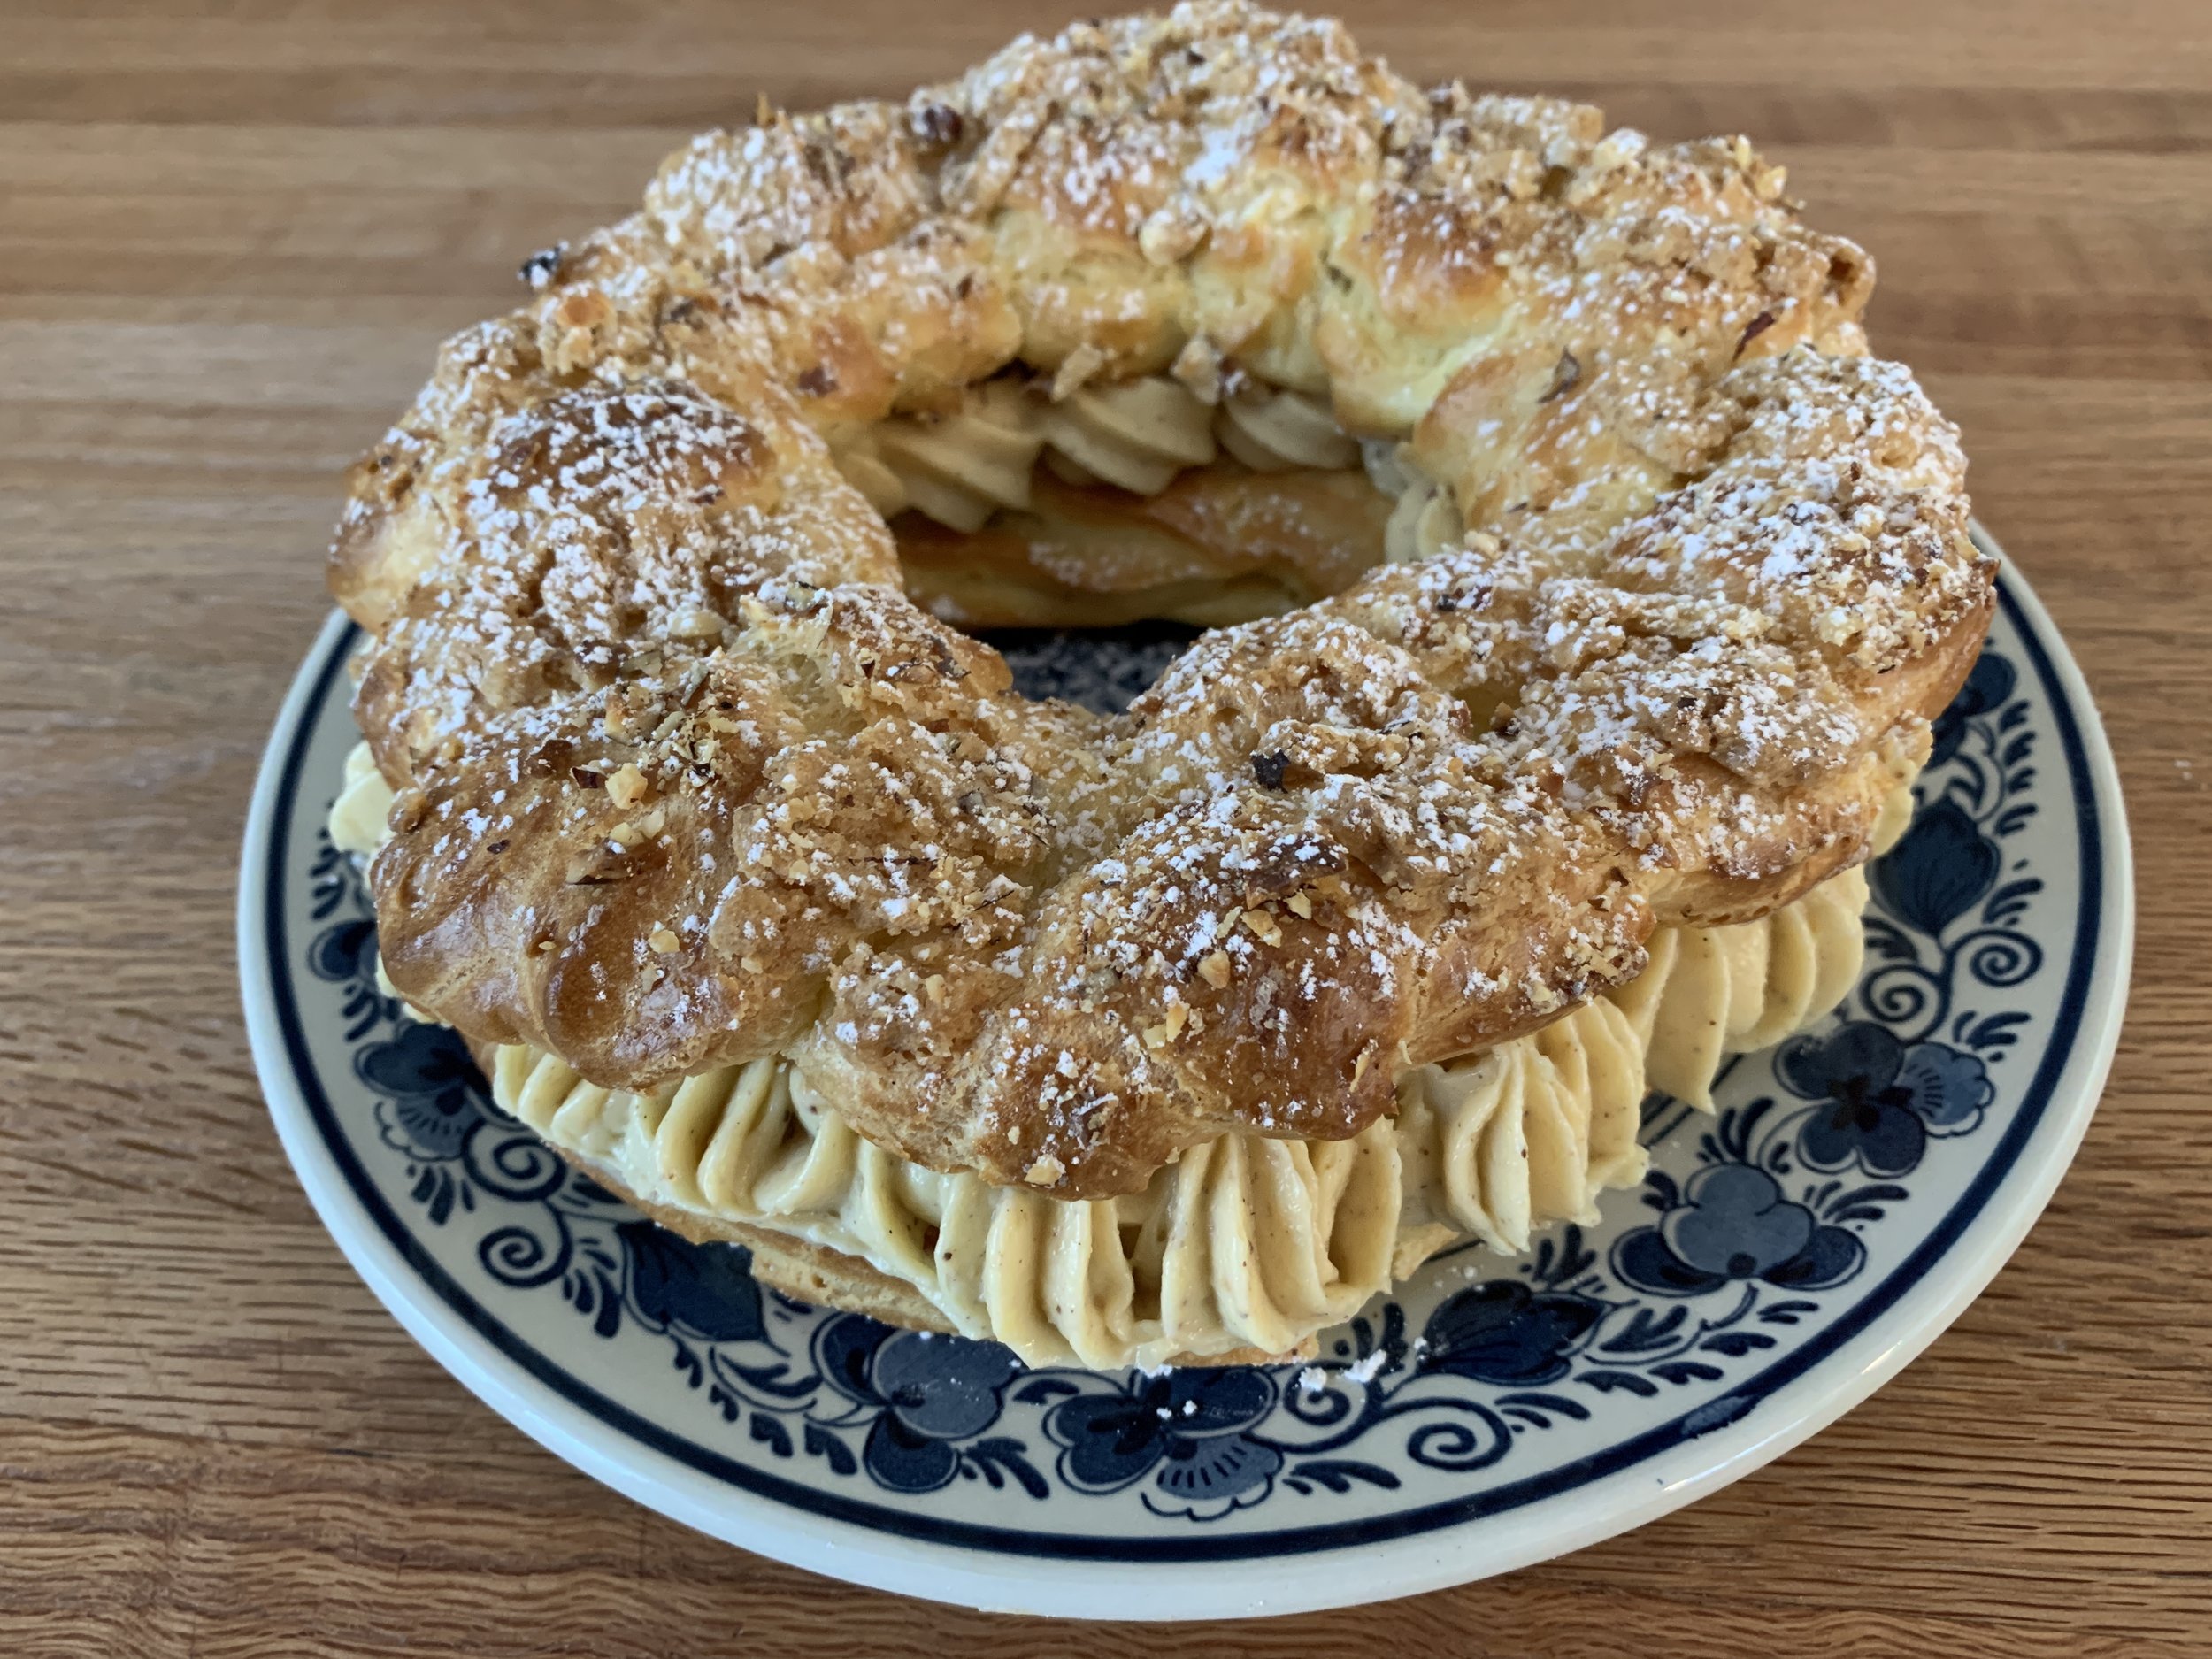
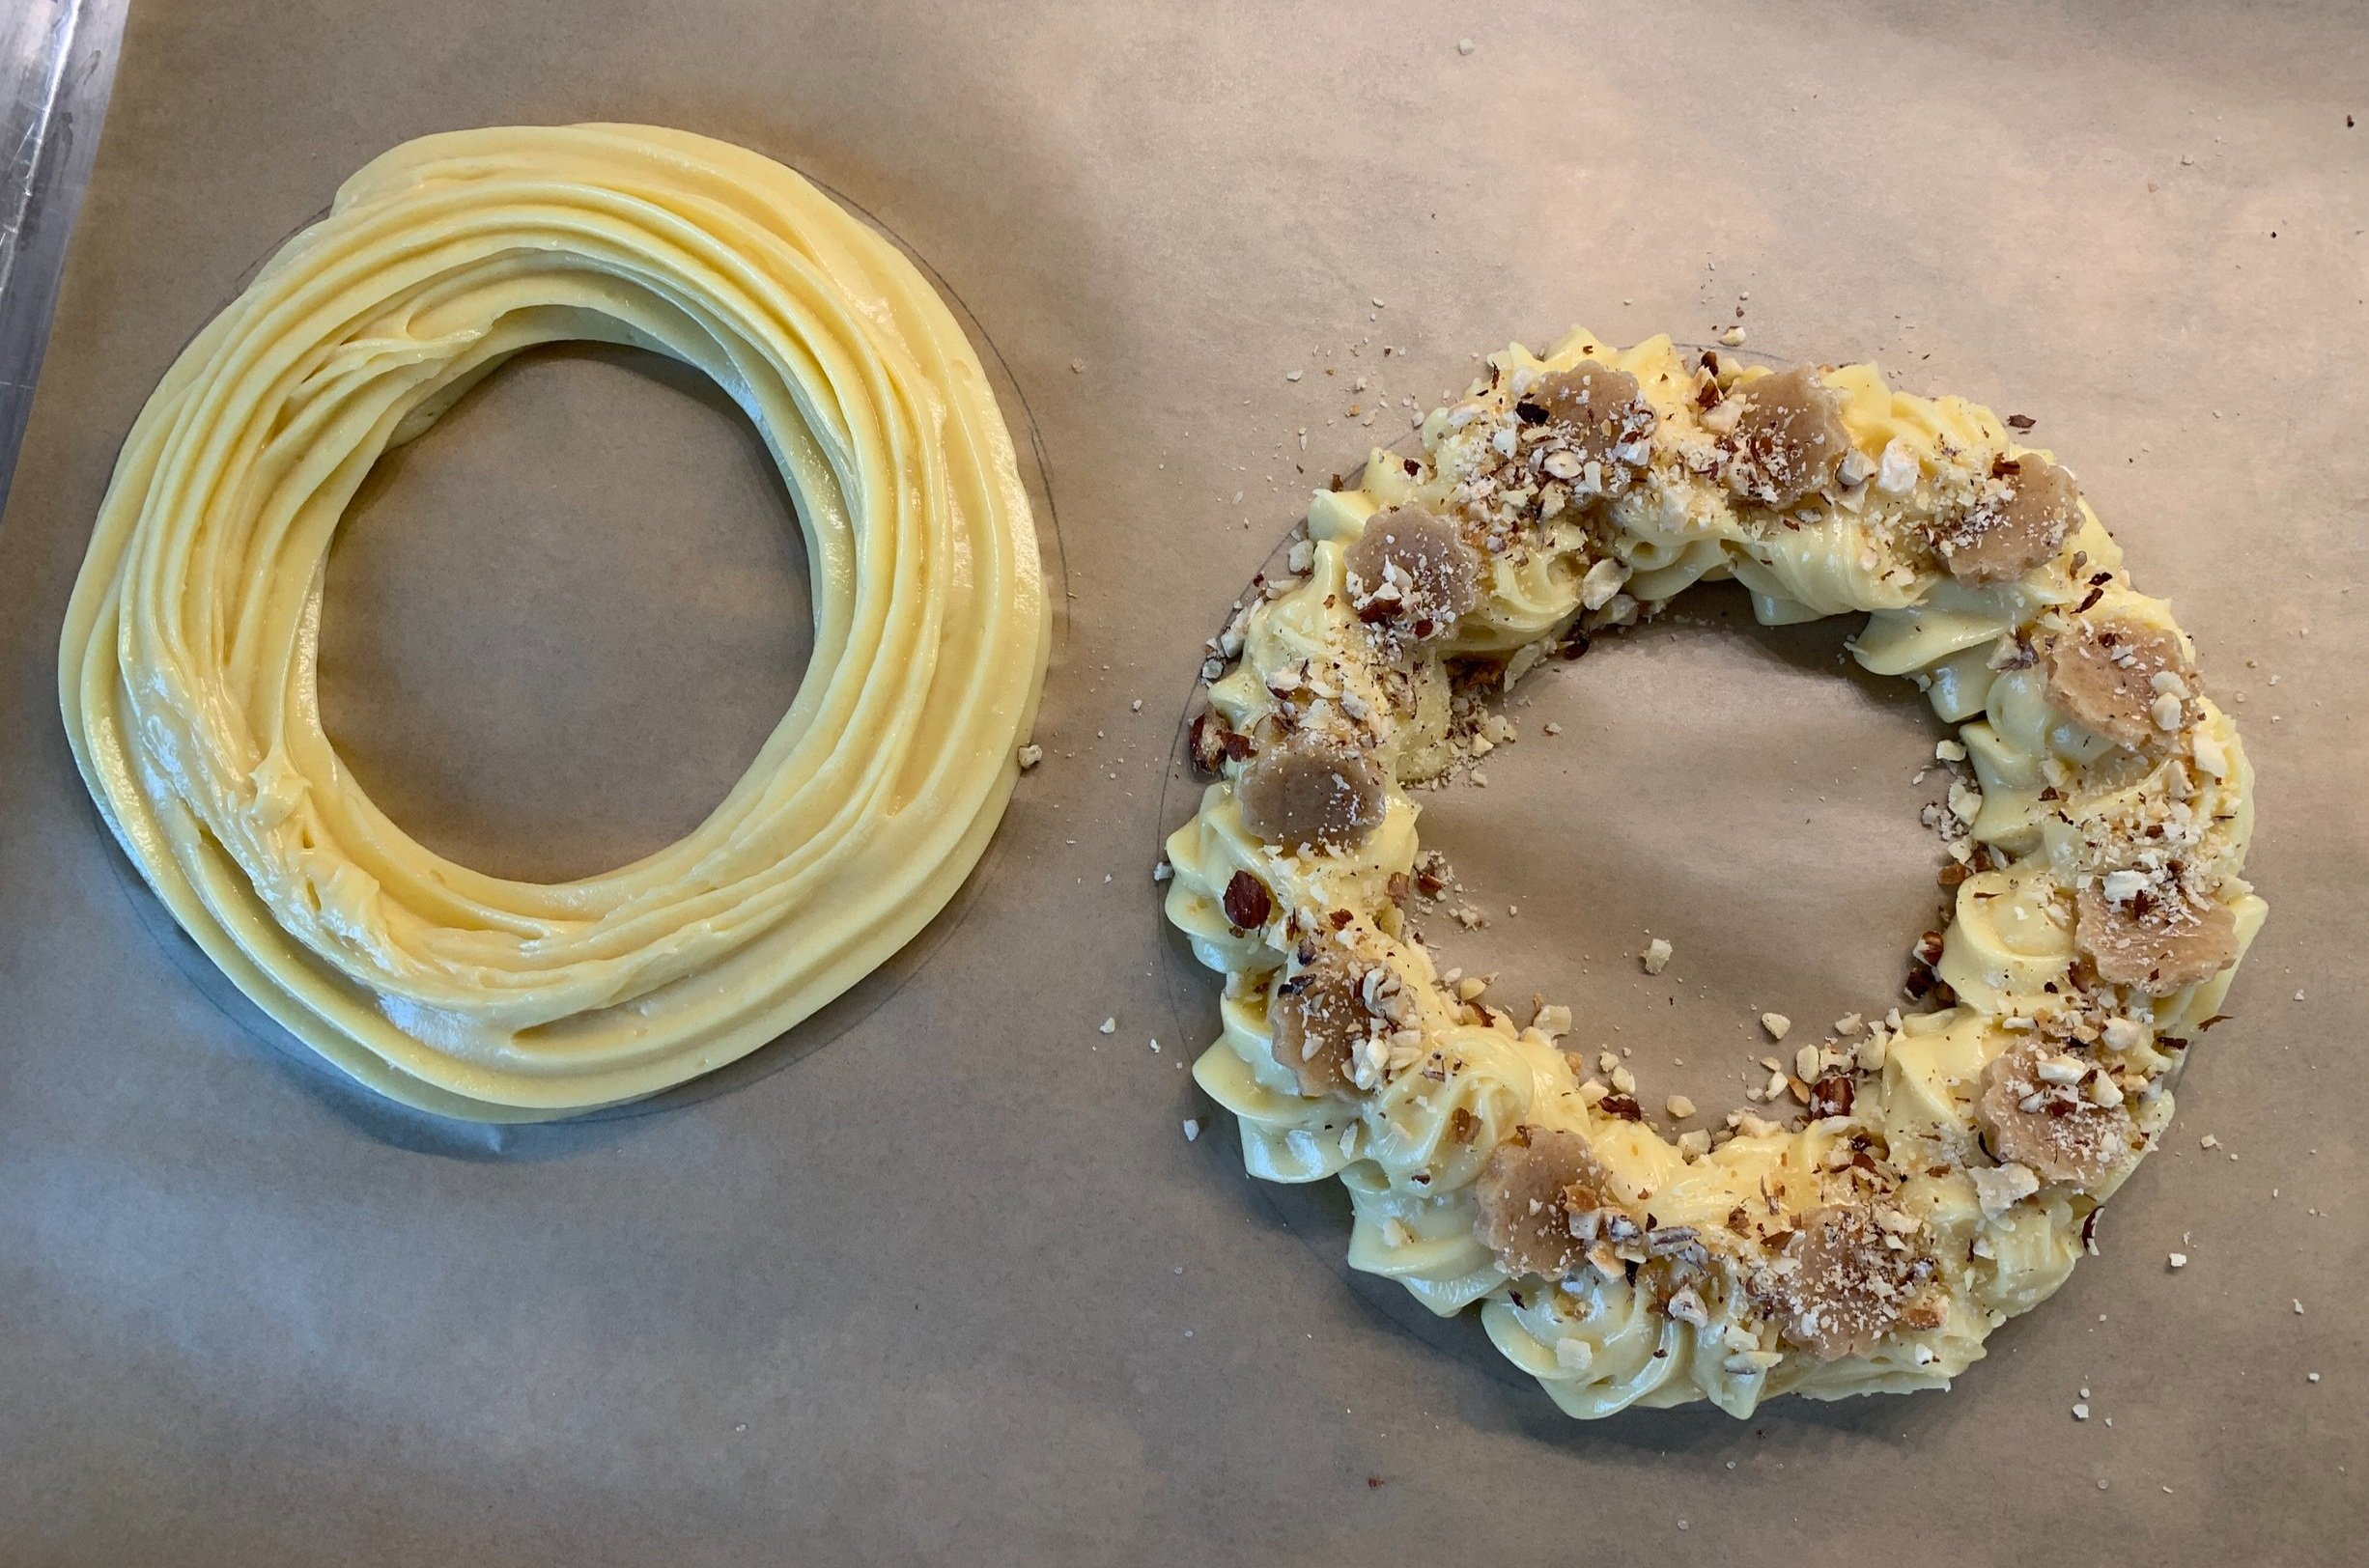
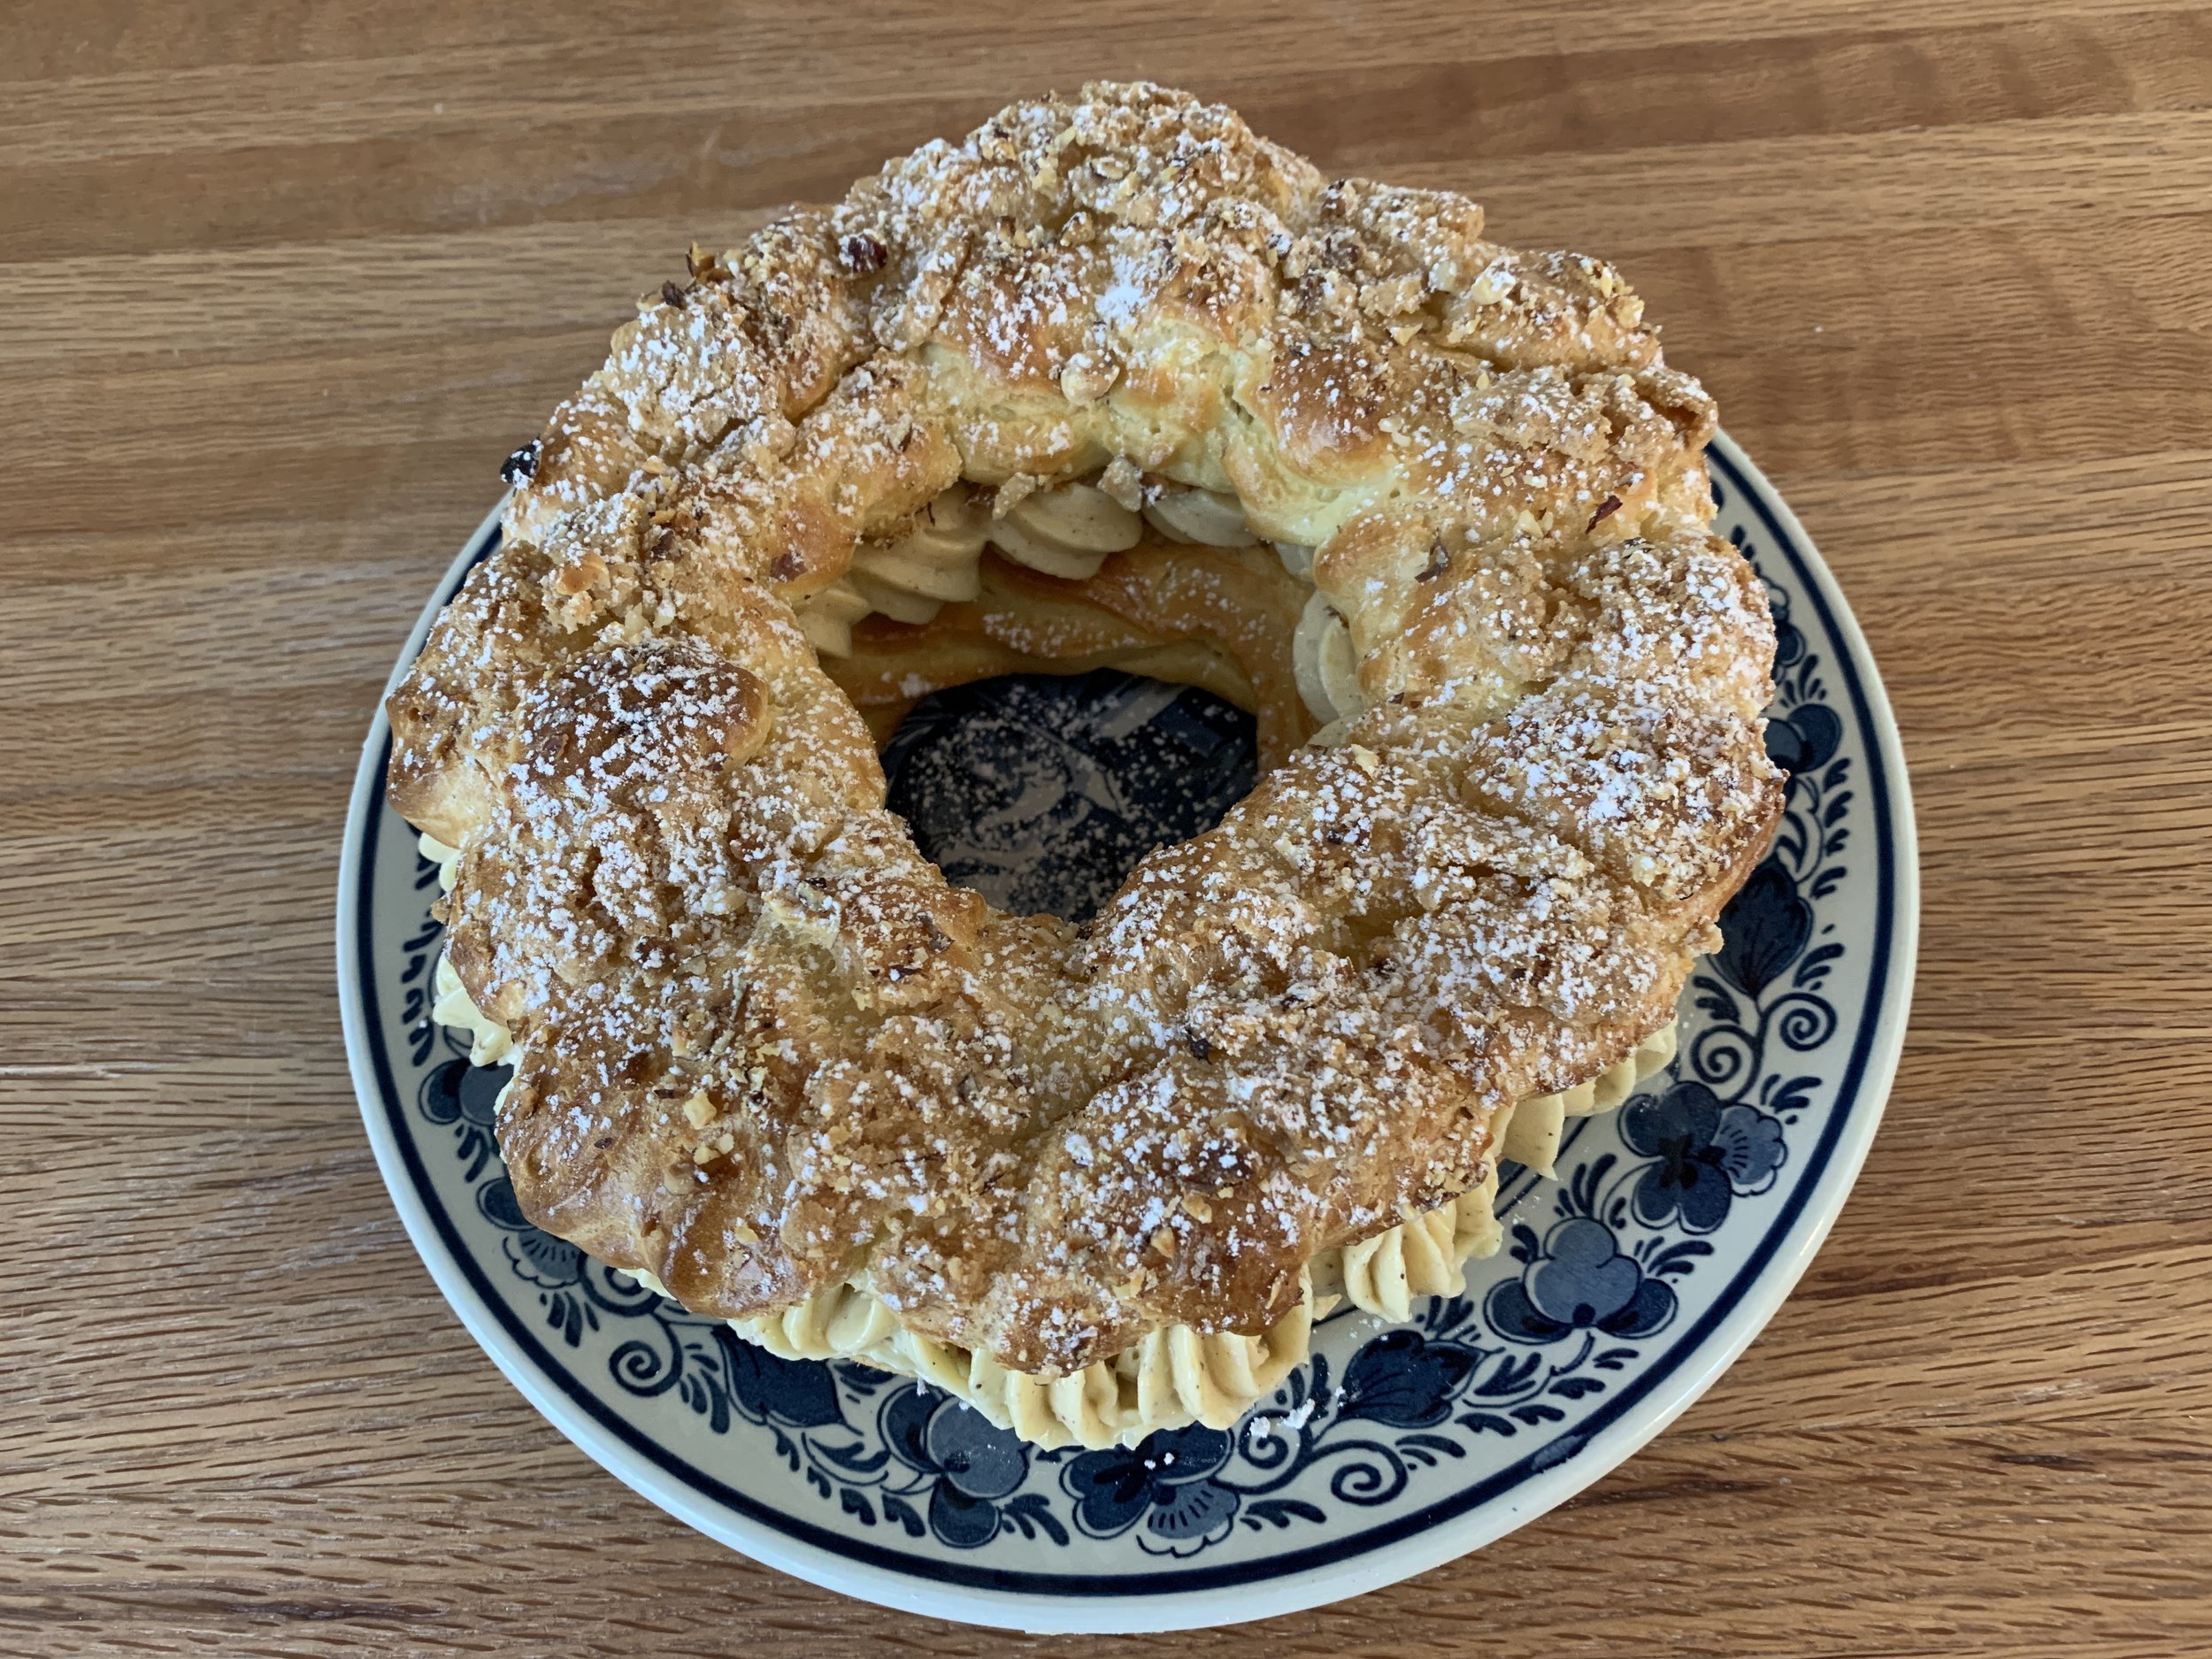
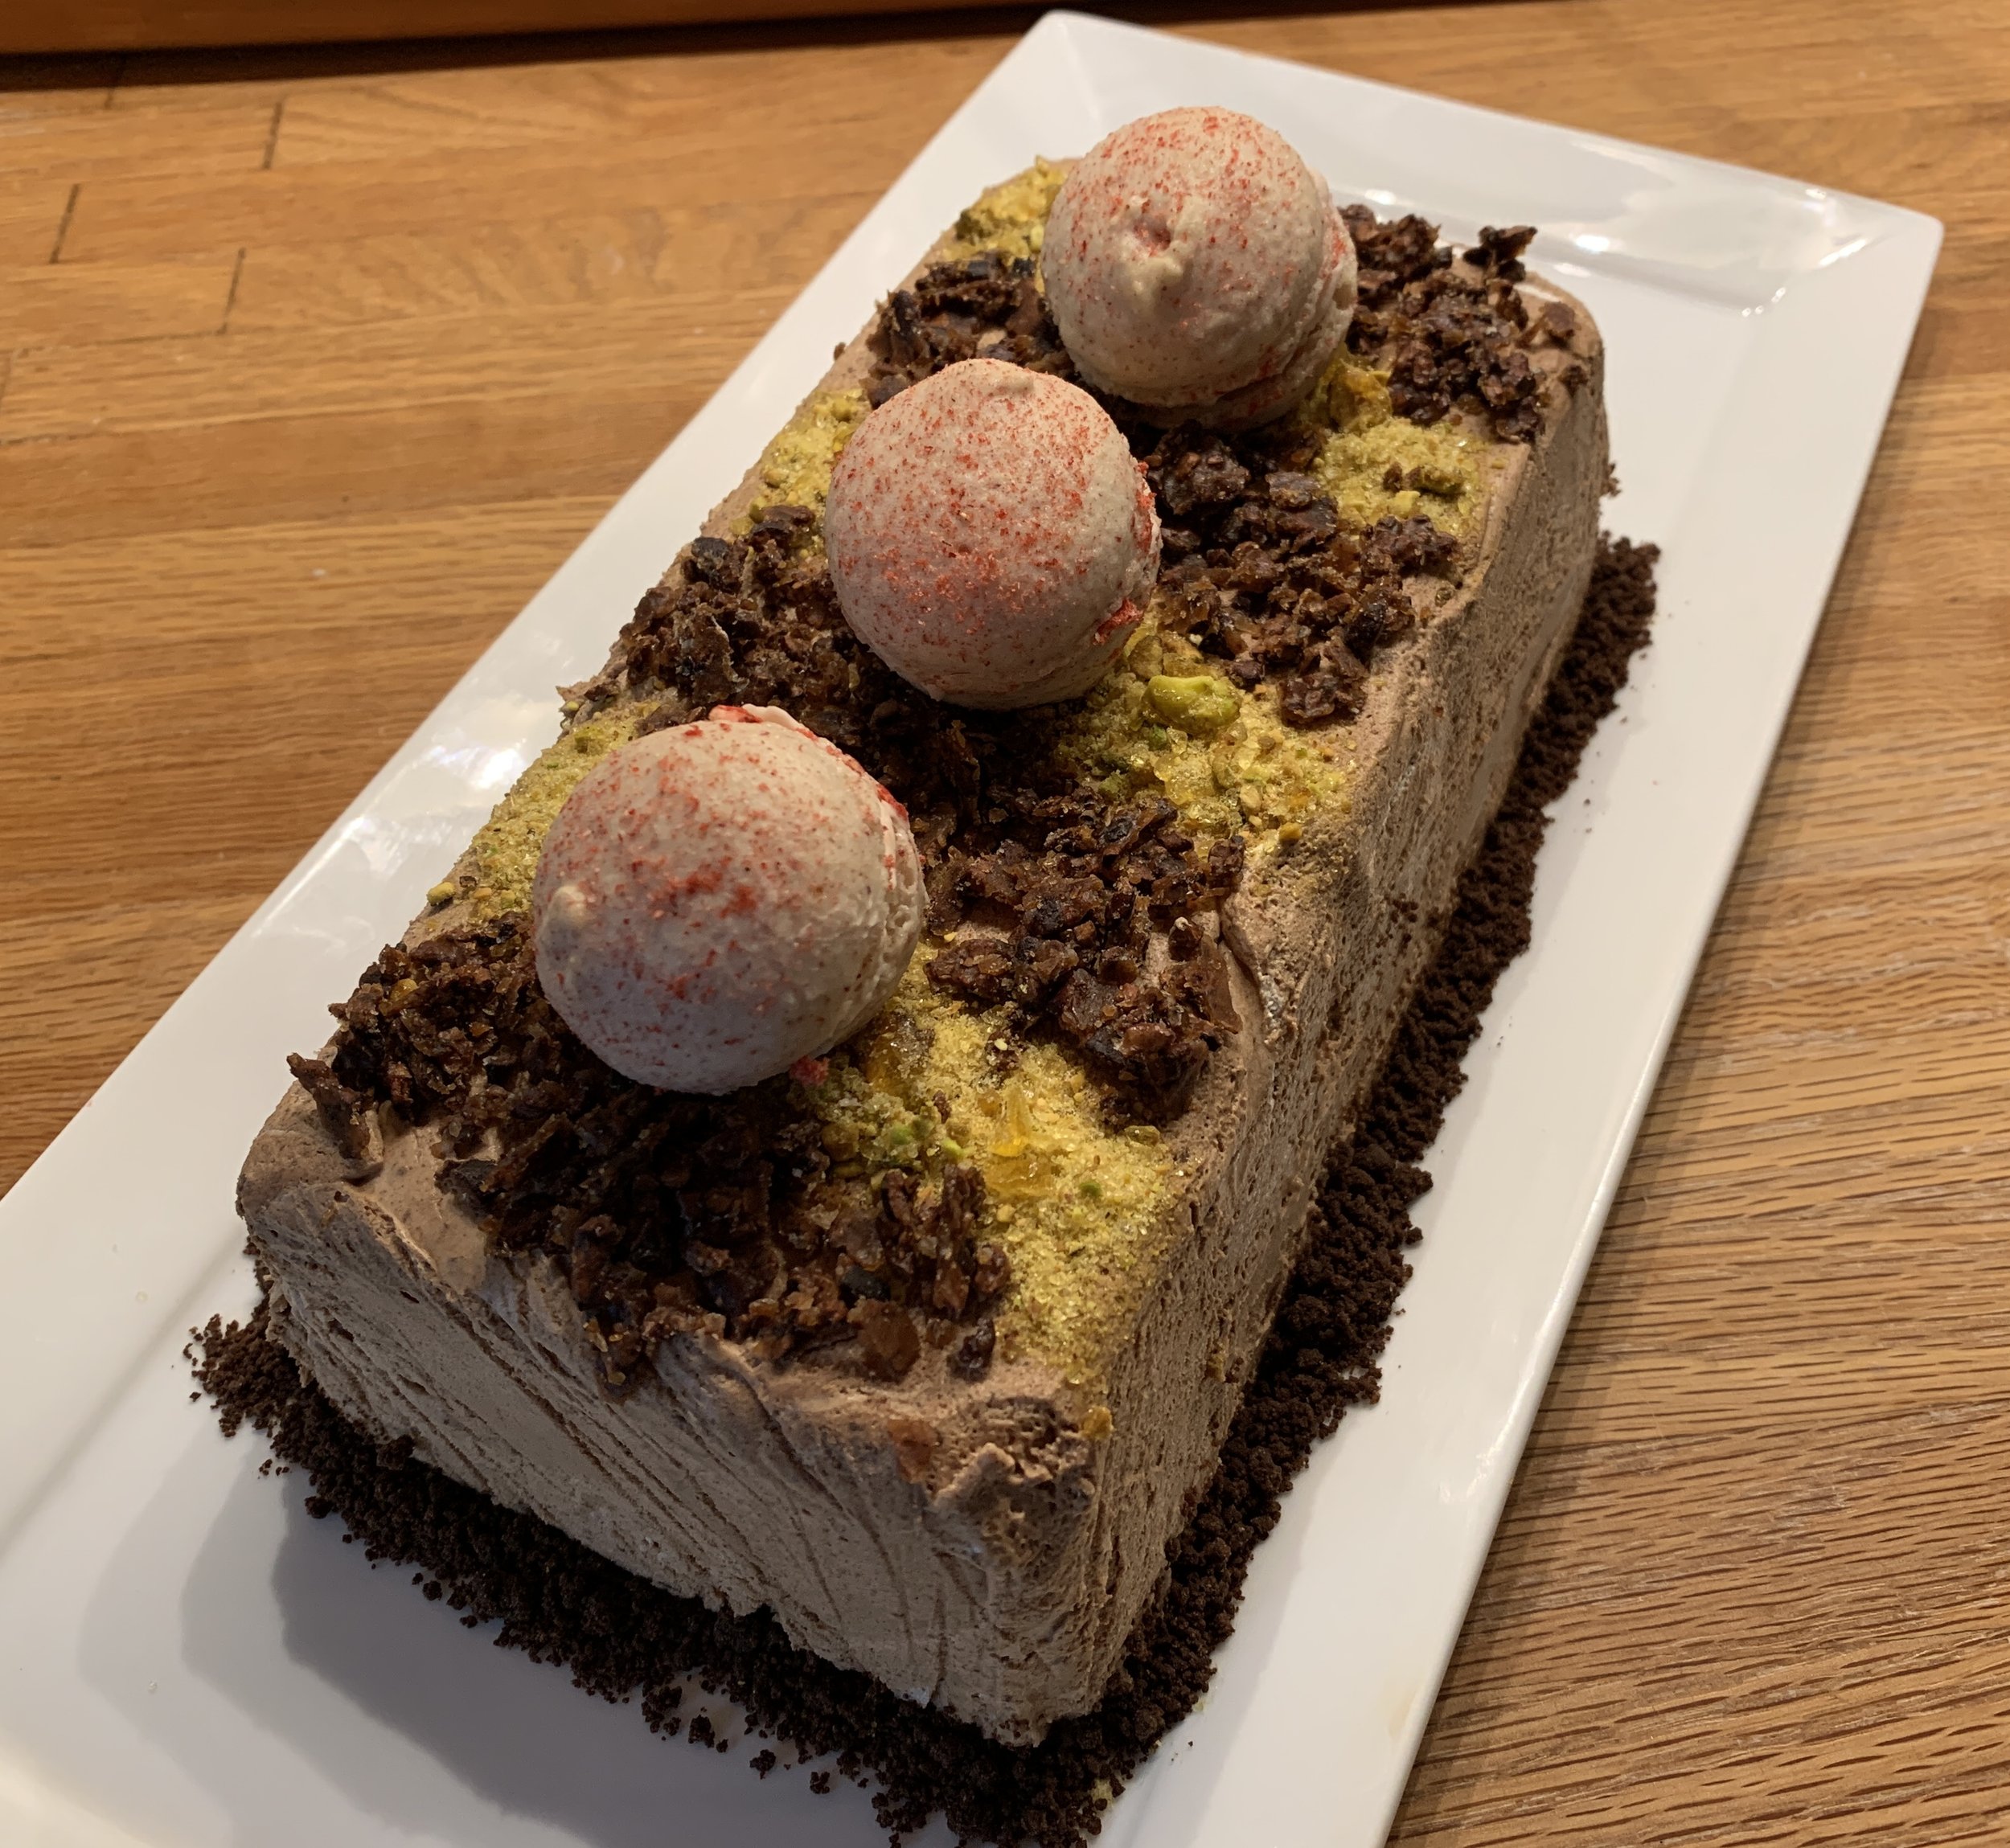
Hazelnut ricotta berry entremet layered and topped with almond/hazelnut crumble

Paris Brest - more fun with pâte à choux

After my recent post on religieuses and the steps of making pâte à choux, while we’re in the mood let’s take a look at Paris Brest. Another classic choux paste creation, it’s reportedly named to commemorate the famed Paris to Brest bicycle race, being created years ago by a pastry chef to resemble a bicycle wheel. I’m only one in a long, long, long line of folks who have written about this very thing.

One can make the round any size - large, medium or individually small - it’s all up to you. I used to make individual ones on occasion back in our Providence days, but it’s certainly been awhile. Since Steve and I are the only ones around to eat the goods, I decided on a round about 6-7 inches in diameter that would yield decent wedges to be consumed over 2-3 days.

I piped and baked the Paris Brest rounds the same day as the religieuses then held them in the freezer overnight before assembly the following day. One can pipe one ring with two tiers, splitting it in half once baked, but I decided to bake two separate rings, one for the top and one for the bottom.

Here’s the breakdown. Draw two circles of your chosen size on parchment, overturn the paper and place it on a sheet pan. Using a medium star tip I piped a ridged bottom layer and a more swirly top layer. I tucked in small rounds of “crunchy top” circles then sprinkled on some chopped hazelnuts.

Here they are nicely baked and browned.

When you’re ready to assemble, carefully slice off the top edges of the bottom layer to shave off any unevenness (snack time!).

I went with classic praline pastry cream for the filling. The same day that I had made the crème pat for the religieuses, I separated out 200 g and blended in praline paste made by processing 40 g sugared hazelnuts to a paste consistency. Once chilled I added a nice dollop of whipped cream to lighten it. Using a medium star tip I got a little carried away with my squiggles and ruffles. Have fun with it!

Set the top on and gently nestle it in place. I like to give it a dusting of confectioner’s sugar too.

Now slice and enjoy. You won’t be sorry.

Wherever you are and whatever you’re doing, keep up the good work and live happily. It’s not always easy, that’s for sure.

Religieuse - fun with pâte à choux

Steve LOVES anything made with choux paste, and coffee religieuse (French for nun) is at the top of his list. He’s been asking me to make these for awhile now, and what better time than during the down days of January as we catch our collective breaths and ease into 2022.

Pâte à choux takes me back to Le Cordon Bleu school days and my stage at Pascal Pinaud’s in Paris’ 5th arr. (15 years ago this month!!). My task each morning was to fill and garnish the èclairs and religieuses for the day. As a matter of fact, the job I was given that very first morning oh so long ago was to make a big batch of traditional crème pâtissière (and make it I did!). Yes, I can do this!!

Chocolate and coffee crème pat (in Brit speak) are de rigueur for the fillings, with fondant of each flavor used to garnish. In recent years dedicated choux shops have popped up in and around Paris with all manner of flavors available.

Even though fondant is typically used to cap the choux buns, I felt no joy when working with the stuff and have avoided it ever since. I choose to use a lovely ganache instead when dressing up my ladies. The collar consists of buttercream piped in a ruffle fashion, another morning job for which I was often chided when not piping perfectly. Looks like I still have a ways to go on the perfect ruffle. Live and learn. BTW - you’ll see all manner of ruffles if you search the internet for religieuse. Lots of variations.

For the filling I used my base crème pâtissière recipe. Since I planned to make just a few religieuse, I divided out 200 g of the warm cream and blended in 30 g of chopped milk chocolate and some coffee extract to taste to go the mocha route.

Let’s do a quick run through of the choux making process. Here’s the recipe - I’ll highlight what I feel are the important things to notice through the steps.

Have your flour and eggs ready in separate bowls. Place the milk/water/butter/sugar/salt in a medium saucepan on low heat. You want the butter completed melted before you turn the heat up.

Up the heat to medium high and bring it to a boil. Have the flour at the ready.

Remove from the heat and dump the flour in all at once, stirring quickly to incorporate. It will look kind of clumpy at first like rough mashed potatoes.

Move it back onto the heat and stir vigorously to release some steam and dry it out for a minute or two. Look for the paste to start forming a smoother ball and there will be a light coating on the pan bottom.

Transfer the paste to the bowl of a stand mixer and let it sit a minute to release some more steam. With the paddle attachment on low add the first egg and blend on medium to incorporate completely. It will look gloppy and will seem like it doesn’t want to come together. Don’t worry.

Note: you can blend the eggs in by hand with a sturdy wooden or silicone spoon - you just have to have enough elbow grease to bring it together!

As you add each egg and blend it in, the paste will become more uniform and smooth. The base recipe I use calls for four large eggs. Here’s the paste after three eggs have been added.

Before I proceed I assess by checking the mixture. It should hold, not tear, and start ribboning down as you lift the paddle and let it hang in a “v”. Not quite ready.

I break up the last egg and add about half, blending and reassessing. I don’t consider myself superstitious but it usually works out for me that about 3/4 of the last egg is just right to call it good. Here’s the “v’ coming off the paddle. Notice the paste has more of a smooth, luscious looking sheen too.

Time to pipe! I pulled out a couple of round cutters to help me eyeball what size I wanted my heads and bodies. I forgot to include my trusty ruler in the shot, but in the image below I’m using a quarter sheet pan which measures 8x12”. That gives you some scale. I used a round tip for the bodies and a star tip, just because, for the heads (which you can sort of appreciate in the final analysis, but a round tip is just fine).

Here they are all baked and cooled. I had an extra head which I filled with a bit of mocha cream and ate. Gotta test the product.

Match the heads and bodies and shave enough top off the bodies to give a flat surface on which to perch the head.

When ready for the filling portion of the program, I give the chilled cream a good smoothing out in the mixer with the paddle or in a bowl with a spatula, then fold in a dollop of whipped cream to lighten it. I learned early on that Parisians are none too happy if their choux aren’t properly filled. There has to be a certain heft to show that the job is done well.

I have a basic one to one dark chocolate ganache on hand for dipping (once made, let it cool a bit so it doesn’t run down the sides). Fill first, dip second.

Poke holes in the bottoms of the heads and bodies then pipe in your cream. As you hold the choux with your non-piping hand, you’ll appreciate the heft as you fill. Fill until some cream starts to ooze out, a sign that you’ve filled adequately. You can scrape off the excess and have a snack.

Set the buns upright and dip both bodies and heads in ganache to give a nice cap. Set the heads on the bodies - the ganache will hold them together.

Once assembly is complete, I usually hold them in the fridge until I’m ready to do the collar. I used sea salt caramel Swiss meringue buttercream for my ruffles, piping with a small star tip.

I think of these nuns as roly-poly with a mock turtleneck look.

As you might imagine, Steve was a happy camper. Filled choux will keep well in the fridge for a couple of days to give you some time to savor the treats.

Here’s a cross section - you can see they are chock full of cream. The Parisians would be happy.

Coming soon! More choux fun with Paris Brest.

Stay warm and stay healthy. Ciao for now.

Chocolate semifreddo (or what to do for a holiday dessert when your oven is on the fritz)

Chocolate semifreddo

Wouldn’t you know that a mere 10 days before Christmas my oven decided to take a vacation. Fortunately I had a good deal of holiday baking already completed, plus we have a couple of neighbors who were more than game to let me use their ovens for the few tarts and pastries that still needed attention.

While this type of occurrence can certainly frustrate, I saw it as the chance to think about how I might function without said oven for a short time. It’s not unlike many things we’ve had to adjust to in the past couple of years as we’ve done our best to navigate through the current state of the world.

My mind starting listing off the goodies that can easily be created without an oven - semifreddo, ice cream, fruit fools, chocolate/nut/dried fruit barks, brittles, chocolate truffles, lemon curd/cream with berries, whipped ganache with caramel and chocolate crunchies, crepes with sautéed fruit, crepe cake . . . . You get the idea.

Perhaps I should be thinking of this as the “ghost of Christmas past” since we’ve already slid into January, but I think it’s still fun to tell you about this deelish semifreddo. Remember - Valentine’s day isn’t far away.

For our small family gathering for Christmas Eve (also a celebration of what would have been my father’s 100th birthday), I chose a chocolate semifreddo, a classic Italian “half-frozen” dessert. While many semifreddo recipes are based on the incorporation of whipped cream or meringue into a sabayon type of mixture (egg yolk, sugar, liqueur or wine or citrus juice), this one is a combination of a Swiss meringue and whipped dark chocolate ganache placed in a mold of choice, frozen and essentially ready to serve whenever the time is right. A perfect make ahead dish.

I chose the simple loaf pan approach in which you lightly grease the pan then line it with plastic wrap that overhangs the sides and gives you enough to cover the semifreddo once it’s in the pan. For individual portions, it’s fun to use small ramekins ready to serve right out of the freezer. Just garnish with a dollop of whipped cream and some crunchies or fresh berries. Easy peasy. You can also scoop it like ice cream to top a crisp or crumble (if your oven is working - ha!).

For the ganache portion, place 170 g / 6 ounces dark chocolate (chopped or discs if that’s what you have) in a medium heat-proof bowl. Bring 360 ml / 1.5 cups heavy cream to a boil in a saucepan on the stovetop or in a glass Pyrex measuring cup in the microwave (my preference). Pour the hot cream over the chocolate, let sit a minute then gently stir to blend. Add in 2 teaspoons vanilla extract and 1/4 teaspoon kosher salt. Cover the surface with plastic wrap and chill in the fridge a good hour or two.

NOTE: You’ll be whipping the ganache then blending the cooled Swiss meringue into it so think about your timing. I used my trusty Kitchenaid hand mixer for the chilled ganache while the Swiss meringue was in progress.

For the Swiss meringue, fill a medium saucepan half full with water and bring to a simmer. In a separate bowl that will nest nicely in the saucepan, whisk together 3 large egg whites (this process goes faster if they’re already at room temp) and 133 g / 2/3 cup granulated sugar then place it over the simmering water. Whisk constantly until the mixture reaches 160ºF. Transfer the meringue into the bowl of a stand mixer with the whisk attachment and beat on high speed until cooled and thickened with shiny, stiff peaks (I usually give it a good 10 minutes).

Blend the meringue into the ganache in three additions, folding to incorporate. It’s OK if there are a few meringue streaks left.

Part way through the folding

Scrape the mixture into the prepared pan, cover and freeze. Give it a minimum of 6 hours but overnight or up to several days is even better.

When ready to serve, I find it easiest to overturn it gently onto a plate and peel off the plastic. For garnish I have cocoa nib brittle, pistachio nougatine, chocolate cookie crumbs, and, for the pièce de resistance, freezer stash strawberry macarons filled with strawberry Swiss meringue buttercream, a center of chocolate ganache and a dusting of strawberry powder on top. Whoa!

Stripes of brittle and nougatine across the surface, a bottom collar of chocolate cookie crumbs and a crowning flourish of strawberry macs.

I finished off the decor earlier in the afternoon on Christmas Eve so that I could have my garnishing completed and the whole thing ready to slice. Then I held it in the freezer until dessert time. Yes!

For serving I spooned out a small pool of this past summer’s roasted Michigan strawberry purée from my freezer stash, a slice of semifreddo, dollop of whipped cream, chocolate cookie crumbs and a strawberry macaron.

You can’t go wrong with marrying tastes and textures like these. Chocolate-y, creamy, crunchy, chewy and fruity. Yum yum yes.

The good news is, as of January 4th, the oven has been repaired and is functioning in good form. Of course I had to bake some croissants don’t ya know.

Keep on keeping on everyone. Make 2022 your best year yet.

Our first “BIG” winter storm of the season