Tosca almond torte

IMG_0968.JPG

This project came about as a result of three forces: Lindsey Shere, Brontë Aurell and Dorie Greenspan. Not a bad way to start eh?

For some months I’ve had the simple almond torte recipe from Lindsey Shere’s iconic book “Chez Panisse Desserts” on my to do pile. I still had some of Mandelin’s fabulous almond paste on hand and thought why not?!

IMG_0546.JPG

So I made it and LOVED it!

Here’s the torte run down: butter a 9” springform pan or round cake pan and line the bottom with parchment; heat the oven to 325ºF; beat 250 g/1.25 cups sugar with 227 g/8 ounces soft almond paste (it works well to grate it!) to blend well; beat in 227 g / 8 ounces soft unsalted butter and a teaspoon vanilla extract then cream for several minutes until light and fluffy; beat in 6 large room temperature eggs, ONE at a time, until each is thoroughly blended in; fold in 130 g/1 cup all purpose flour, 1.5 teaspoons baking powder and 1/4 teaspoon salt, blending just until combined. Transfer batter to prepared pan, smoothing the top with a small offset spatula.

IMG_0549.jpg

Bake for about an hour to an hour and a quarter, until a tester inserted in the center comes out clean. Remember - always check sooner than later! Gently touch the center and it should feel springy. Let it cool in the pan about 20 minutes then un-mold and cool on a wire rack.

Here it is in all its simple glory, bottom side up. No muss, no fuss - just one delicious cake. On it’s own dusted with confectioner’s sugar or with some lightly whipped cream and fresh berries, it’s all good.

IMG_0558.JPG

Then two other things happened that pushed me to the next step in this process. I happened upon a Dorie Greenspan piece in NYT Cooking with a recipe for “Swedish Almond Cake”.

Hmmm I thought, this one sounds good too. While the cake itself doesn’t contain any almond ingredients, It’s deelish and buttery and includes a cooked almond/butter/sugar/flour topping (known in Sweden as “tosca” topping) that goes onto the cake part way through the bake.

I made D.G.’s version and it’s fantastic. Just go to the recipe and try it yourself - you won’t be disappointed.

Now cue Brontë Aurell’s book “Brontë at Home” to which I’ve referred in both my rye buns and Danish Kringle posts. That’s where I first learned about tosca topping. Her’s is very much like the one Dorie G. uses with just a few slight variations. Hey! Why not make Lindsey Shere’s almond torte and add the tosca topping to it? What a wonderful almond-y treat it could be!

And so I did.

IMG_0972.JPG

A quick note: I recommend using a springform pan for this since it would be difficult to turn it out of a standard round cake pan due to the topping.

Prepare the almond torte batter and once the cake is in the oven, get the topping ingredients ready to go. I tweaked DG’s topping recipe by reducing the butter and sugar, using brown sugar instead of granulated and subbing heavy cream for milk.

Here’s my mise: 80 g / 5.5 tablespoons unsalted butter; 100 g / ~ a cup sliced almonds; 80 g / scant 1/2 cup dark brown sugar; 2 tablespoons all purpose flour; 3 tablespoons heavy cream.

The baking time for the almond torte is somewhat longer than for Dorie G’s butter cake but either way, bake the cake about half way then make the tosca topping. Mix the topping ingredients in a saucepan over medium heat and stir to melt the butter. Bring to a boil and cook for a minute or so.

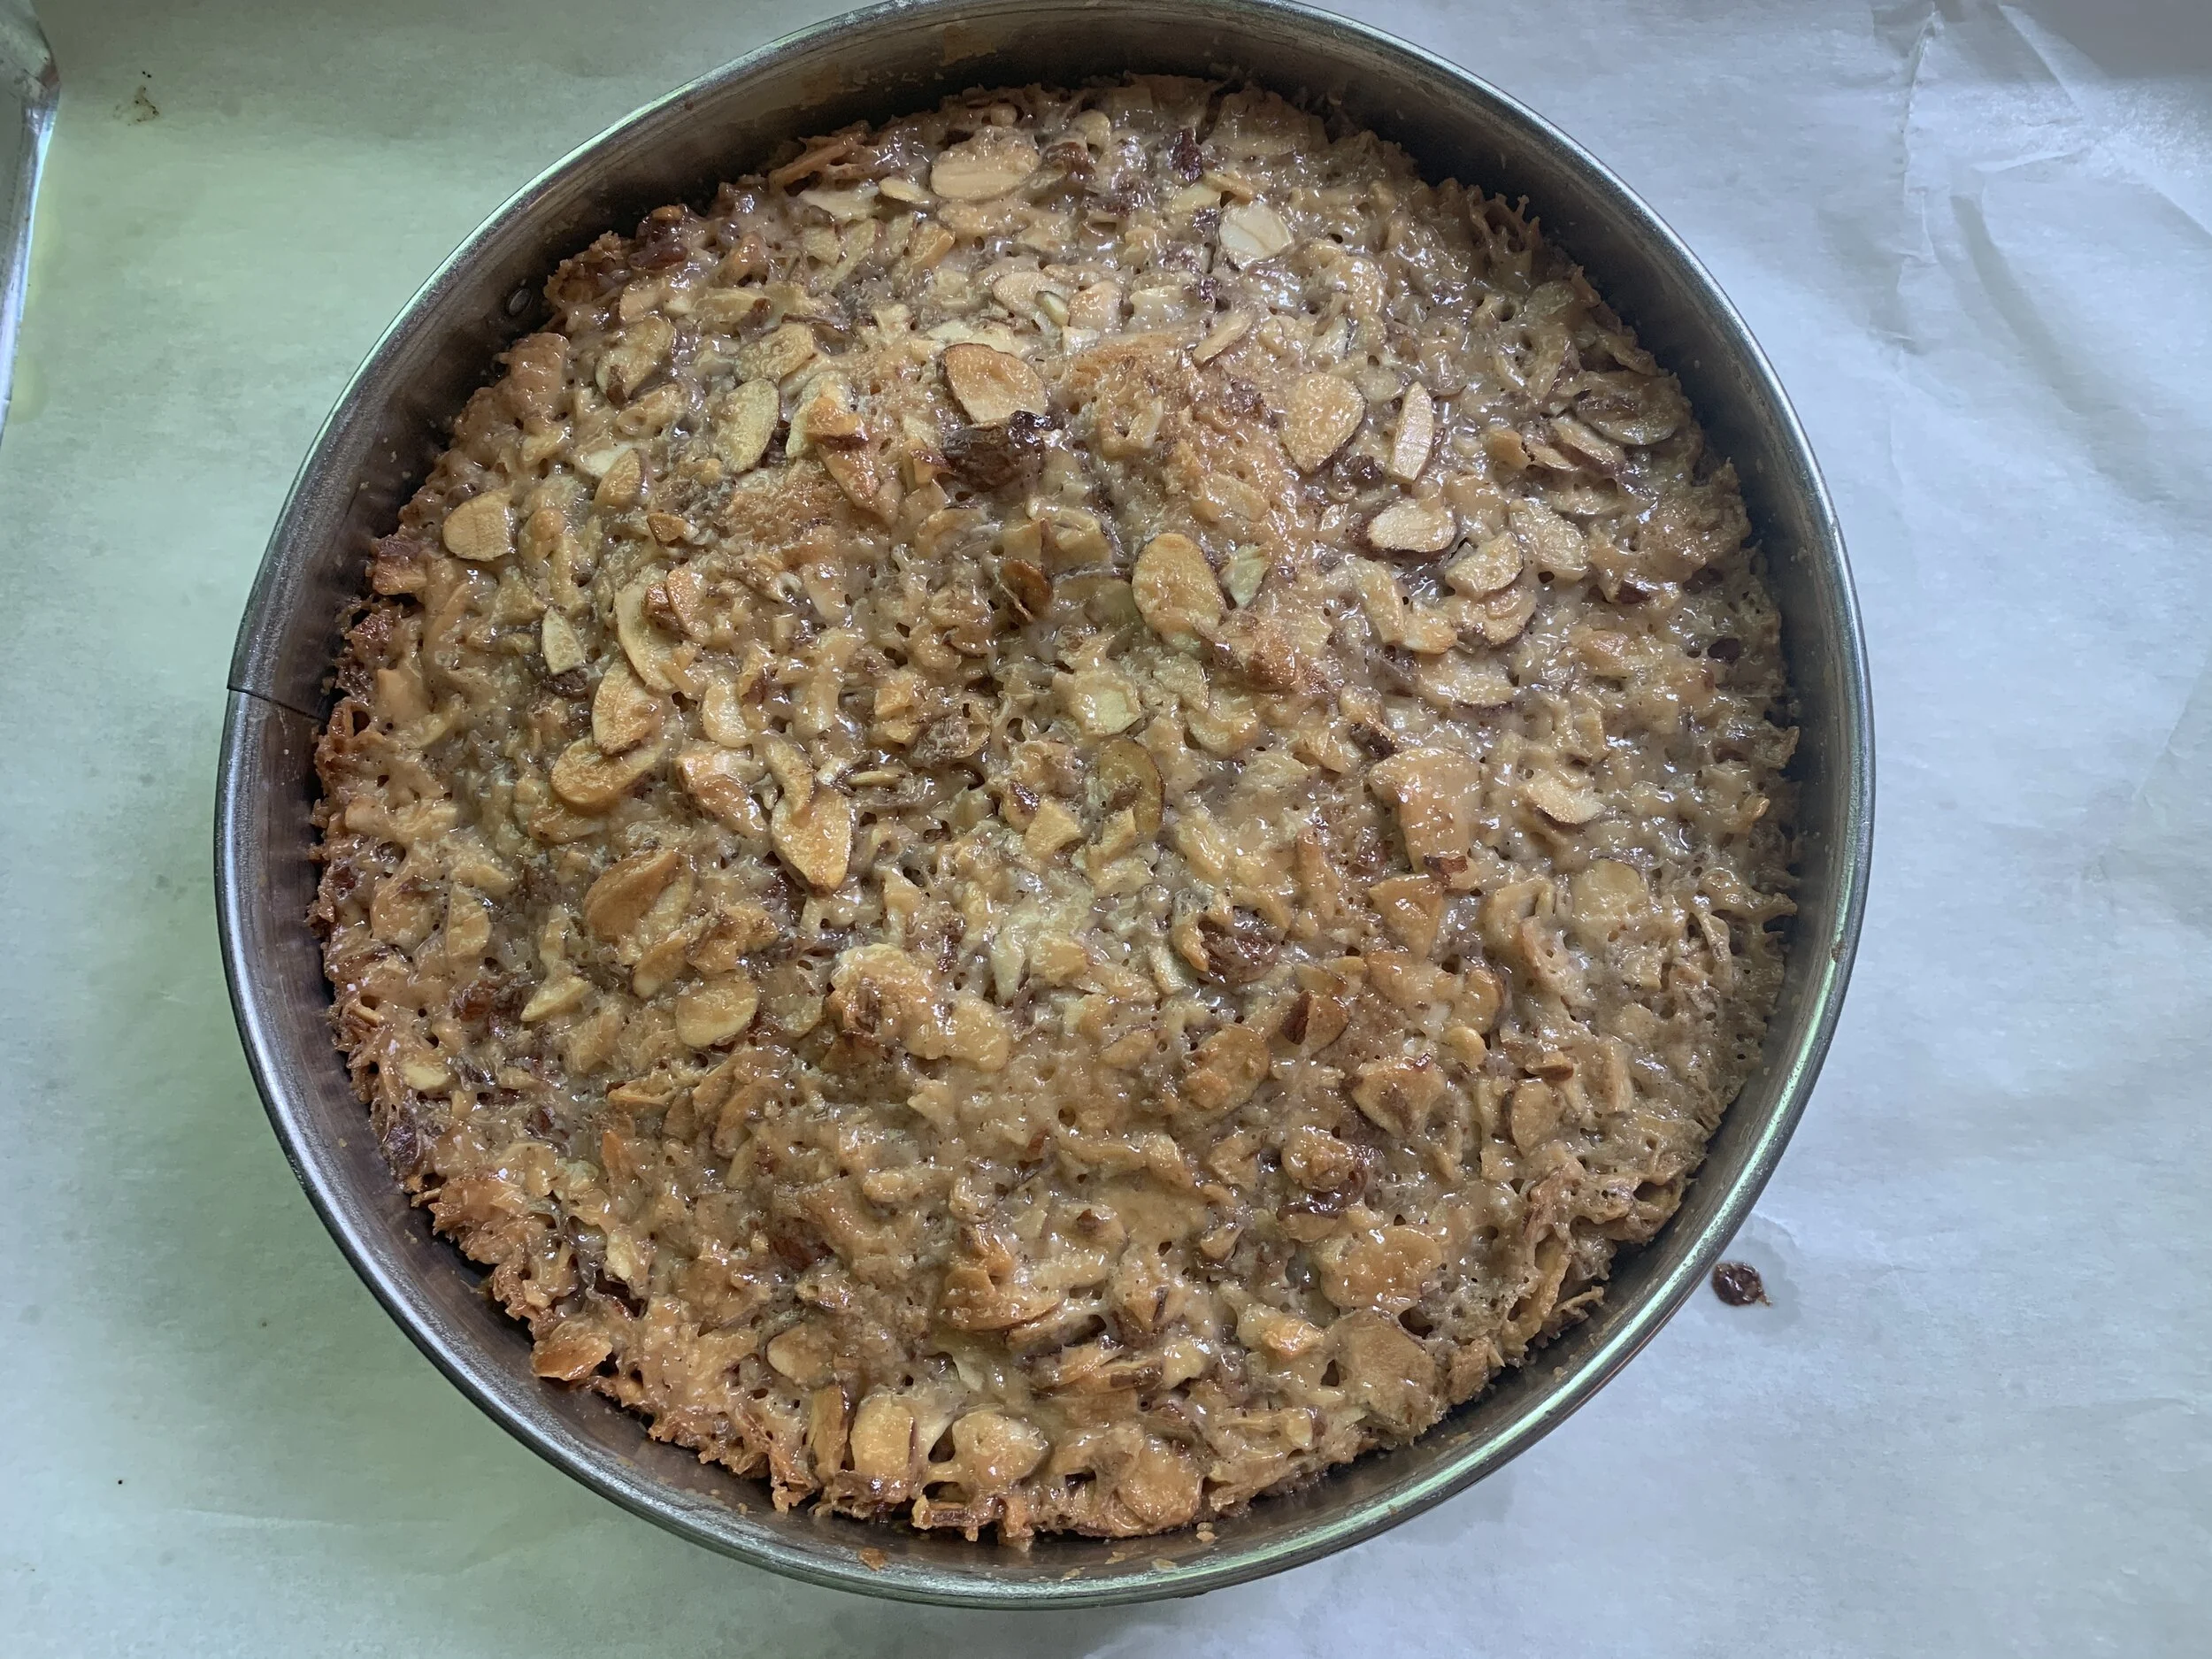
Take the partially baked cake out of the oven and gently portion the topping over the cake, spreading with a small offset to cover the top. Pop it back into the oven and finish baking.

IMG_0937.jpg

The topping should become beautifully golden, the liquid-y appearance should set and caramelize and the aroma . . . . Oh my.

IMG_0938.JPG

Soon after it comes out of the oven take a paring knife or offset spatula and gently run it around the edges of the cake so they won’t stick to the pan. Then let it cool 10-15 minutes, remove the sides of the springform pan and finish cooling to room temperature.

IMG_0967.JPG

Enjoy a slice with a fresh cup of coffee or tea or just by itself au naturel. It is SO good.

IMG_0970.JPG

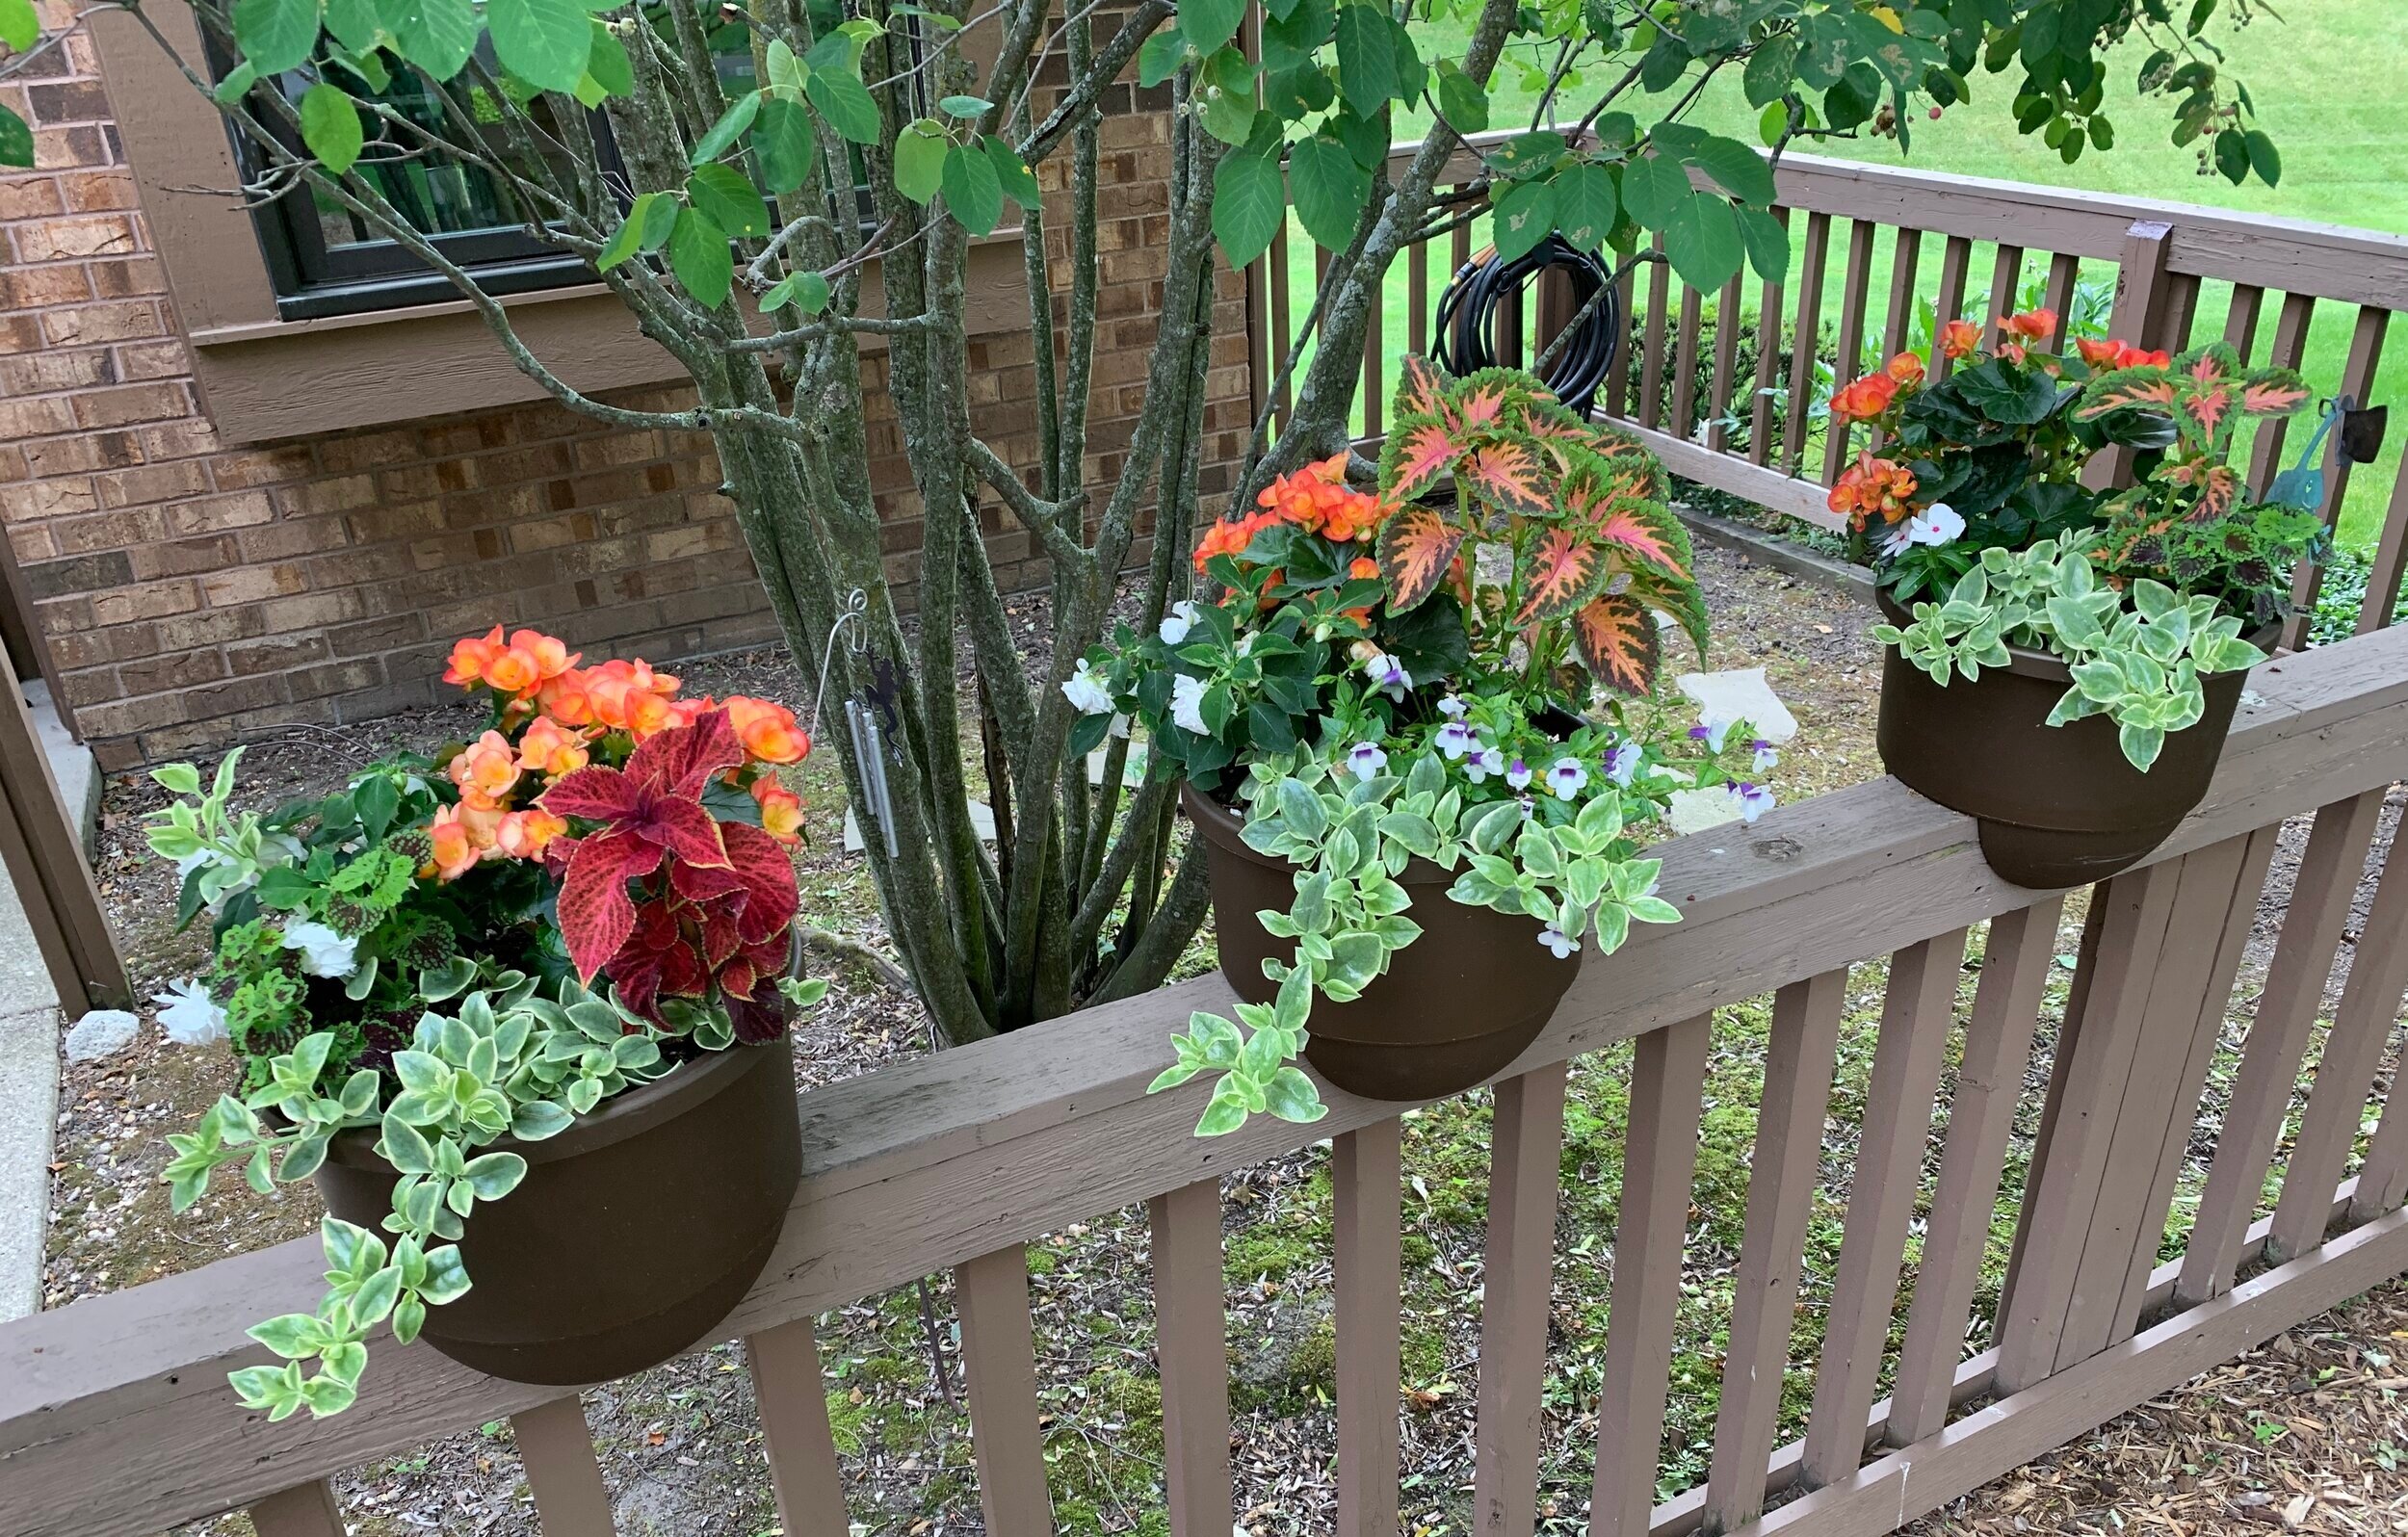
Here’s to a safe and calm summer with beautiful deep blue skies and nature’s varied hues to give us peace.

We can do this.

IMG_1042.JPG

Chocolate pot de crème fudgesicle

IMG_1046.JPG

Just think about this - one delicious base and two ways to use it - classic pots de crème and a creamy, frozen, reminiscent-of-childhood treat. What a great way to create a luscious chocolate-y summer dessert duo with a minimum of oven work involved. Even better, to make it more enticing, it’s a make ahead project too!

This takes me back to Gracie’s days. At the restaurant I used to make these chocolate pots de crème in small brown espresso cups topped with a dollop of lightly sweetened Chantilly cream and served with a baton of delicious vanilla shortbread. Just enough to satisfy an after dinner sweet tooth with rich, cool and creamy luxury.

Then one day I discovered that I could take any leftover custard base I had in the fridge, pour it into silicone molds and freeze it. After all, the mixture is essentially crème anglaise (dairy, yolks and sugar), the same base used to make ice cream. So why not!

The perks of silicone molds are not only the many, many shapes and sizes out there but also their oven safeness and their freeze-ability and flexibility. Once frozen, simply push the treats out onto a plate or into a bowl when ready to serve.

The grey cube shape here (thanks Chef Joe) is an Elastomoule made by the French company De Buyer. The majority of my silicone molds are the Italian brand Silikomart which I typically buy through Kerekes, a NYC based company with a great selection of all things pastry plus great customer service.

IMG_1051.jpg

The first time I sampled one of these, my taste buds took me back to the fudge-sicles of childhood (without the stick!) but with a creamier, richer smoothness that blew them out of the water! Since with this approach the custard is what’s referred to as “still” frozen rather than churned in an ice cream maker, it isn’t aerated and thus has a denser texture. Mmmmm!

IMG_1049.JPG

Before going on to the recipe, here’s a quick back story. In 2009 I had the good fortune to spend some time in Paris pursuing professional development courses at Le Cordon Bleu and language study at L’Alliance Français. Needless to say, I was regularly out and about on the metro as well as being a flâneuse, strolling along les rues. I used to love going to les grand magasins, the big department stores like Galeries Lafayette and Bon Marché to browse all manner of things. A feast for the eyes!

On one visit to Galeries Lafayette I came upon these crinkled, colorful little espresso cups from Revol the French porcelain company (they still make these “crumpled cups” in three sizes!!). Easy to pack and a perfect addition to the different sizes and shapes of ramekins I so easily fall for. I’m a sucker for baked custards so why not have some cool oven safe receptacles in which to bake them.

IMG_1053.jpg

The full base recipe fills 8 to 10 four-ounce ramekins. Obviously your yield will vary depending on what you’re filling. Smaller portions, greater yield.

For this project I made 2/3 of a recipe (4 yolks) with a yield of six of my cute Revol cups and ~ten 42 g/1.5 oz frozen cubes. I love small portions.

Don’t let the image below confuse you - just pretend there are 6 yolks in that bowl! The recipe quantities given are for the FULL recipe using 6 yolks.

IMG_1016.jpg

Finally - here we go.

Place 113 g / 4 ounces chopped dark chocolate (I like a 60-66% range) in a bowl or a glass Pyrex measuring cup. Heat 4 cups heavy cream and a pinch of salt in a saucepan, bring it to a boil over medium heat then pour it over the chocolate and blend until melted. Note: You can reduce the fat content somewhat by using 2.5 cups cream and 1.5 cups whole milk if you’d like.

In a separate bowl whisk (with gusto!) 6 large egg yolks with 100 g / 1/2 cup granulated sugar to thicken and lighten them, a minute or two. Temper the hot chocolate mixture into the egg yolks and return all to the saucepan.

Cook over medium heat while stirring (I go back and forth between a silicone spatula and whisk) until beginning to thicken.

When making crème anglaise you don’t want the mixture to boil. You’re shooting for a temp of 180- 185ºF (82-85ºC). If you don’t have a thermometer, there are several signs to help you. You should feel a bit more drag as you stir the mixture. Look for tiny bubbles forming around the edge of the pan and steam coming off the surface. Coat your spatula with the mixture and run your finger through it - it should hold the track and not run. The more you do it, the more you just know.

Strain the mixture and fill whatever ramekins you’re using for pots de crème, leaving about 1/4 to 3/8 inch space at the top. Place ramekins in an oven safe dish and fill the dish with hot water to a level about 1/2 way up the ramekins’ sides. Cover loosely with foil and place in a 300ºF oven. Bake about 30-40 minutes until almost completely set but with a jiggle in the center. I always check at about 20 minutes then every 5-8 minutes or so until I’m happy with the jiggle status. They will set more as they cool and chill.

I filled my 6 Revol espresso cups which hold about 2 ounces. The rest of the base went into the fridge to chill before transferring to silicone molds and the freezer.

IMG_1019.JPG

See the before-oven (liquid) above and after-baking (set) difference below?

IMG_1020.JPG

Once out of the oven, lift the ramekins out of the hot water bath and place on a rack to cool fully. Then cover with plastic wrap and refrigerate to chill thoroughly, at least several hours. They’ll keep for several days - remember the planning ahead approach? It’s a good one.

If you’ve made your custard base with an eye to both pots de crème AND fudgesicles, refrigerate the rest of the base for a day or two where it should thicken nicely. Fill your flexi-molds to the top, using a small offset spatula to smooth and remove any excess, then place the molds on a sheet pan and into the freezer to firm up. Once frozen I cover the surface directly with plastic wrap - the molds can stay in there for days up to a couple of weeks.

When you’re getting close to serving, give yourself an extra 10-15 minutes or so once you’ve popped them out of the molds. At least with my “deep” freezer, they freeze very firmly and do well with a bit of softening before enjoying their luscious goodness.

Serve them along side the pots de crème on small plates as I did or by themselves in a bowl with your favorite ice cream type toppings.

I love a dollop of whipped cream, cookie crumbs, caramel sauce and chopped toasted or candied nuts, but you could also choose a bit of finely diced crystallized ginger, toasted coconut or raspberry or cherry coulis all of which complement chocolate so nicely. Valrhona chocolate crunchy pearls aren’t bad either.

IMG_1047.JPG

Dense, chocolate-y, creamy and oh so delicious. Yes.

Please be safe out there. We still have a long way to go.

It’s officially summer - there’s still plenty of time to pot up some assorted annuals and make yourself smile!!

IMG_1061.jpg
IMG_1066.jpg
IMG_1069.JPG


Roasted strawberry ice cream and ginger shortcakes

IMG_1009.jpg

This is strawberry shortcake at it’s best! Roasted balsamic strawberries churned into a deelish ice cream, paired with fresh strawberries and ginger scones. Oh boy!

Recently I was perusing Rose Levy Beranbaum’s “The Bread Bible” (I can’t remember exactly why!) when I came across “Rich and Creamy Ginger Scones”. I had forgotten that she includes a section on quick breads, muffins, biscuits and scones in this wonderful bread tome of hers.

Never one to deny myself a new scone experience, since I had crystallized ginger in my cupboard (still working through the pantry!) and heavy cream in my fridge, I definitely wanted to give these a try.

IMG_0878.jpg

It also just so happened that I had purchased some strawberries at our local Meijer supermarket that wouldn’t necessarily be considered primo, if you get my drift. I decided to roast them up, purée em and make strawberry ice cream. The strawberry ginger shortcake idea was born.

IMG_1011.jpg

When you hear the terms scones, shortcakes and biscuits, one can’t help but ask “What’s the diff?” They’re pretty similar all-in-all although some have egg, some not; some heavy cream, some buttermilk or other dairy like yogurt or even ricotta; some softer self-rising flour like Lily White (i.e. biscuits) and some with a flour twist like replacing a portion of all purpose flour with spelt or whole wheat pastry flour. LOTS of options.

Most shortcake recipes I’ve used or reviewed contain flour, sugar, baking powder, salt, cold butter chunks and cream, all put together with a light touch. The word short refers to the fact that the butter coats the flour to prevent gluten strands from lengthening (hence short), keeping the product flaky, light, crispy and delicious all rolled into one!

Let’s make the principal players.

IMG_0879.jpg

To roast the berries hull and chunk up about a pound of strawberries, toss them with a tablespoon of good quality balsamic vinegar, a tablespoon of brown sugar (light or dark, it’s up to you) and 1/4 teaspoon freshly ground pepper. I used a Silpat but parchment is fine too. Roast them at 375ºF for about 20 minutes until dark and syrupy, stirring them a couple of times. Note to self - punch up the balsamic and pepper next time.

IMG_0880.JPG

Let the berries cool then either mash them with a potato masher or purée them if you’d like them a bit more refined. I made my usual ice cream base and blended in the berry mash while chilling the base over an ice bath. I let the strawberry blended base mature in the fridge for a couple of days before processing and freezing.

On to the ginger scones. The primary difference in this recipe from the one I normally use is more butter (170 g vs 113 g), twice as much sugar, no egg, same amount of cream (but whipped!), a teaspoon of ground ginger, zest of a lemon and the addition of 113 g finely diced crystallized ginger.

To get ready, whip the 180 g/3/4 cup cold heavy cream to soft peaks and cube the cold 170 g/6 ounces of butter - hold both in the fridge. The mixing steps are the same as for your typical scone, biscuit or shortcake: blend in a medium mixing bowl 260 g/2 cups all purpose flour, 66 g/1/3 cup turbinado sugar, 14 g/1 tablespoon baking powder, 1 teaspoon ground ginger, zest of a lemon and 1/8 teaspoon salt; rub and flatten the cold butter pieces into the dry ingredients to a mix of coarse crumbs and visible pieces of butter; add in the crystallized ginger; fold in the whipped cream. You got it!

Remember the key to scone mixing is cool, quick, decisive - don’t over handle the dough. Turn it out onto a lightly floured surface and give a few quick kneads to bring it together.

I like the way RLB divides the dough in half, forms 2 six-inch rounds about 3/4” thick, then cuts them in either 6 or 8 pieces depending on the size one prefers.

IMG_0881.JPG

Heat the oven to 400ºF with either a baking stone or a sheet pan on the middle rack. The scones go onto a second sheet pan, parchment lined, brushed with cream and sprinkled with raw sugar then placed in the freezer for 15 minutes or so to firm them up and keep that butter COLD!

Don’t forget that you can take it to this step and freeze them for baking another time. I love plan ahead projects.

IMG_0883.jpg

Pop the baking sheet onto the heated sheet pan and bake for 15-20 minutes. I usually give them 10 minutes, rotate the tray and check again in about 8 minutes. If they seem to be browning too quickly I turn the oven down to 375ºF.

IMG_0885.JPG
IMG_0888.JPG

These have an ethereal quality -crispy outside, light and flaky inside, just the right amount of ginger and oh so good.

I’m a firm believer in eating scones, shortcakes and biscuits the day they’re made, otherwise freezing them the day they’re baked to preserve their like-fresh quality. This time I did a little test: I took 4 baked scones out of the freezer, loosely wrapped them in parchment paper, left them at room temp and the next morning gave one a 5-8 minute warm up in a 300º oven. Still SO GOOD. Crisp out and light in, a match made in heaven.

I repeated this over the following 2 days and found they continued to offer that just baked enjoyment. For THREE days, they sat wrapped in parchment at room temperature and did not disappoint. Amazing.

Steve and I enjoyed the combo of roasted strawberry ice cream, great quality fresh berries that we happened upon at Kingma’s market and of course the perfect ginger scones. Thanks Rose.

IMG_1010.jpg

Swiss meringue buttercream

IMG_0771.JPG

Ciao everyone! It took me a bit of time to get this post together, but here it is at last. You’d think with all the extra time on our hands during our staying at home (11 weeks and counting), I’d have knocked this baby out in a few days. I decided to take some extra time to add some recipes for some base components that are great ones to have in your baking armamentarium, and you’ll find links for those throughout the post.

Remember - you can also go directly to my recipe page for a list of base recipes with links to their PDFs and in some cases to blog posts on that particular topic.

Let’s go for it.

Never a big sweet frosting lover, I usually turn to a simple lightly sweetened Chantilly cream, a flavored whipped mascarpone or a basic ganache to give my petite cakes a swirl of panache. Buuuuuuuuut . . . . . . in recent years I’ve become a huge fan of SMBC. So light, airy, buttery and not cloyingly sweet, it’s rife with flavor possibilities. Let’s take a look at just a few and see what you can create to tickle your taste buds.

The beauty of this process is that the base remains the same - egg white, sugar, butter - with flavor added once all the butter is incorporated. Depending on what I plan to use the buttercream for, I’ll do a full batch as a single flavor or divide it in two and create two different flavors. The half batches work well for my small portion cake projects in which a nice swirl or dollop per un petit gâteau is all that’s needed. How efficient is that?

It’s the perfect make-ahead component too since it holds well in the fridge for several days and in the freezer for months. Just remember to thaw and bring it completely to room temperature before rewhipping and using for its intended purpose. It’s most commonly used for filling and decorating layer cakes, garnishing petite cakes or for sandwiching French macarons. A squiggle on an èclair or choux puff might not be bad either!

I reviewed a number of recipes from different sources and found many variants in terms of sugar to egg white ratio (anywhere from 1:1 up to 2:1) as well as differences in the amount of butter added e.g. when using 6 large whites, the butter quantity can range from 340 g / 12 ounces up to a full 456 g / one pound or even more!

Here’s my full batch base recipe (includes flavor variations!) which makes about 4.5 cups of buttercream - generally plenty for a 2-layer eight or nine inch round cake with leftovers for decorating, or just the ticket for some dozens of small treats. And remember - you can freeze the leftovers!

Getting ready to go!

Getting ready to go!

On the day you want to make your SMBC, plan ahead and weigh out 370 g unsalted butter and cut it into 1/2 to 1 inch cubes. The butter needs to be at room temperature before adding it to the meringue!

Have your flavor ingredients ready to go too - from a pinch up to 1/4 teaspoon of salt to taste, 2 teaspoons vanilla (or other extracts) plus your chosen additions like caramel, fruit purée, melted/cooled yet liquid chocolate or lemon curd.

For the meringue place 6 large egg whites and 300 g sugar in a bowl over a steaming bain marie whisking constantly until the mixture reaches a temperature of anywhere from 145-155ºF. Transfer the mixture to the bowl of a stand mixer fitted with the whisk and beat on high until completely cool and marshmallow-y. I plan on a good 10 minutes for that.

Realize that the bottom of the mixing bowl may still feel a tad warm to the touch due to the heat of mixing. I test the meringue by putting a dab on my wrist - if it feels cool, I start adding the butter. You want to avoid adding it too early or you’ll end up with a soupy mess.

IMG_0572.JPG

Add the butter several pieces at a time, blending completely after each addition. The mixture should thicken and become smooth and creamy by the time all the butter has been added. If it’s too loose, pop it into the fridge or freezer to firm it up and then rewhip.

Butter added - just waiting for flavor additions

Butter added - just waiting for flavor additions

When incorporating flavor components, they should be at room temperature, added slowly and blended on medium low with the whisk attachment to keep the buttercream from separating. Then scrape down and give it a final high speed whisking for a couple of minutes. Some folks switch to the paddle to give it a final fluffing up.

For a full batch of apple cider caramel blend in 1/4 teaspoon salt, 1 cup caramel sauce with 2 tablespoons boiled cider (available from King Arthur Flour) and 1 teaspoon vanilla extract or vanilla bean paste.

Apple cider caramel

Apple cider caramel

For white chocolate mocha have ready 170 g white chocolate, melted and cooled yet still liquid, plus 2 tablespoons instant espresso powder dissolved in 2 tablespoon hot water and cooled. Blend it in. Yum.

White chocolate mocha

White chocolate mocha

Oh man - yes I know this isn’t gelato but these images remind me of those mounds of creamy, cold goodness on display in all the gelaterias in Italy!

In addition to the two above (let’s call them richer flavors), I also went for the lighter, springier choices of lemon, mixed berry and honey orange. You can find details on the flavor additions here.

Now what exactly might I do with all this buttercream?? Small cakes of course!

First a quick word on piping tips. Just three tip shapes - round, star and French star - can create a bevy of designs for you. For years I’ve relied on my round and basic star tips (closed or more open like the one in the rear) to pipe the simple designs I prefer, but the French star - oh my. It has finer spacing which creates more of a seashell or tighter spiral look. I LOVE it. The only one I have is the one you see below, but I think a couple more sizes would do me just fine. Yup.

BTW just so you have a sense of size, the round tips range from 6 mm at the bottom of the image up to 12 mm (~1/2 inch) at the top.

IMG_0871.jpg

I chose pecan cakes for the apple cider caramel SMBC, baking them in petite tinned steel brioche tins. NOTE: it’s very important to butter the tins thoroughly and pop the cakes out within a few minutes of coming out of the oven to avoid sticking. One could also use mini muffin tins like I did in a previous post where you’ll find the pecan cake recipe. Silicone molds would also work well although I think the cakes brown and crisp better in metal molds.

My small round tip served nicely to pipe a daisy like design to compliment the fluted ridges of the cakes. Pretty simple stuff.

Apple cider caramel on pecan pie cake

Apple cider caramel on pecan pie cake

For the white chocolate mocha SMBC a classic moelleux chocolat seemed just right, baked in one of my favorite square savarin silicone molds. The French star tip yields a lovely scallop like swirl. Those are some Valrhona dark chocolate crunchy pearls on top. Delicious.

White chocolate mocha on moelleux chocolat

White chocolate mocha on moelleux chocolat

The lemon cake is essentially financier batter to which lemon zest has been added. I baked these in mini-muffin silicone molds. So simple and nice.

Lemon on citrus financier

Lemon on citrus financier

Since I made a batch of lemon curd to add to the lemon buttercream, I also used it to create a center flavor burst in the cake before topping with the final flourish. Using a round tip I cut out a core piece (for snacking of course), filled it with the curd and finished it off with a star tip swirl.

IMG_0768.jpg
IMG_0770.jpg

For the mixed berry use your favorite base muffin recipe and fold in an assortment of berries like blue, red and black. I generally avoid adding fresh strawberries to cakes or muffins due to their water content and mushiness after baking. Once again a star tip provides the luscious ridges. Create different looks as you swirl, twist and lift your tip.

Mixed berry on triple berry muffins

Mixed berry on triple berry muffins

For the honey orange SMBC I again used my base financier batter, replacing 1/2 the almond flour with finely ground pistachios and adding orange zest for a lovely citrus touch. Similar to the lemon cakes above, I used my favorite mini-muffin silicone mold for the cakes and the star tip swirl for the top flourish with a few pistachios tucked in the center for a tasty treat.

Honey orange on orange pistachio financier

Honey orange on orange pistachio financier

For a different look I used another favorite ingot rectangular silicone mold which gives me a linear canvas for the buttercream using the French star tip. Same financier, more orange zest in the buttercream for a deeper orange color and a ridge of scallops or stars on top. Remember it’s all about how you twist, swirl and lift! Candied pistachios add just the right crunch. So deeeelicous!

IMG_0942.jpg

Have fun creating your own treats with luscious buttercream the Swiss way!

As spring moves into summer do your best to keep a positive outlook, stay safe and healthy. That’s what counts.

Giant allium

Giant allium

White lacecap Viburnum

White lacecap Viburnum

Fragrant lilac -oh the aroma!

Fragrant lilac -oh the aroma!