Praliné et sablés
/
Some of you know how much I love shortbread cookies (les sablés, en français) and am often playing around with new flavors and ingredients to create something unique and tasty.
There is an ingredient in the pastry world called praliné which consists of toasted nuts coated in caramel that are then cooled and ground into a paste. It is often made with hazelnuts or a 50/50 mix of almonds and hazelnuts, although any nut (nuts in general are referred to as fruits sec, en français) or combination thereof can work.
One of the first sets of recipes we were given in the basic pastry course at Le Cordon Bleu contained a recipe for do-it-yourself praliné or praline paste. One can buy this particular delight ready made in fairly pricey tubs from companies like Valrhona, but I thought it was high time I made it myself. Why not?!
What inspired me to take on this project was a recipe for sablés au praliné from Thierry Mulhaupt (a well known patissier chocolatier in the Alsace region) recently published on the French blog La Cuisine de Mercotte. The recipe for les sablés contains a link for DIY le praliné and I went for it!
Turn them out of the pan onto a Silpat, spreading them into a single layer and separating the nuts as much as possible.
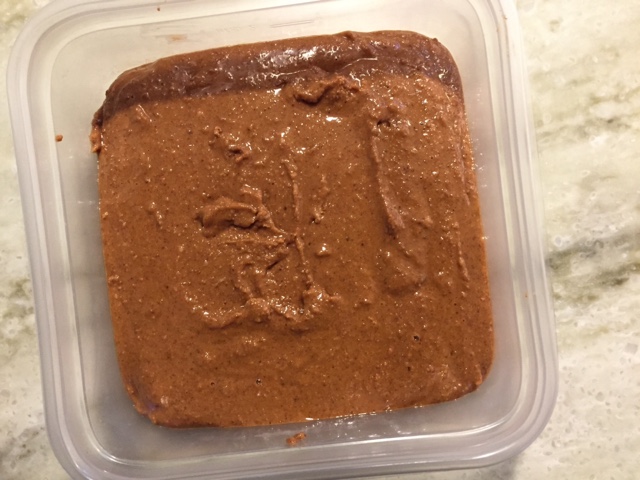
This stuff will keep in a covered container at room temperature for several weeks.
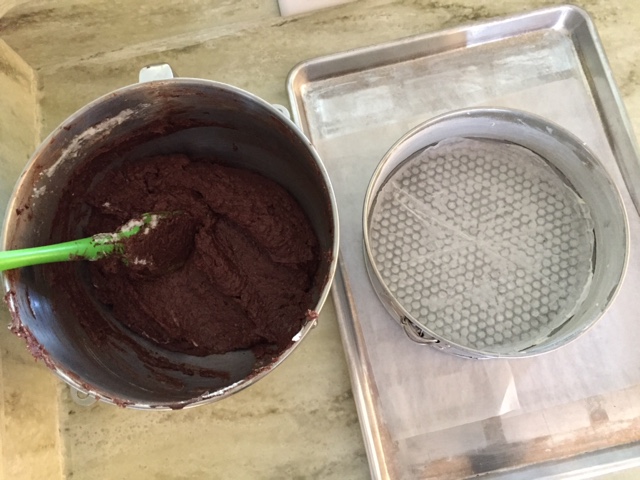
Next comes the cookie dough.
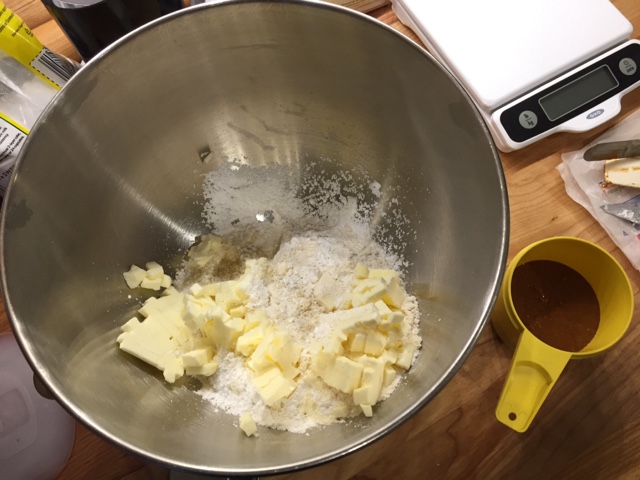
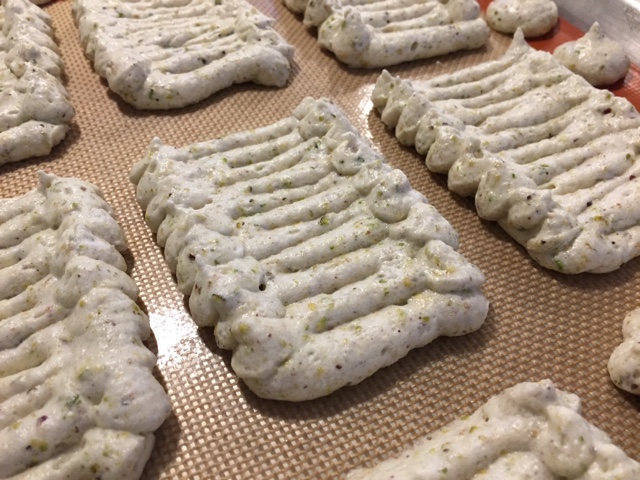
Dice 300 g cold butter and sand it into a mixture of 300 g all purpose flour, 65 g almond flour and 65 g powdered sugar. Add 175 g praliné and a large pinch of fleur de sel and blend to create a smooth dough.


There is an ingredient in the pastry world called praliné which consists of toasted nuts coated in caramel that are then cooled and ground into a paste. It is often made with hazelnuts or a 50/50 mix of almonds and hazelnuts, although any nut (nuts in general are referred to as fruits sec, en français) or combination thereof can work.
One of the first sets of recipes we were given in the basic pastry course at Le Cordon Bleu contained a recipe for do-it-yourself praliné or praline paste. One can buy this particular delight ready made in fairly pricey tubs from companies like Valrhona, but I thought it was high time I made it myself. Why not?!
What inspired me to take on this project was a recipe for sablés au praliné from Thierry Mulhaupt (a well known patissier chocolatier in the Alsace region) recently published on the French blog La Cuisine de Mercotte. The recipe for les sablés contains a link for DIY le praliné and I went for it!
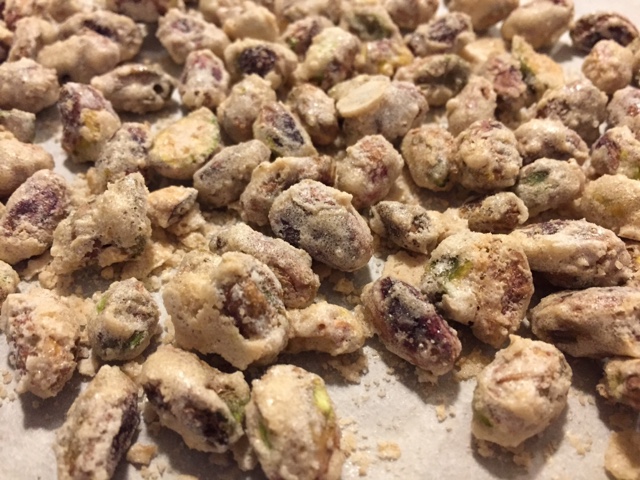
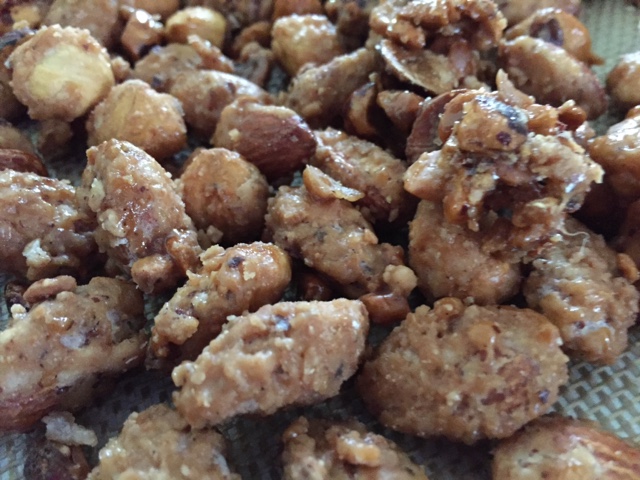
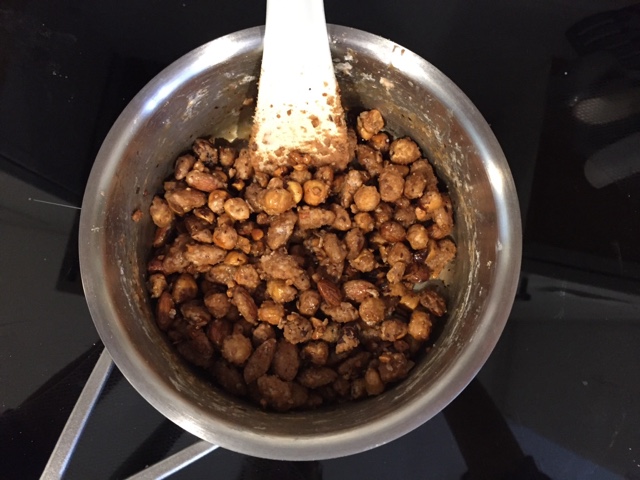
Toast 125 g almonds and 125 g hazelnuts in a 325º oven for about 10 minutes. Make a sugar syrup with 165 g of sugar and 45 g of water and cook it to 121ºC (250ºF). Off the heat stir the warm toasted nuts into the sugar syrup until the sugar crystallizes.
Then put the pan back on medium heat and stir continuously until the crystallized sugar melts and caramelizes to a golden amber.
I must admit that I should have cooked mine a little longer to bring ALL the sugar to a beautiful caramel stage, but sometimes impatience takes over. Still - the nuts were looking pretty good.
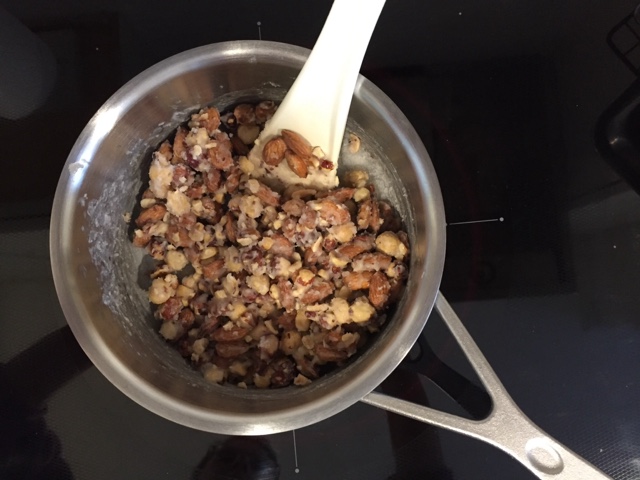
Turn them out of the pan onto a Silpat, spreading them into a single layer and separating the nuts as much as possible.
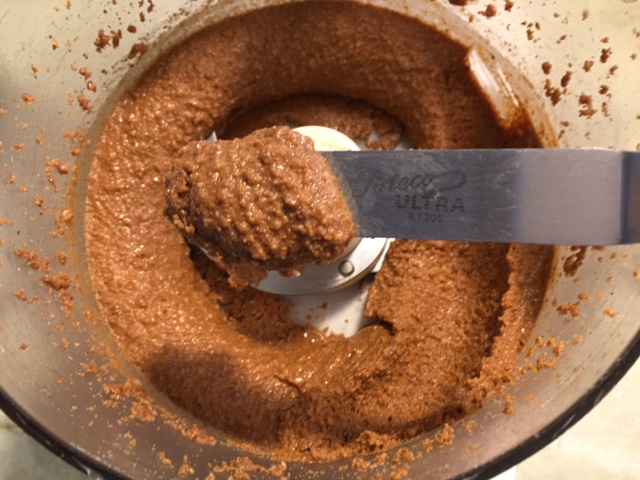
Once cooled place them in the bowl of a food processor and whiz away!
Still a bit grainy above, but I gave it a few more minutes of processing and was pretty happy with the result. All in all it takes a good 8-10 minutes to arrive at the end result.
This stuff will keep in a covered container at room temperature for several weeks.
Next comes the cookie dough.
Dice 300 g cold butter and sand it into a mixture of 300 g all purpose flour, 65 g almond flour and 65 g powdered sugar. Add 175 g praliné and a large pinch of fleur de sel and blend to create a smooth dough.
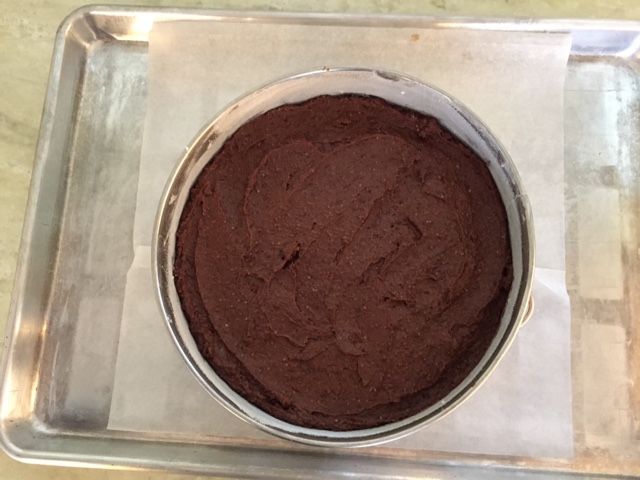
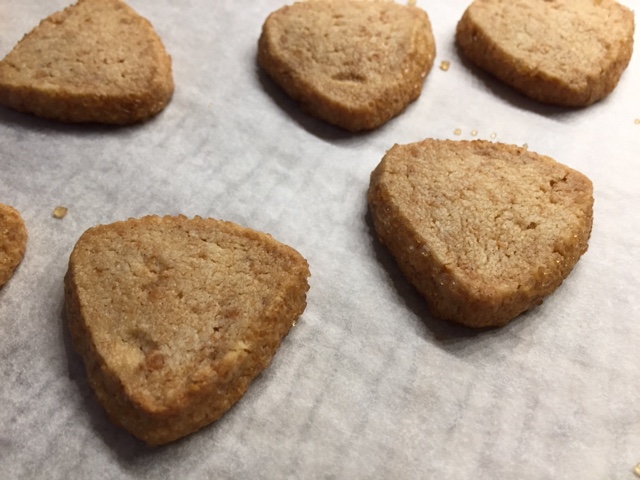
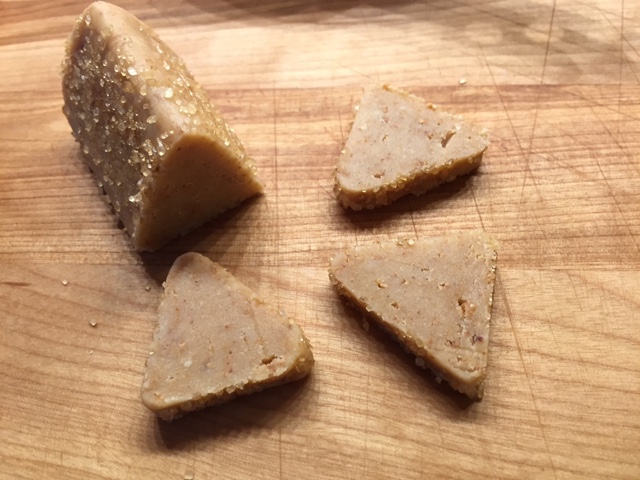
Divide the dough into five 180 g pieces and form logs about 25 cm long. I made mine into triangle logs for something a little different. Wrap and chill.
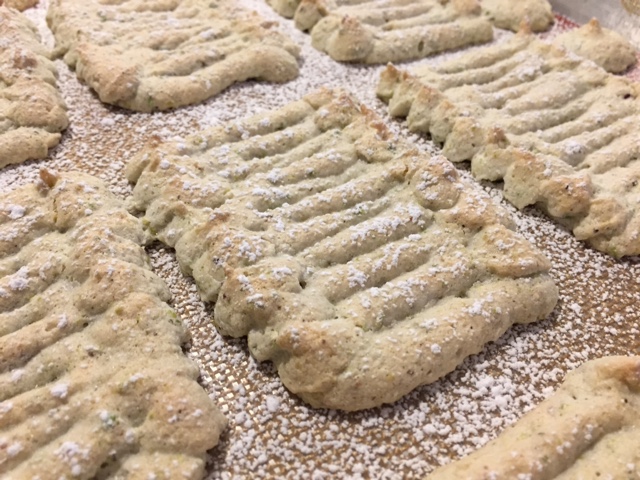
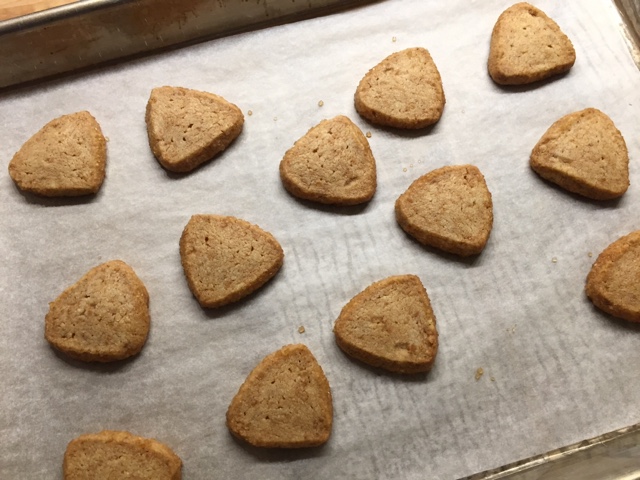
When it's time to bake, heat the oven to 325ºF. Brush the logs with a bit of water, roll in raw sugar and slice into 7-8 mm slices. NOTE: the recipe actually suggests 15 mm slices, however I was going for a thinner cookie.
Place cookies on parchment lined sheet pans and bake about 16 minutes until nicely browned.
I must say these are tasty little morsels. Although the nuttiness is subtle, the butteriness is superb and the texture is melt in your mouth. And the raw sugar crunch adds just the right touch.
Of course, making the praline paste is a time commitment which I suspect many would choose not to take on, and going the "store-bought" route is fairly prohibitive cost-wise.
For me it was worth the effort to make my own, especially since so much of this stuff is about tackling something new, experiencing the process and enjoying the tastes that come along with it.
The good news is that once you make it you can use it for other things like ganache or as an addition to mousses or creams. And remember - it keeps! Only you can decide.