Caramel apple tarts

IMG_3127.JPG

Yippee - it’s officially fall! The recent autumnal equinox dawned bright, crisp and clear with morning temps in the mid-40s, perfect for walking, baking or pretty much anything one might feel like doing. My time of year!

Apples are everywhere - farmers markets, grocery stores, orchards and farm stands - and one can choose the pick-your-own thing or simply buy your favorite of the many varieties available here in west Michigan.

IMG_3160.JPG
 
IMG_3120.JPG

Having a go-to simple apple tart in one’s repertoire is a beautiful thing. As is my practice, I periodically assess my freezer stock of various doughs and decide when it’s time to use something up. This time it was one of the pâte sucrée doughs that I like to use for rustic galettes.

Here’s a printable PDF of the recipe/process using pâte brisée (another fave!).

The approach is very straight forward, not unlike the Provençal tomato tart I just wrote about, although this time there’s no blind baking involved. Gotta like that.

First line the tart rings. In this case I’m making four 100 mm/4 inch diameter tarts, just enough to share with a few folks for dessert. Once lined, I sprinkle a mixture of equal parts sugar/flour (almond flour or fine bread crumbs work too) on the bottom to protect against sogginess from juicy fruit. With apples it’s not as much of an issue as it might be for juicier fruits like berries or stone fruits, but it’s a good practice nonetheless.

If I happen to have some diced/sautéed apples on hand, I put a smattering of those into the tart shell too.

IMG_3121.JPG

For the remaining apple filling I thinly slice a few medium apples and toss them with some vanilla sugar (1/2 to 1 tablespoon per cup of apples, or to taste). You can switch to brown sugar if you prefer that bit of toffee like essence. I generally keep the apples as the centerpiece of flavor and forego adding cinnamon or other spices, but those are popular options with many apple tart/pie bakers. You decide.

I’ve used a number of different apples over the years and love the combination of Jonagold/Fuji or Granny Smith/Macintosh. During my internship in Paris back in 2007 Chef Pascal Pinaud used Golden Delicious for his apple tarts, and they were mighty fine too. Isn’t it fun to experiment?

NOTE: a pound is about 3-4 medium or 2-3 large apples and should yield 3-4 cups. That worked well here with a handful of slices left over. I go for the more the merrier, especially since I like to pile ‘em on.

IMG_3123.JPG

I drizzle a little melted butter over the apples then pop the tray into the freezer while I heat the oven to 400ºF. Start the bake on the lower rack for 10-15 minutes, then move up to the middle rack, turn down to 375ºF and bake for another 10-15 minutes. Some of the apple slice tips start turning brown and I’ll begin to see some juiciness and bubbling developing along with the lovely aroma of baking apples and nicely browning crust. At this point I’ll often turn down to 350ºF and give them another 10-15 minutes. In a nutshell I typically plan a 35-40 minute total bake time for these tarts.

Once out of the oven I drizzle my homemade caramel sauce over and give them 3-4 minutes more in the oven to set the caramel.

Looking good.

IMG_3126.JPG

Served with vanilla ice cream (Steve believes everything is better that way), these were a tasty end to the meal. Très délicieuse!

Here’s to many more autumn baking adventures!!

IMG_3129.JPG

Provençal tomato tart

IMG_3180.JPG

Wow this was good! Steve and I enjoyed this freshly baked, slightly warm tomato tart along with grilled chicken and fresh green beans. A delicious late summer meal.

Since tomatoes are out in FORCE right now I decided to make this Provençal tart, ramping up the cheese to include both Swiss cave-aged gruyère and a crumbling type chevre from Pélussin France, located in the Loire department just south of Lyon. Once again, thanks to The Cheese Lady here in Grand Rapids MI for a great selection of cheeses.

IMG_3164.JPG

This tart is one of those things that you can play around with, changing up the herbs, the cheese, the amount of mustard, even the size and type of tomato. It’s a simple approach - a blind-baked pâte brisée crust, a schmear of Dijon mustard and a layer of grated cheese all topped with slices of garden fresh tomatoes seasoned with a little salt, pepper and your choice of herbs. I added some dabs of goat cheese on top just to give it that certain something. Then it all goes into the oven.

Let’s go through the steps OK?

First line the tart pan with tasty pâte brisée.

IMG_3165.JPG

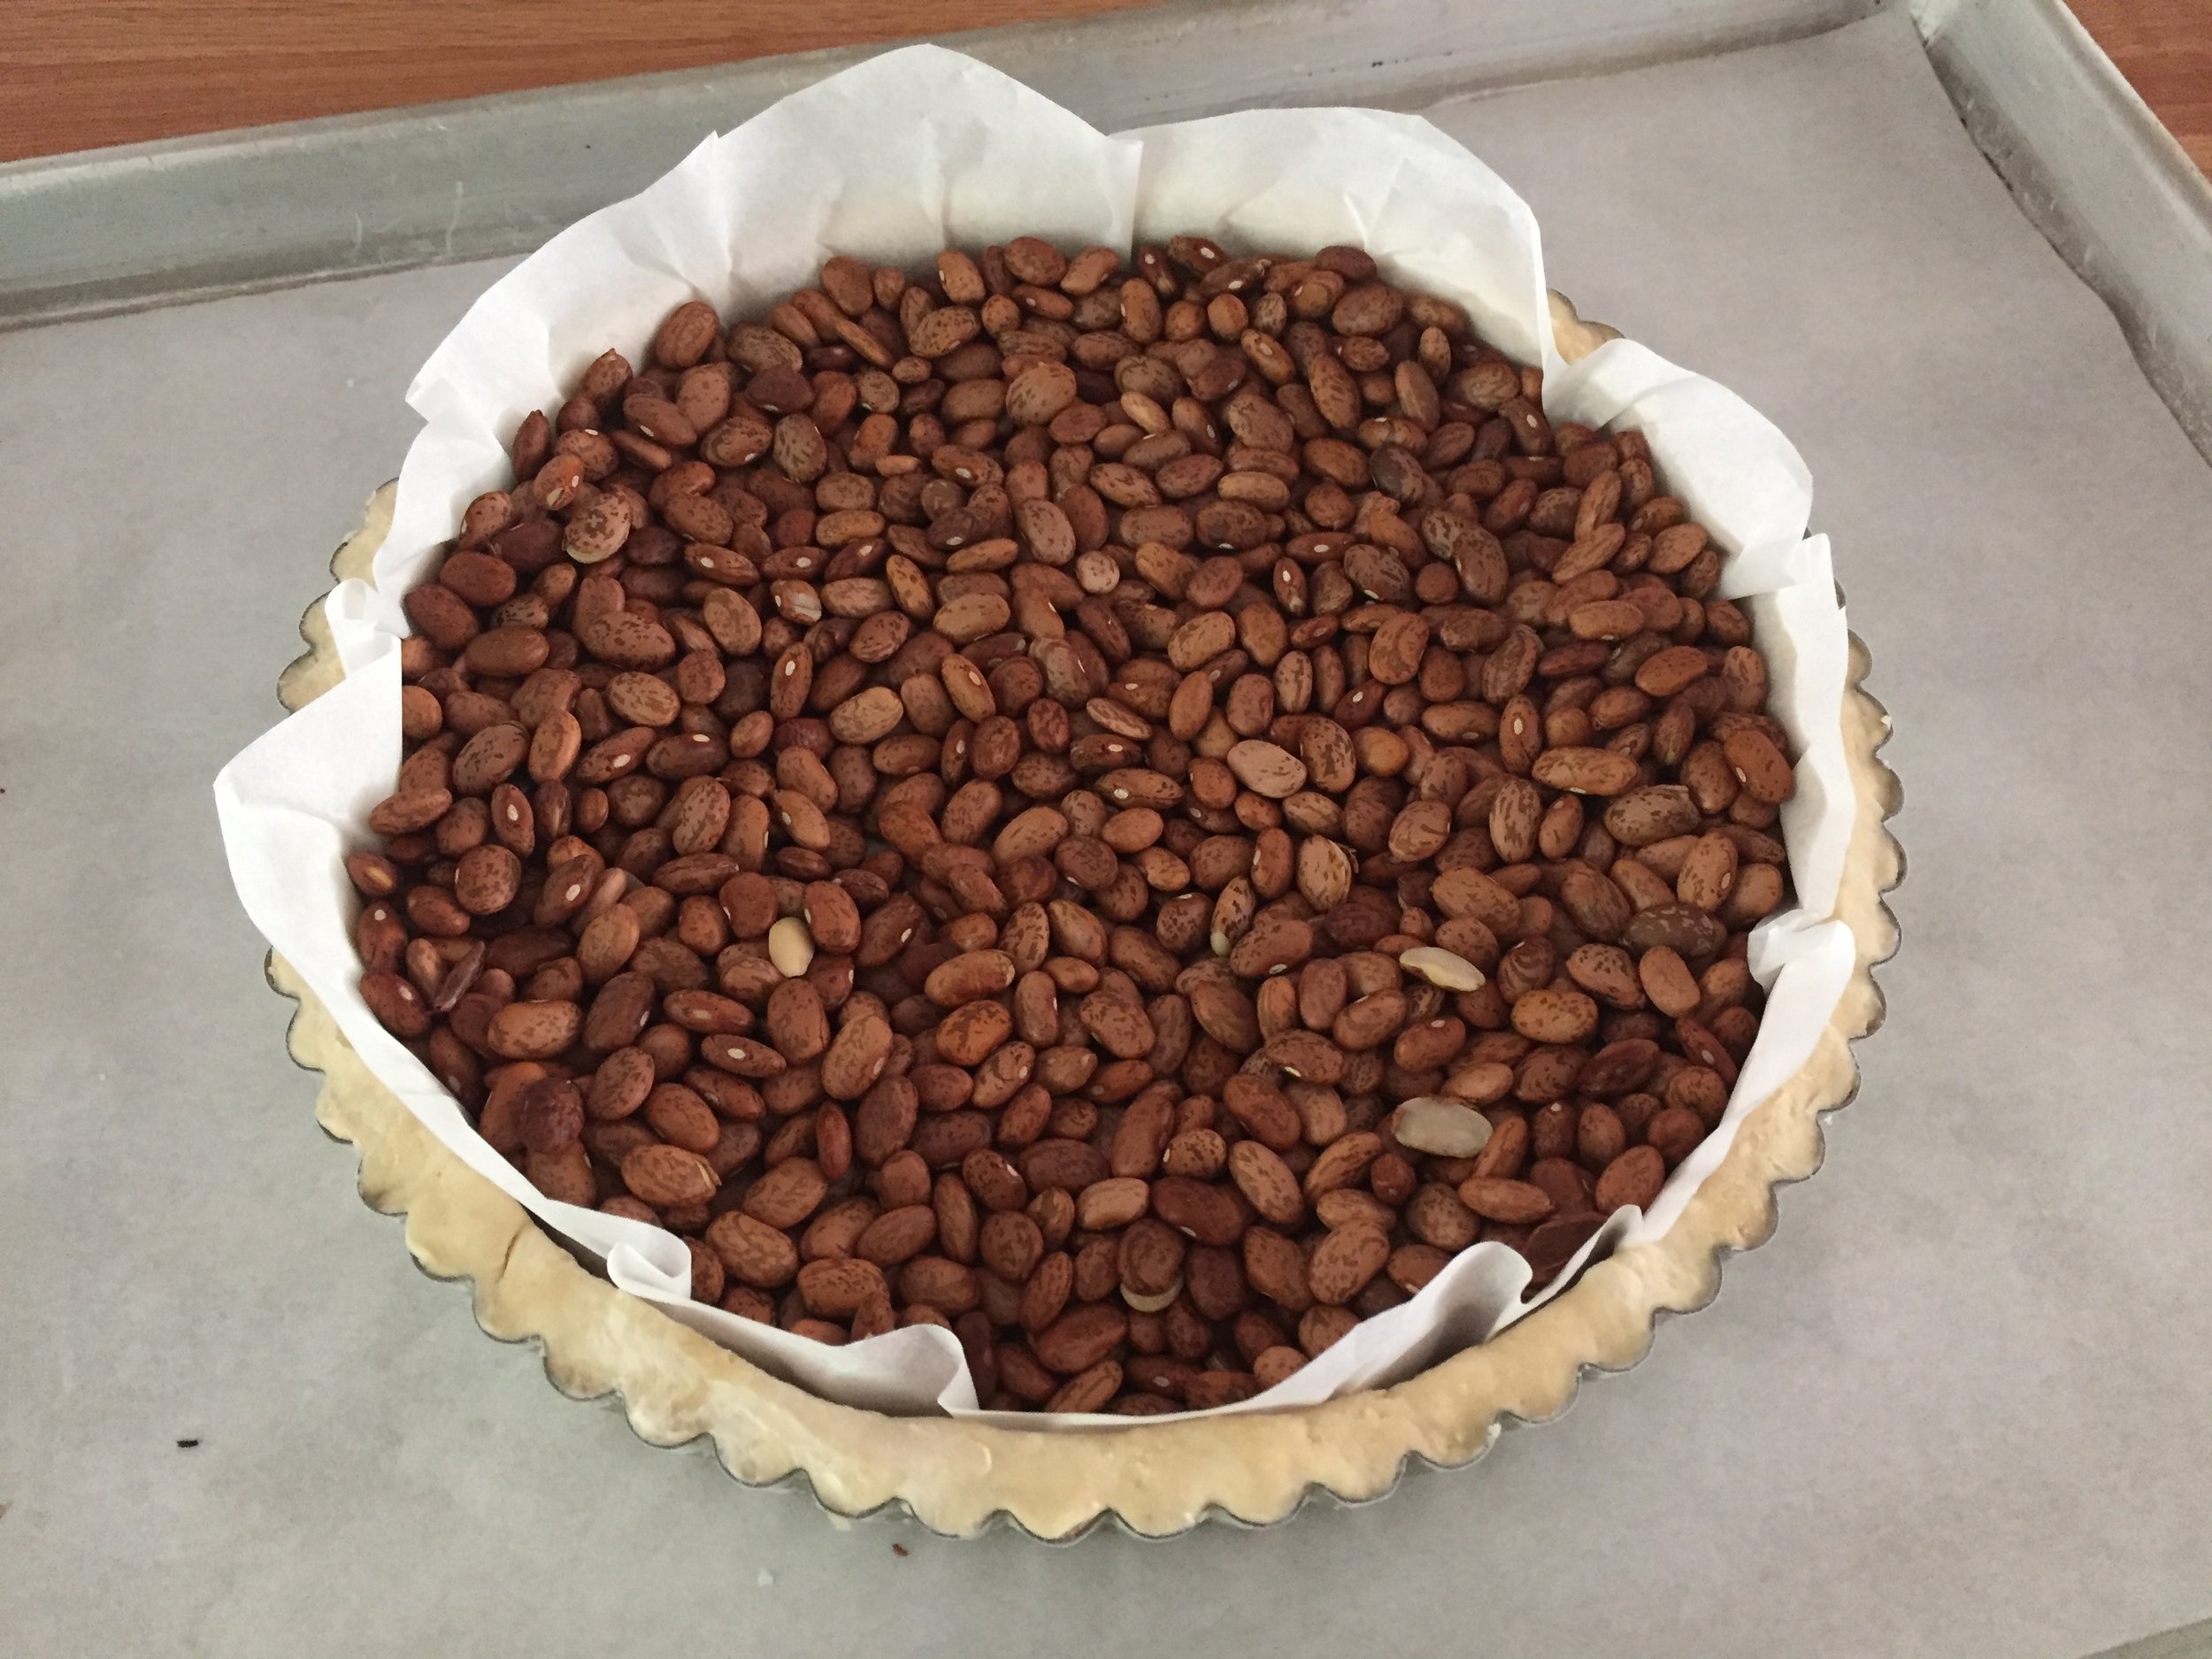
Once lined and pricked all over with my trusty fork, I place the tart pan on a parchment lined sheet pan and freeze it for 15-20 minutes while heating the oven to 425ºF. Once firm, it makes it much easier to line it with a round of parchment and fill it with dried beans for blind baking.

IMG_3168.JPG

Now bake it on the lower rack for 10 minutes, turn the heat down to 400º, move it up to the middle rack and give it another 5 minutes. Take it out of the oven and remove the weights. The crust should be starting to set although the bottom will be a bit moist and doughy and will need a bit more baking to finish it off.

Pop it back into the oven without the weights and give it another 5-10 minutes until golden brown. I often decrease my oven temp to 375 for this step and, as usual, keep on eye on what’s happening in there.

IMG_3172.JPG

Decrease the oven temp to 350º. While the crust cools, thinly slice 2-3 fresh, ripe medium tomatoes, grate up a cup (about 4 ounces) of gruyère and have some Dijon mustard at the ready. I like to blend some regular Dijon with a nice coarse grainy mustard, 2-3 tablespoons total. Maille is a great brand and, if you’re in Paris, you can visit their wonderful shop right near Place de la Madeleine.

Spread a thin layer of mustard over the bottom of the cooled crust. I used 2 tablespoons since I like a more subtle mustard flavor, but you can certainly use more if you wish!

IMG_3173.JPG

Sprinkle the grated gruyère over it.

IMG_3174.JPG

Arrange your tomatoes in concentric circles, overlapping each slice. I also tucked in some halved orange and dark red cherry tomatoes for some additional color.

IMG_3175.JPG

It’s pretty traditional to finish off these tarts with salt, pepper, fresh herbs and a drizzle of olive oil before baking, but I went for an addition of crumbled goat’s cheese dotted over the tomatoes. Then some freshly grated black pepper, a pinch of two of salt, a sprinkling of herbes de provence and it’s ready to go into the oven.

IMG_3177.JPG

Bake it for about 20-25 minutes until the goat cheese is starting to brown, the tomatoes are starting to shrivel and the aroma is hitting your nostrils just so.

IMG_3178.JPG

The combo of nutty gruyère, warm fresh tomatoes, the tangy, creamy goat’s cheese and the perfect hint of mustard and herbs was absolutely delicious. Not only that, it’s très, très facile. You can do it!

This one’s a keeper, right Steve?

IMG_3180.JPG

Fruity-nutty-oat biscuits with cheese

IMG_2971.JPG

These delectable whole wheat shortbread-style cookies (biscuits for you Brits out there) have just the right hint of sweetness, chock full of toasted nuts, dried fruit and oats. You can read more about the recipe here. Since I wrote about these back in February, I've settled on three flavor variations as an accompaniment to cheese, either as an appetizer or as part of the post dinner cheese course. Cherry hazelnut, apricot pistachio and cranberry almond. Lovely.

IMG_2970.JPG

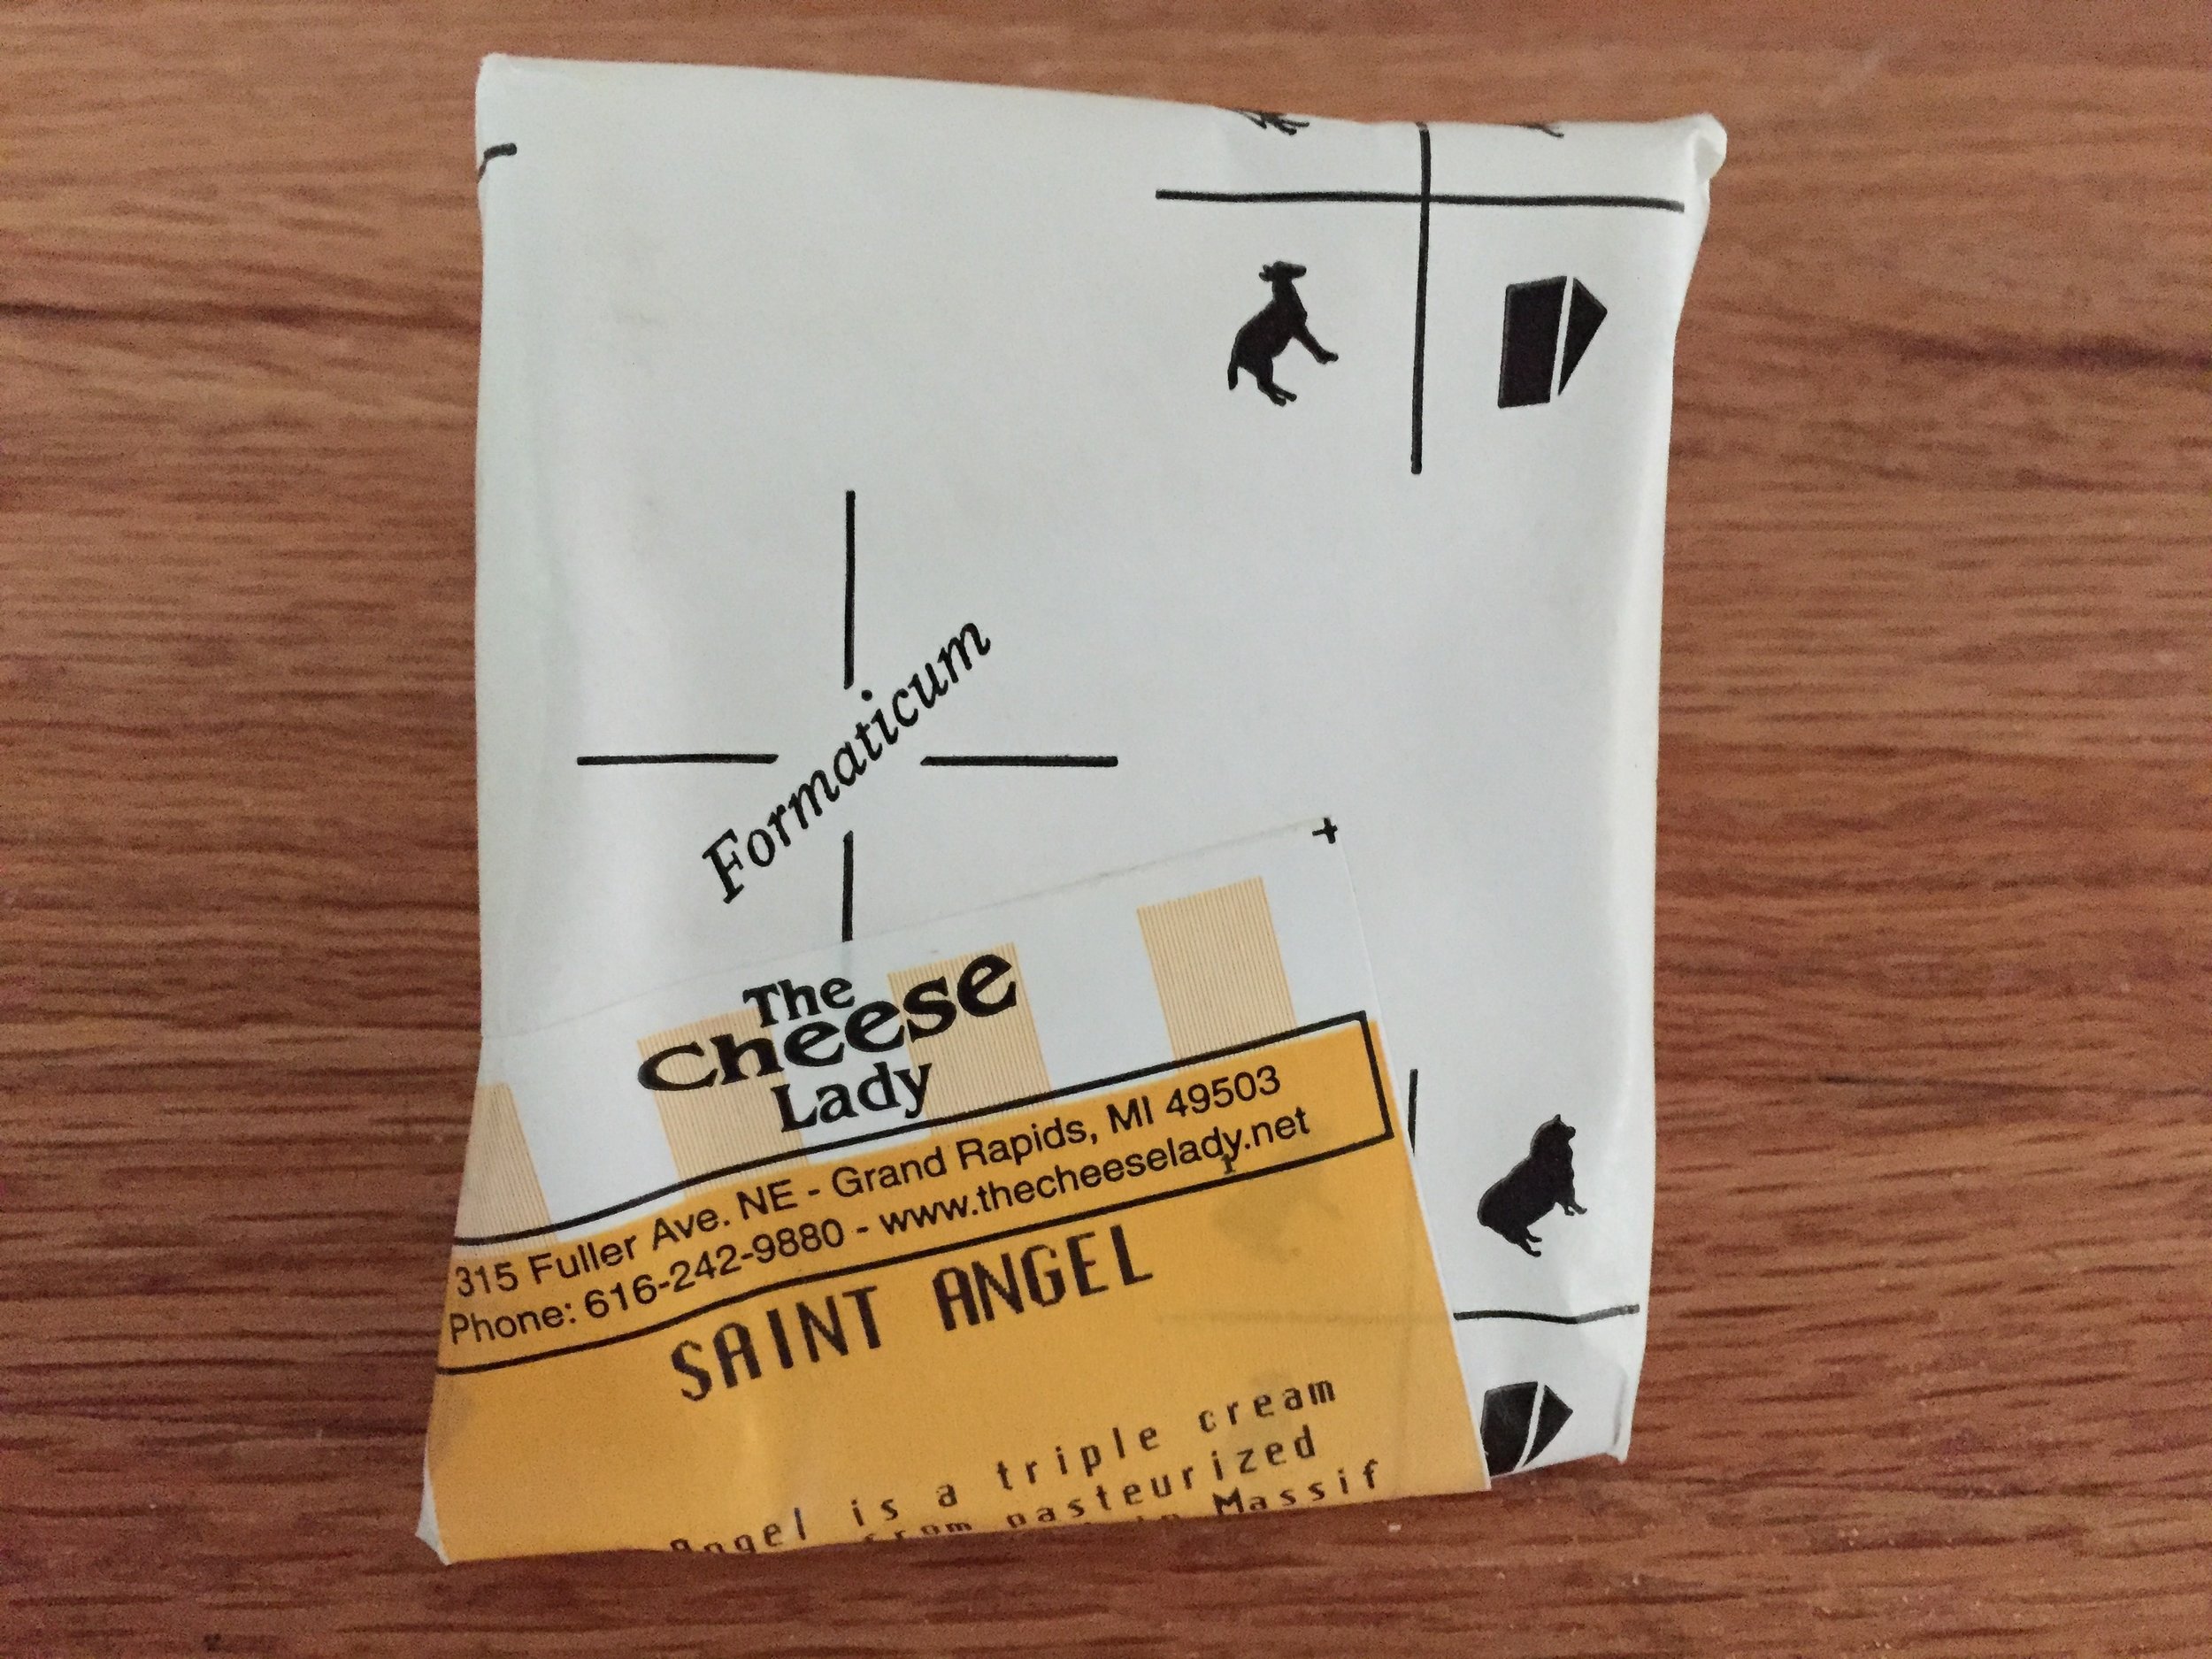
A few weeks back I paired these gems with a mellow, dreamy Saint Angel triple crème from The Cheese Lady here in Grand Rapids. While the cheese is exactly what it should be - buttery, smooth and oh-so-good - it was rather lost when spread on these wholesome biscuits. So I decided to try something a bit more bold and nutty for this episode in my baking-with and pairing-with cheese project.

So back to The Cheese Lady I went.

IMG_3035.JPG

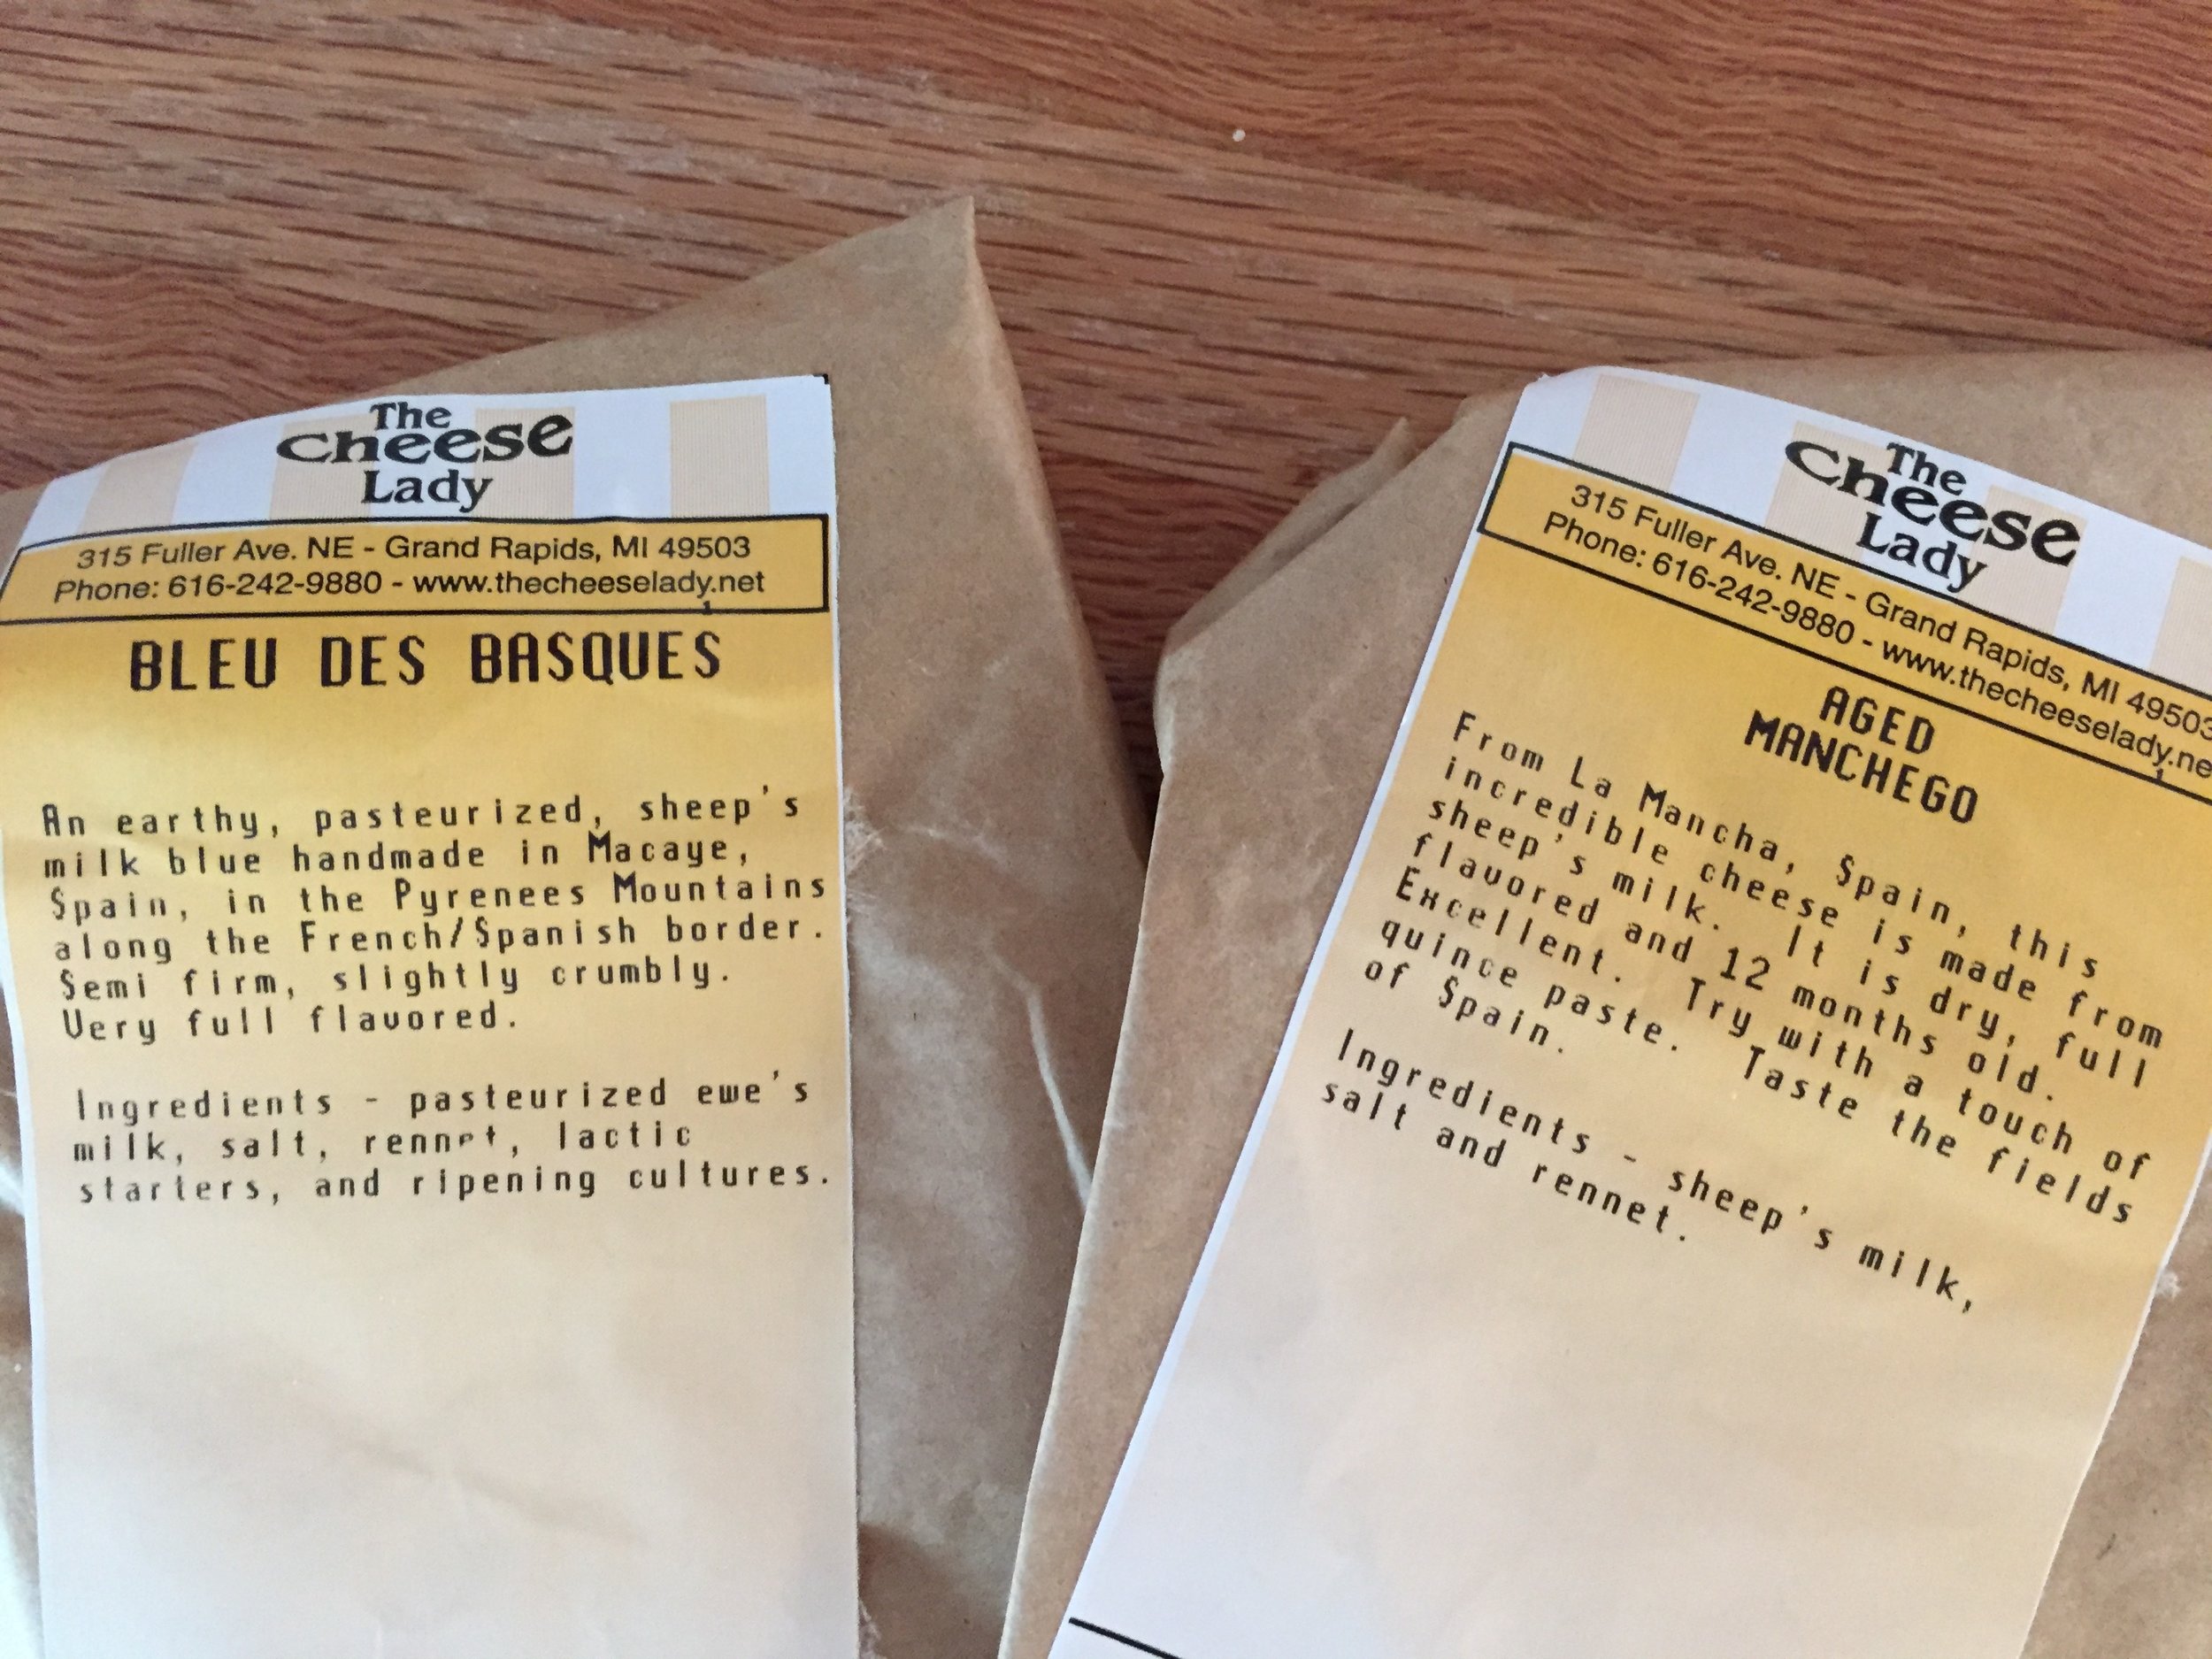
This time I went with a couple of Spanish cheeses, one bleu from the Basque region and one 12 month aged Manchego, both of which just had to be given the chance to show their stuff.

IMG_3039.JPG

The nuttiness of the aged Manchego wasn't bad with the crunchy-little bit chewy-fruity-nutty cookies, but it was the bleu that really shined for me. Salty and pungent yet smooth and creamy - I'll take it! 

IMG_3040.JPG

Alas, while the Steve-meister loves cheese, especially bleus and Manchegos, he couldn't quite get on board with the cookie part (not a shortbread lover - sigh). He'd go for a crispy cracker instead - to each his/her own, right Mr. Steve?

Stay tuned for more cheese adventures!

IMG_3041.JPG

Blueberry & croissant bread pudding plus two summer ice creams

IMG_3114.JPG

This post is quite a mouthful (get it?) but here goes!

I've been experimenting in recent weeks, tweaking my tried and true croissant recipe in hopes of reaching the ultimate croissant perfection. Invariably I've had some croissants leftover, some of which were destined to become croissants aux amandes, one of Steve's (and many others by the way) favorite pastries. But that's not the only way to repurpose this lovely laminated goodie -  bread pudding here we come!

IMG_3102.JPG

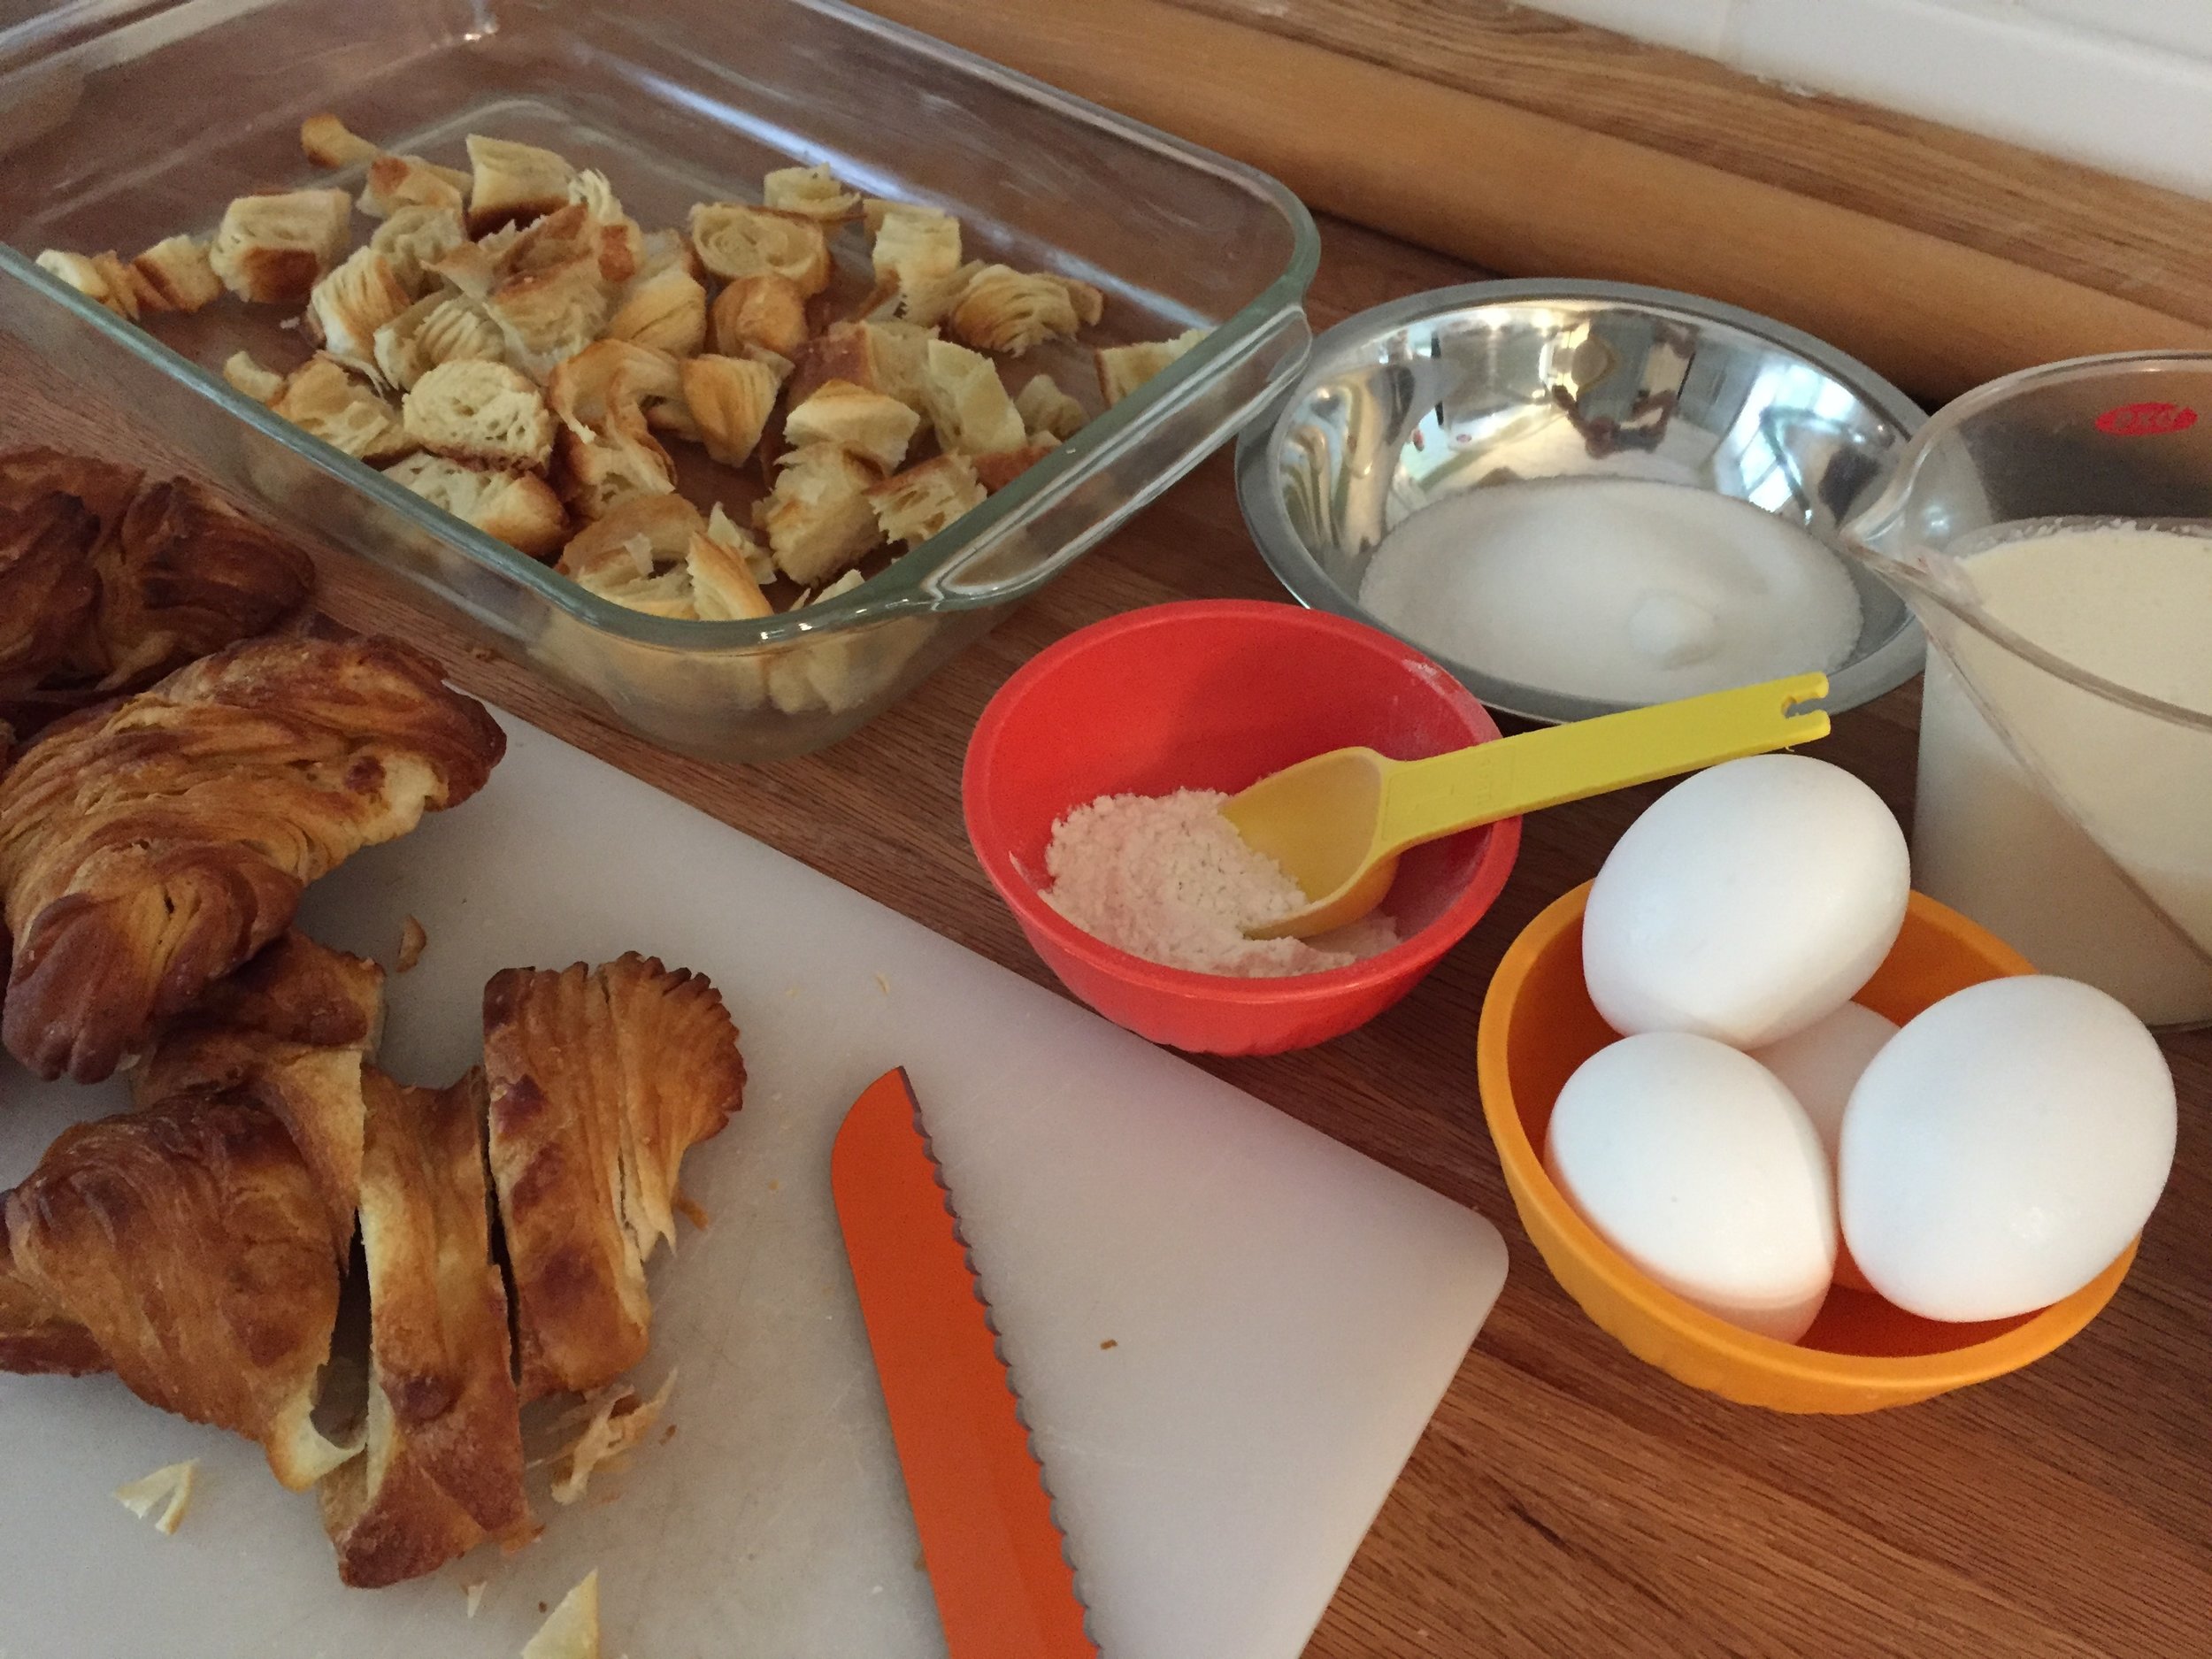
Here I'm using a 3 qt Pyrex casserole dish, lightly buttered, layered with about 400 g/14 ounces of chunked up croissant pieces. It's actually better to use "old" croissants for this purpose, since the dough is able to soak up the custard much more efficiently.

IMG_3107.JPG

The custard is one I love to use for baked fruit tarts too. I wanted a filling quantity about twice the weight of the croissants and doubling my base recipe worked out perfectly. Love it.

I typically plan ahead, giving my croissant/custard mélange a good couple of hours to soak in the fridge before baking. Then I topped this one with about 3 cups of blueberries, tucking them down into the custard a bit, followed by a sprinkling of raw sugar for a little extra crunch.

IMG_3108.JPG

Bake at 350ºF for a good hour to an hour and twenty minutes - you want the custard nicely set and the croissant pieces toasty brown. Just be patient. Trust me.

IMG_3110.JPG

Destined for the dessert table at our Labor Day outing at cousin Jen's, I added a couple of complimentary summer ice creams that I must say were pretty fun to make. BTW - I LOVE making ice cream, in case I haven't told you heretofore. I've been using a classic custard type base from David Lebovitz for many years now and never find it wanting. Just omit the vanilla bean from the base recipe when you're creating your own flavor(s).

First up - roasted plum almond. Dairy infused with toasted almonds (which are then strained out) . . . . .  

IMG_3076.JPG

the finished chilled ice cream base blended with about a cup of roasted plum purée then processed. 

IMG_3082.JPG
IMG_3086.JPG

It just takes some planning, as is true of so many things in the kitchen, right?

The roasting fruit thing has been another of my summer experiments, and since I'm invariably contemplating ways to preserve our wonderful summer fruit bounty here in west Michigan, why not give it a try. The idea behind the roasting is to concentrate the flavor more.

It's quite simple really. Heat your oven to 400ºF (or 375º convection), prepare your fruit depending on size (e.g peaches sliced, plums or apricots halved and pitted and maybe quartered too, cherries pitted, berries left whole - just play with it). Place fruit on a parchment lined sheet pan and roast about 10 minutes. Give them a stir and roast another 5-10 minutes. The fruit should become softened, a bit caramelized and shrunken looking. Since I planned to purée mine, I didn't really care how shrunken they became.

My plums were a red-skinned, yellow-fleshed variety which I placed skin side down on the prepped sheet pan. You can roast your fruit au naturel or drizzle a little honey over it if you'd like.

As a side note, a pound of plums (~6 medium or 9 small), halved, pitted, roasted, puréed and strained should yield about 1.5 cups of purée. Of course, you don't have to do the roasting part - just leave that step out of the above, and the un-roasted purée yield should be a bit higher.

IMG_2927.JPG

Once roasted, the fruit will keep in a closed container in the fridge for a few days or frozen for several weeks. I froze mine and did the puréeing later - just thaw in the fridge overnight, purée, add a tablespoon of lemon juice, a pinch of salt and sweeten to taste. I generally start by adding sugar equal to 10% by weight of the purée and add more if it's still pretty tart. Then use it in whatever way you choose. Maybe swirled into a cake batter, blended into mascarpone cream, warmed and used as a sauce over a nice berry cake. You decide.

The second ice cream - sweet corn! 

IMG_3097.JPG

In this case, using the same base recipe mentioned above, scald the milk with half the sugar and a pinch of salt, temper it into the yolks which have been whisked well with the other half of the sugar, then whisk in 2.5 cups of fresh corn cut off the cobs plus the two cups of cream. Bring this all to a boil (the starch in the corn protects the yolks from curdling, just like making pastry cream with cornstarch!).

Then put it all in a decent blender (I have a Breville brand which is dyn-o-mite), purée and strain then chill thoroughly before processing. YUM.

And there you have it - blueberry & croissant bread pudding with sweet corn and roasted plum ice cream on a polka dot paper party plate. Happy summer!

IMG_3117.JPG

Classes at Nonna's Pantry

croissant.jpeg

It's official! I'm now offering small group hands-on pastry classes at Nonna's Pantry in Ada. Check out the fall schedule here.

I'm excited to have a space in which I can share my craft with beginners and avid bakers alike. Even though we're still in the throes of summer heat, humidity, showers and thunderstorms, fall is coming and it's baking season. Yay!!

I look forward to seeing some of you at Nonna's this fall. Meanwhile, happy baking to all.