Happy Valentine's Day!

Sharing love and enjoyment with those who mean the most to us is just one of the things to remember on Valentine's Day. 

I love to share with all of you the joy that comes from creating delicious treats.

Here are just a few.

Matcha raspberry hearts


Apricot linzer cookies


Tart cherry, double chocolate, salted caramel shortbread hearts

Chocolate hazelnut financier

Once these little cakes are turned out of the mold, there's a wonderful well just waiting to be filled with something delicious.


Praliné ganache and candied hazelnut garnish

Here's a pistachio version filled with dark chocolate raspberry ganache and garnished with a tiny swirl of raspberry butter cream and crowned with candied pistachio.


One chocolate and one pistachio went into small purple boxes with red ribbon - so cute!


I ended up making 4 flavors of shortbread (double dark chocolate, tart cherry, praline and matcha) and tucking them into red boxes with purple ribbon.


For a pre-Valentine's family gathering I did a slight variation on the chocolate hazelnut financier by filling them with dark chocolate ganache and topping with a swirl of whipped milk chocolate ganache and candied hazelnut.


For the pièce de résistance I made a raspberry gateau Breton with a thin layer of raspberry jam baked between two layers of Breton dough.  Once cooled I topped it with whipped caramel mascarpone cream and garnished with raspberries, a light pink ruffle around the edge and some candied pistachios for some lovely color contrast.


Sweets for the sweet.  Happy Valentine's Day to one and all!

Enjoy.

Seeded knot rolls


I try to keep homemade bread on hand in our freezer.  There's nothing like it for morning toast, a tasty egg salad sandwich or a nice grilled cheese.

This time I used a basic sandwich bread recipe from the folks at King Arthur Flour and decided to double it - one half for a loaf and one half for some rolls.

The recipe uses a basic straight dough made with all purpose flour, although there's a suggested option for replacing half of that with white whole wheat flour (which is what I did).

Here's the base recipe (remember - you can double it as I did).

390 g/3 cups flour (half all purpose, half white whole wheat for me)
120 ml/1/2 cup milk (any fat content you choose)
120-180 ml/1/2 to 2/3 cup hot water to make a smooth dough
56 g/4 tablespoons melted butter or vegetable oil (I used butter)
45g/3 tablespoons sugar
7g/1.25 teaspoons salt
7g/2 teaspoons instant yeast

Combine all the ingredients in the bowl of a stand mixer fitted with the dough hook.  Mix on low to moisten all the ingredients until the dough starts to pull together.  Then knead on low for about 5-6 minutes to achieve a smooth and supple dough.

Place the dough into a lightly oiled bowl, cover it and let rise for about an hour at room temperature.

Place the dough on a lightly oiled surface.  In my case I divided my double batch of dough in half and shaped one half into an 8 inch log which I then placed in a lightly oiled 8 1/2" x 4 1/2" loaf pan.  Cover with lightly oiled plastic wrap and allow it to rise about 60 minutes (or longer if you're working in a cool kitchen).  The dough should crown about 1 inch above the pan rim.

The second half of dough was destined to become knot rolls.  Oh boy!

Working on a lightly oiled surface, I divided the dough into nine 85 g/3 oz pieces.  I rolled each piece into a snake-like ~12" length and formed each into a knot. Cool! It's all about tucking the ends just so.


I placed the rolls on a parchment paper lined sheet pan, covered them loosely with lightly oiled plastic wrap and gave them a good 1 to 1.5 hour rise.

I heated the oven to 350ºF.

I made a mix of fennel, cumin, sesame and poppy seeds . . . .


then lightly brushed the knots with egg wash and sprinkled them with the seed mixture.


Into the oven they go!

After about 20 minutes of baking time, they emerged nicely browned and smelling heavenly.


They had a bit of cooling time before we took some over to Mom's for supper.


There's nothing like a freshly baked warm roll with a bit of thinly spread butter.  You can't beat it.

Thanks King Arthur!


Chocolate madeleines and more than you'll ever want to know about making them


A good madeleine can be hard to find.  It's best to eat them fresh from the oven since they have a tendency to be on the dry side once they cool.  In the past I've taken to brushing the classic version of madeleines with lemon syrup while still warm, which goes a long way to holding in moisture and prolonging their shelf life.

I've tried a variety of madeleine recipes over the years, most of which have somewhat similar ratios of flour, sugar, butter and eggs, often with some honey and lemon zest added in.

This chocolate version is from Clotilde Dusoulier's "Chocolate and Zucchini" blog, and is her chocolate version of the "perfect madeleine" from Fabrice Le Bourdat's shop Blé Sucré in Paris.  The base recipe has a larger quantity of butter than many I've reviewed, and Clotilde's chocolate version adds melted bittersweet chocolate and cocoa powder to Le Bourdat's base.

Madeleine batter should be made ahead and allowed to sit in the fridge for several hours and up to a couple of days.  Think planning ahead!

Here's the process.  

Melt 150 g good quality chocolate (I used 56%) over a bain marie. Remove from the heat but keep the chocolate bowl over the warm water to hold it until it's added to the batter.

Melt 350 g unsalted butter (stove top or microwave - you decide).  NOTE - the butter is the final ingredient to be blended in and should be hot when added to the batter.  It's all about planning.

In the bowl of a stand mixer beat 6 large eggs with 260 g sugar until thick and pale yellow, 4-5 minutes.  Blend in 120 ml milk (I used whole) and the warm, melted chocolate.

In a separate bowl combine 375 g all purpose flour, 3 tablespoons unsweetened cocoa powder, 1 tablespoon baking powder and 1/2 teaspoon sea salt. Fold these dry ingredients into the batter.

Finally blend in the hot melted butter until incorporated. 

Cover and refrigerate up to 2-3 days.

On baking day heat the oven to 450ºF with half sheet pans placed separately on two different racks (I have three oven racks but prefer to use only two at a time - it's just easier).

Placing cold batter into cold molds and then onto heated sheet pans in a hot oven are some of the reasons that madeleines develop that classic hump.

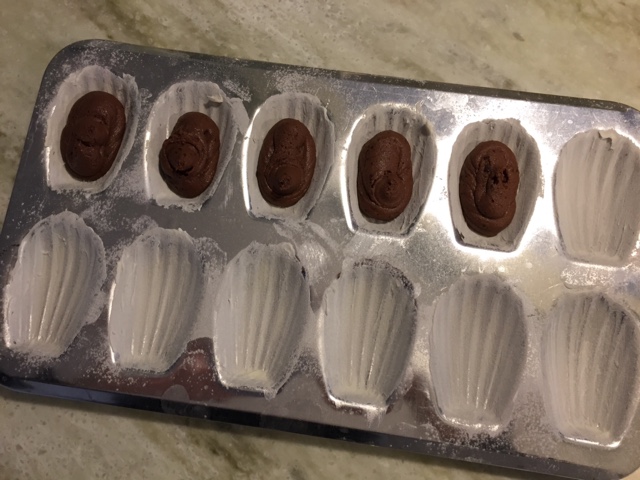
Mold preparation is key.  I prefer using the standard silver tin molds rather than the darker finish brown non-stick molds (which, by the way, still have to be buttered and can cause the petite cakes to brown too quickly - trust me, I know.)

I apply a decent coating of butter on each well and give them a dusting of flour - you can never be too careful in terms of making sure your madeleines don't stick!

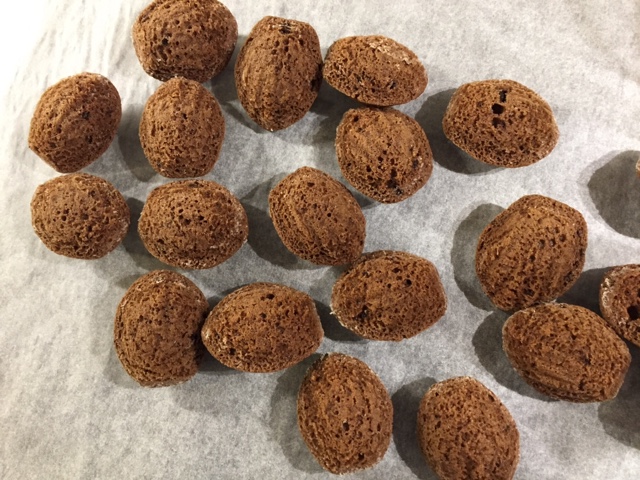
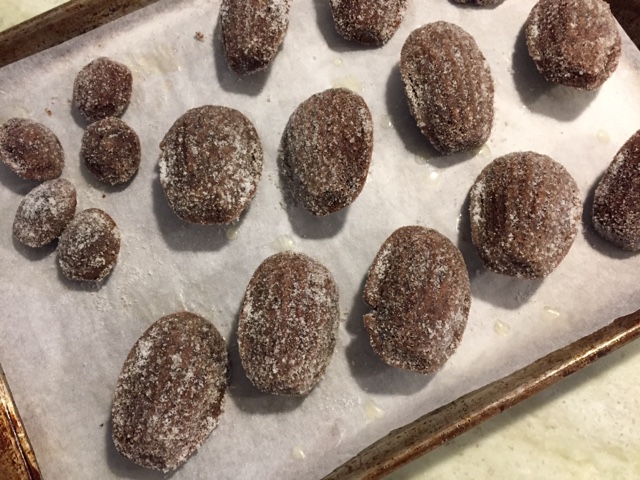
As you can see below, I opted to bake some minis as well as the standard size.


Once my molds are ready I pop them into the fridge until I'm ready to fill them.

The chilled batter is quite thick.  You can pipe it or simply scoop it into the molds. Filling the wells with just the right amount of batter carries a bit of a learning curve and comes with experience but a general rule is to full 1/2-3/4 full.  I wasn't sure how these babies would rise so I chose about 1/2 full.


Place the molds into the hot oven directly onto the heated sheet pans.  Immediately turn the oven temp down to 360º F and bake for 12-14 minutes for standard size and about 6-7 minutes for the minis.  If you're doing multiple batches, turn the oven back up to 450ºF before baking your next batch.
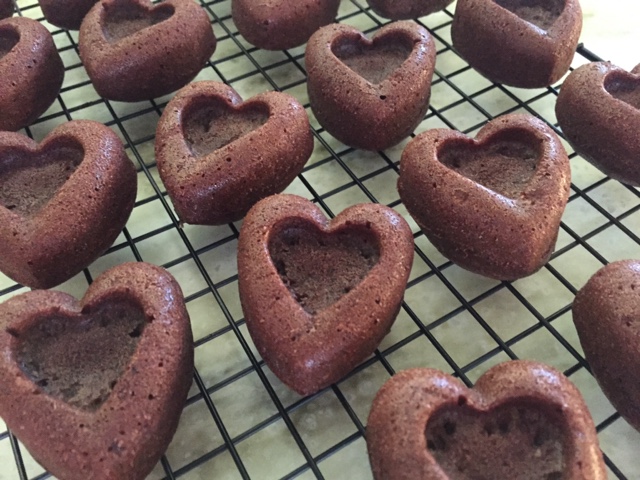
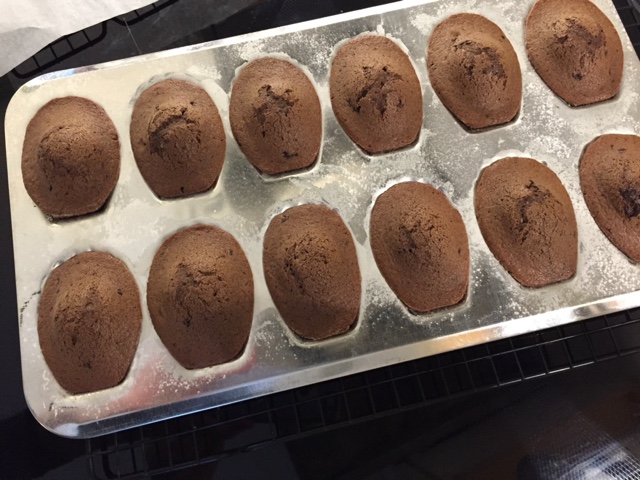
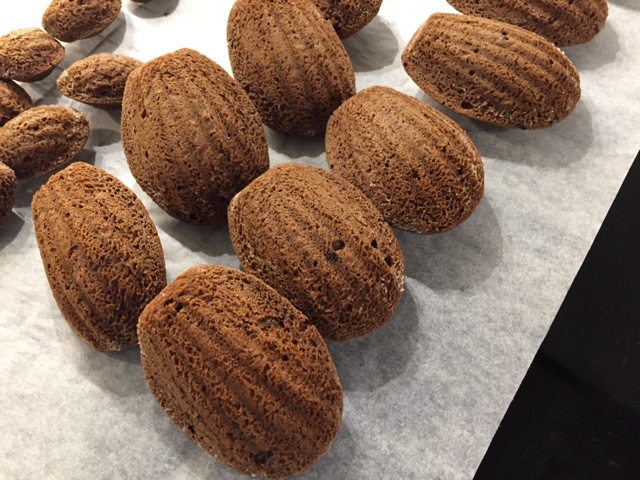
Nice humps!


Once pulled from the oven turn them out onto parchment paper - they should fall out freely if your molds have been well prepared.  You can tap the corner of the overturned mold onto the nearby surface as needed if they're being a bit stubborn.  It works.


One thing I noticed about the minis is a blurring of the shell pattern - most likely due to the butter and flour coating of the mold that melded into the batter and didn't allow the pattern to remain distinct. No biggie.


I reacted to my first taste of a mini with the feeling that the chocolate flavor wasn't as forward as I would have liked.  However, the texture was sooooo light and ethereal - I've never had a madeleine like it!  As I continued to sample a few more, they grew on me.  Steve too.

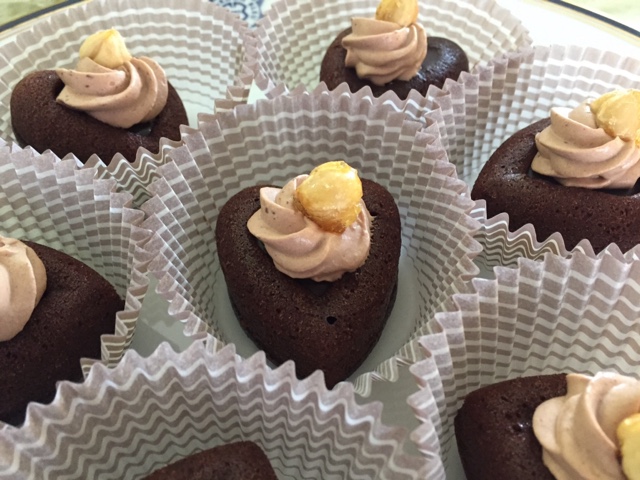
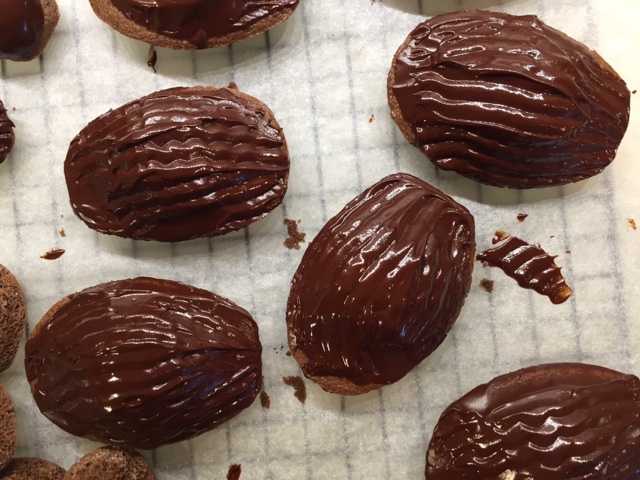
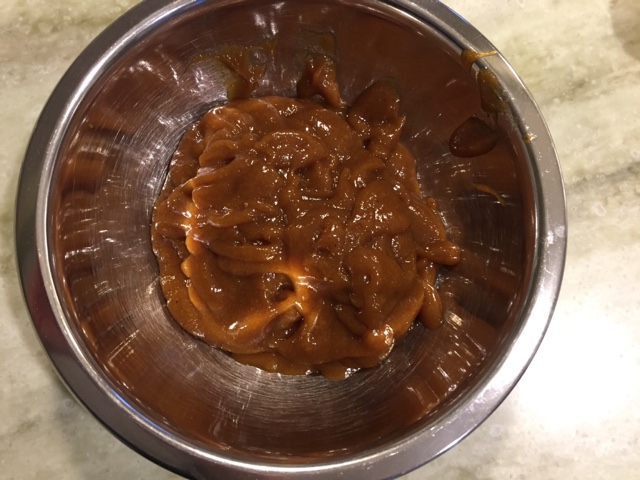
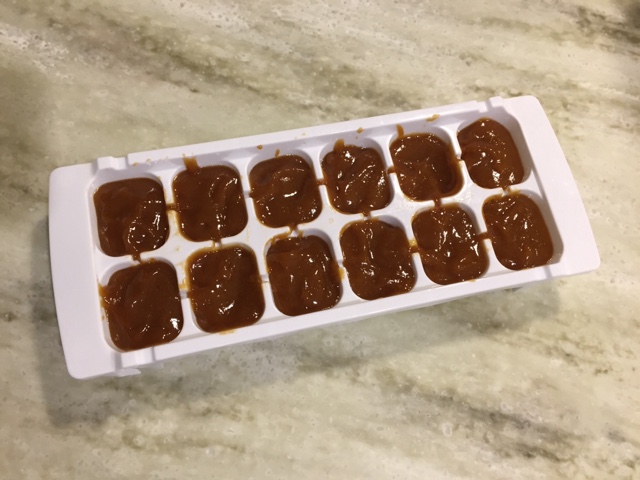
I wanted to punch up the chocolate experience and decided to make a glaze by melting 130 g bittersweet chocolate with 3 tablespoons butter and 1 tablespoon corn syrup (gives it a bit of sheen) over a bain marie and then adding in 1/4 teaspoon vanilla extract.  

I dipped the "hump side" of some of the madeleines in the warm chocolate, and, after a few minutes of setting, created a ridge like pattern with my zig-zag cake decorating tool.  They look kind of like walnuts, don't you think?


The added layer of chocolate was just the right touch.  Mmmmm good.

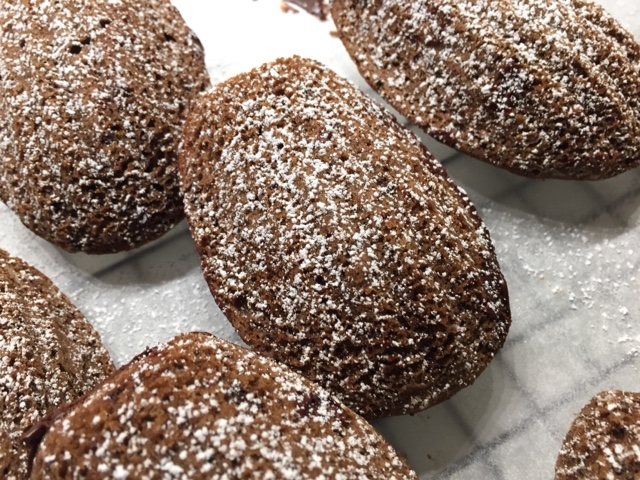
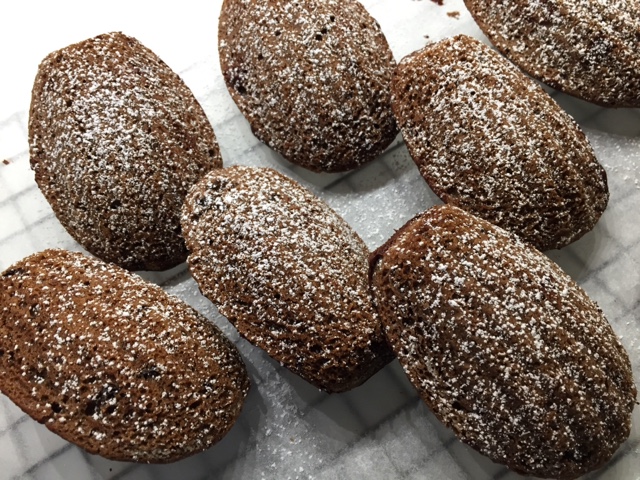
Once the chocolate had cooled and set, I turned them over to give them the quintessential dusting of powdered sugar.


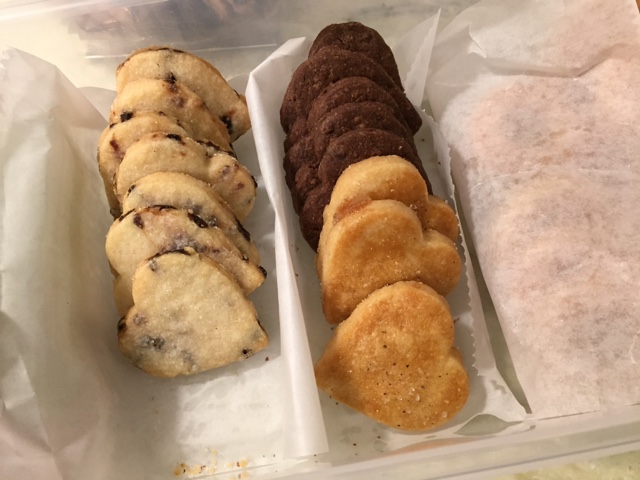
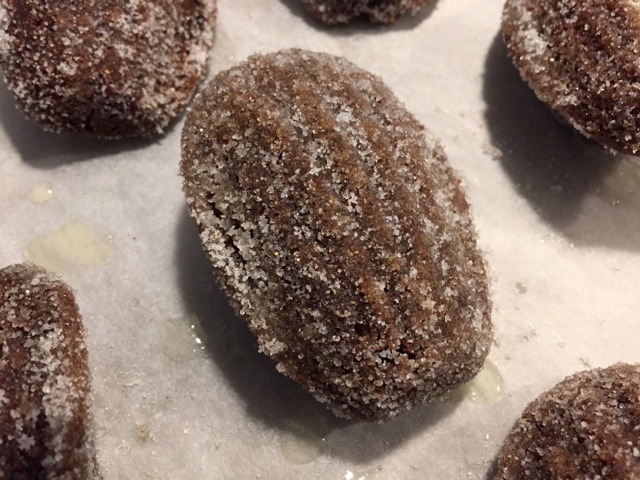
With another bunch of the finished cakes, at Steve's suggestion, I did what I used to do with the little coriander buttermilk cakes I used to make in Rhode Island.  I re-warmed the madeleines briefly in the oven then dipped them in melted butter and rolled them in coriander sugar.


I thought the sugar a bit too much so brushed some of it off.  Delicious indeed.

Both versions remained moist in a covered container over a couple of days, plus I froze some of each as well. Once thawed they still tasted great. The texture is fantastic!

What a treat.

Thanks Clotilde!


Dried apricot purée and something new with croissant dough


Always on the path of using up ingredients I have on hand, I decided to make apricot purée with a bunch of dried apricots standing by in the fridge.  Of course, what I might do with said purée was also on my mind.  Ahhh - something with croissant dough might be nice!

First the purée. After some recipe research I came up with a pretty straight forward approach involving poaching the dried apricots in a light sugar syrup with added orange zest.  Apricots go soooo nicely with orange, n'est pas?

Place 300 ml (1 1/4 cup) water, 50 g (1/4 cup) sugar, 84 g (1/4 cup) honey and the zest of two oranges in a saucepan, bring to a simmer and cook on medium low until the sugar is dissolved. Add 250 g (1 1/4 cup) dried apricots, cover and cook about 30 minutes until the fruit is soft and supple.


Purée in a blender until smooth then strain.  This stuff looks like baby food!


I decided to freeze the end result by portioning it out into an ice cube tray. That allowed me to remove small amounts on an as needed basis. Interestingly the purée didn't freeze solid due to the sugar content but it was a good way to store it nonetheless.


The day before I wanted to create my little croissant bites, I pulled some croissant dough from the freezer, thawed it overnight and then rolled it out and cut small squares that would fit nicely into buttered and sugar-dusted mini-muffin tins.


I decided on a cream cheese type filling, making my own version based on a recipe in my CIA Baking and Pastry book.


Mix 270 g cream cheese with 33 g sugar (I reduced the amount of sugar in the original recipe since I would be adding my sweetened apricot purée), 33 g corn starch, pinches of lemon and orange zest and a splash of vanilla. Blend in 45 g egg and a couple of tablespoons of apricot purée (or more to taste).

I let the croissant squares rise for about 1.5 hours then topped them with a dollop of apricot cream cheese filling, followed by a smaller dollop of purée and a few pieces of diced dried apricot.


Then I topped 'em all off with some pistachio crumble . . . . 


and popped them into a preheated 400ºF oven to bake.  After about 8 minutes I reduced the temp to 375ºF and continued to bake until nicely browned, another 15- 20 minutes or so.  REMEMBER - watch what's going on in that oven of yours!

.  
After a few minutes I gently lifted them out onto a wire rack to cool, and then, of course, it was time for a taste test.  Yeah baby.


Lovely layered, delectable, buttery goodness with the creamy apricot filling and crunchy pistachio crumble adding the always hoped for differences in textures and tastes.


And Steve liked them too. Yippee!