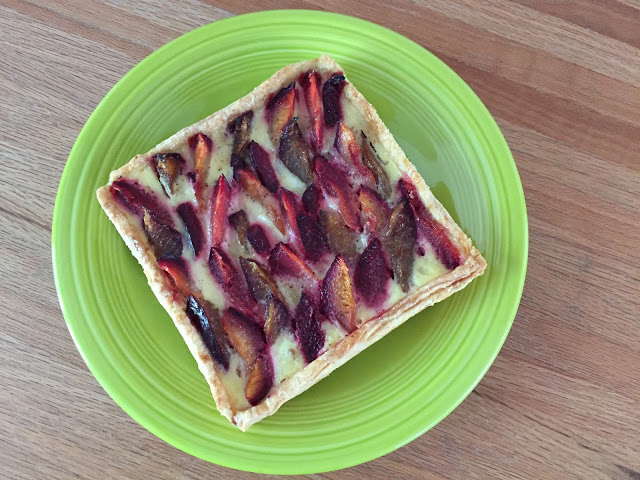
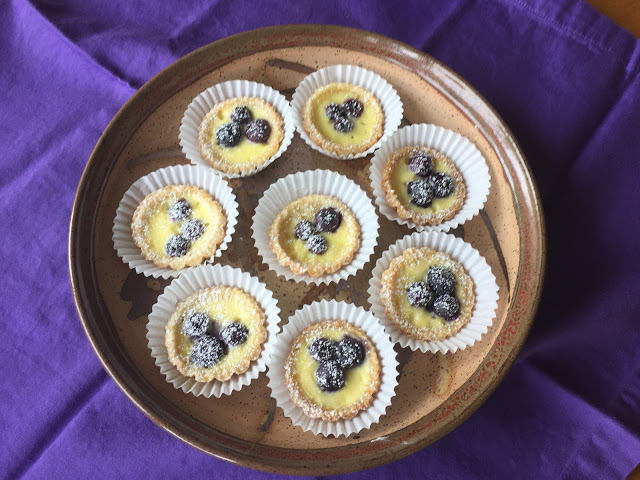
Tartelettes aux myrtilles et tarte aux prunes
/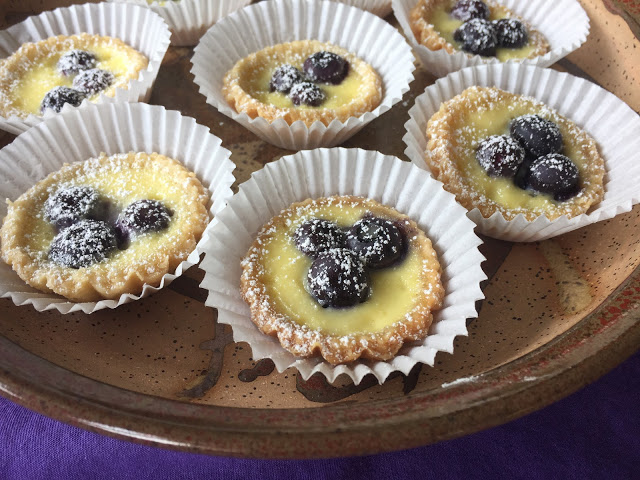 |
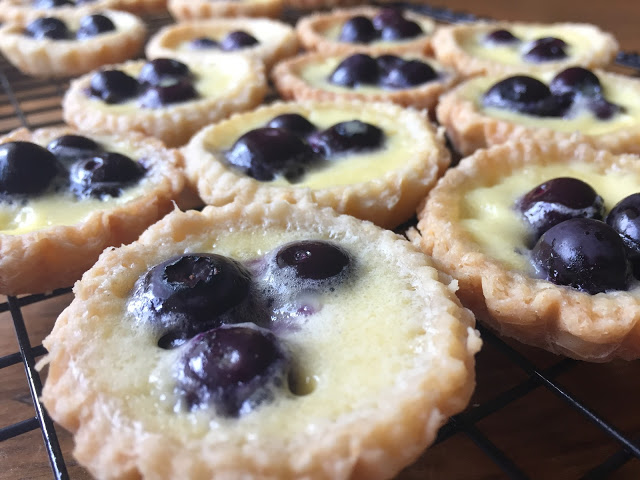
| Petite blueberry (myrtilles) tartlelettes |
 |
| Plum (prunes) tarte |
While I'm still on the summer fruits kick, I'd like to introduce you to just two of the many fruit-custard tarts that you can create pretty easily. Pâte brisée on hand in the freezer, summer berries or stone fruits of choice, a straight forward custard filling and off you go!

Michigan blueberries have been in plentiful supply (and wouldn't you know - I now have a number of bags stashed in my freezer). They're especially tasty when baked into custard, so why not some tartlettes!

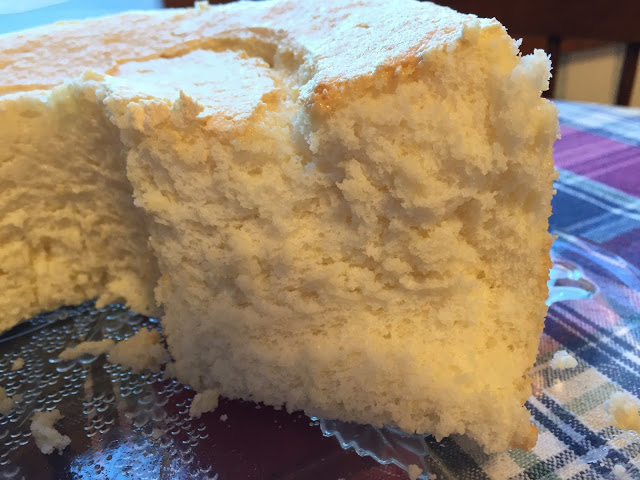
First I made my favorite pâte brisée using the by-hand flaking method with a couple of three folds for good measure. The process makes for such a wonderfully buttery, crisp yet flaky crust that is simply fantastic with custard and fruit. Visit this post for ALL the details.
You can make double or triple recipes of the dough, divide, wrap and stash in your freezer so you're ready to create to your heart's content. How great is that?!
For the custard, as is typically the case, one can find many versions of fillings out there in cyber space. Some involve simply whisking the ingredients together, pouring the custard over the fruit in your blind baked shell then baking til set. No stovetop prep there.
I opted for the stovetop method for a classic crème brulée type of custard. Heat the dairy (can be all cream or a cream/milk combo) in a saucepan, whisk egg yolks and sugar in a separate bowl, temper the yolk mixture into the dairy, then strain and set aside until ready to fill your tart. I went a step farther and cooked it to the anglaise stage before straining.
I just had to grate some fresh nutmeg and throw a pinch of coriander into the mix - so good with blueberries.
For my tartelettes I blind baked the pâte brisée in small brioche molds, popped in three berries, poured the custard over and baked them until the custard was set.
Once cooled, a dusting of powdered sugar adds just the right touch. Serve and enjoy.
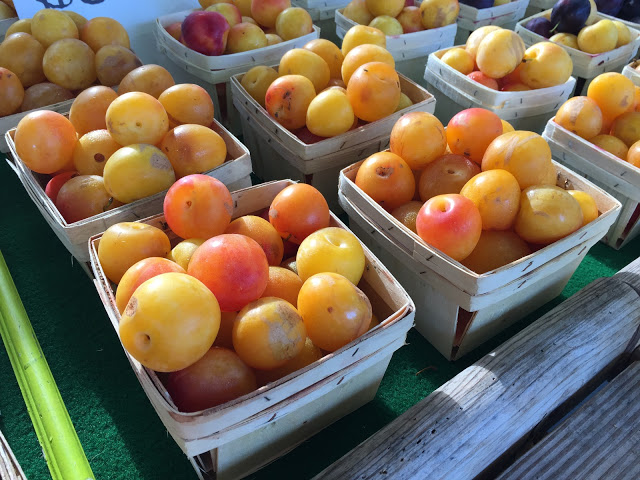 |
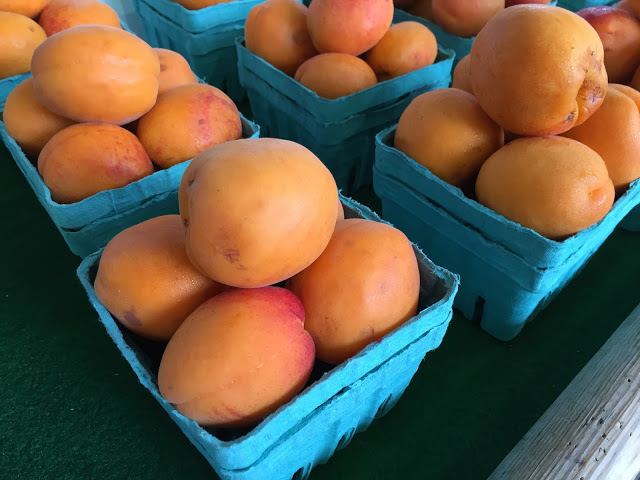
| Local yellow plums |
My plum version came about due to the NEED to use up some ripe plums in my fridge. When browsing at the Fulton Farmers Market, I try sooooo hard to buy only the fruit that I'm pretty sure I'll use up quickly. Best laid plans . . . .
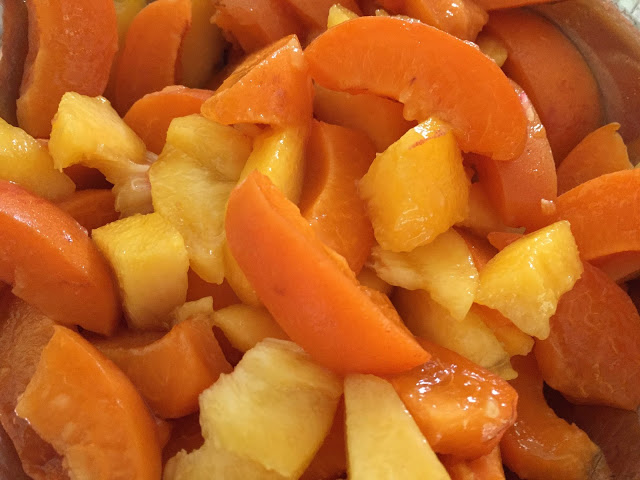
I went with a variety of greenish-yellow, peachy and red fleshed plum varieties for this project . . .
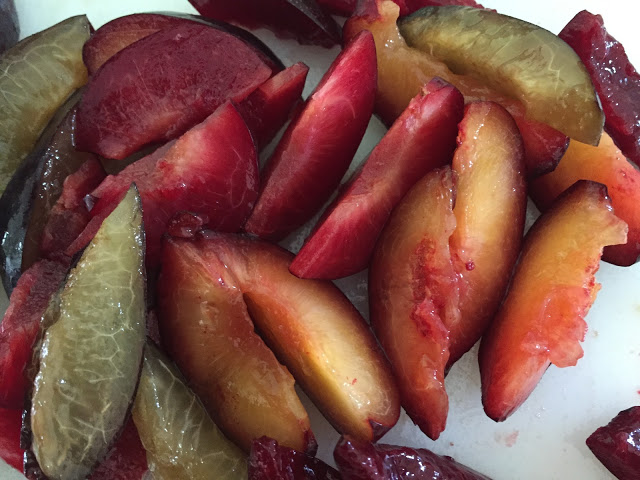
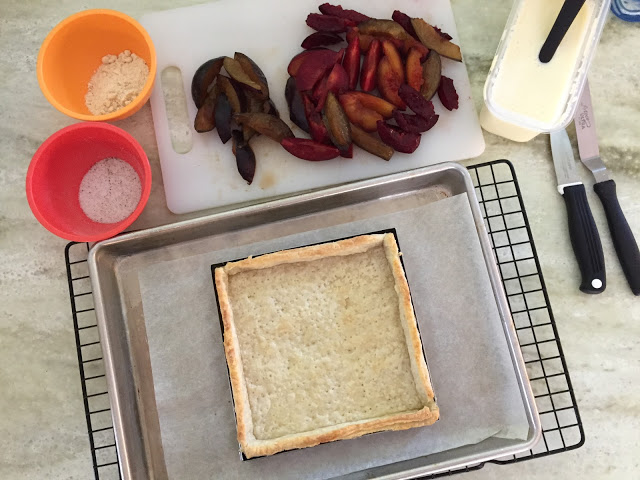
and had just the right amount of dough on hand for my 16 cm square open tart form.
Lining a square form takes just a bit more finesse than a circle, since it's important to get the dough properly tucked into the corners. Dock the dough with a fork . . . .

then place the pan into the freezer while heating the oven to 400ºF.
Line the frozen dough with parchment, fill with dried beans or ceramic weights and bake for 12-15 minutes. Remove the weights and parchment then pop back into the oven for another 5-7 minutes until lightly golden.
Reduce the oven to 325ºF and proceed with final assembly.
 |
| Blind baked and ready for final assembly |
I sprinkled some almond flour on the crust, placed the multi-colored plum slices just so . . .
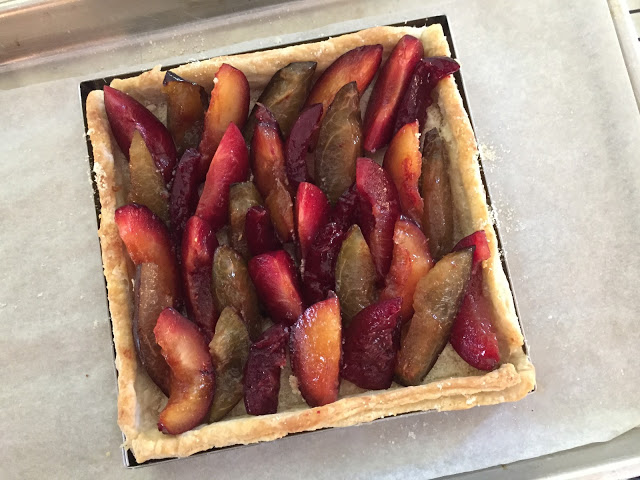
and poured the custard over until it reached just below the top edge of the dough.
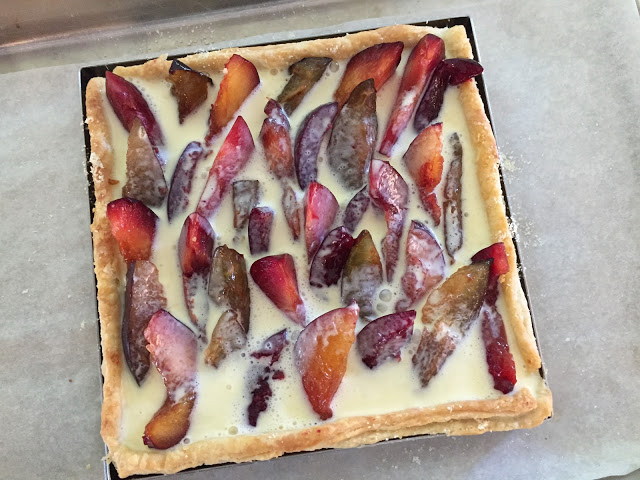
A final sprinkling of vanilla sugar and into the oven it goes.
Bake about 25 minutes until the custard is set and there's some browning and a hint of bubbling from the plums.
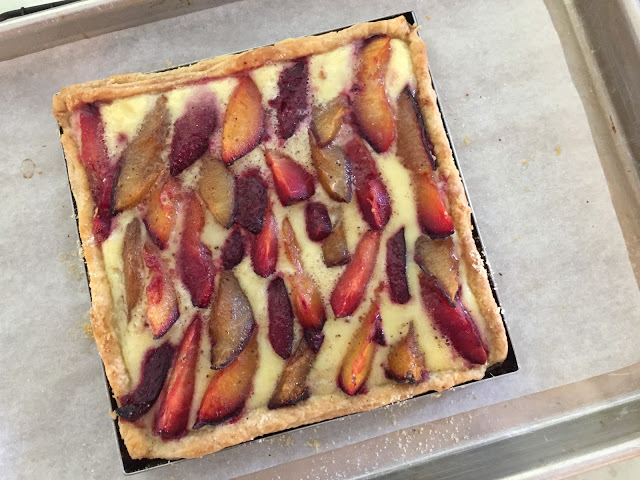 |
| Just out of the oven |
After a few minutes, lift off the tart form and finish cooling to room temperature.
 |
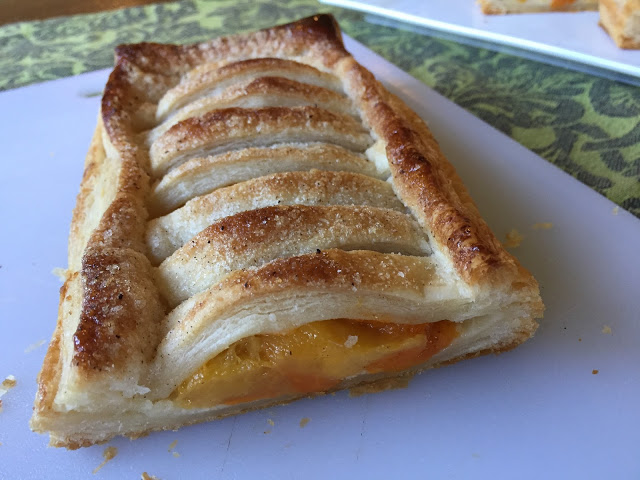
| Check out that flaky dough |
Steve and I had a small sample after our pizza supper. Wonderful buttery, crisp crust, luscious custard filling and tartly sweet plums - yes indeed.
In a nutshell, here's the recap/ custard recipe.
- You choose what size and shape you'd like your tart or tartelettes to be.
- Have your pâte brisée ready to go (Visit this post).
- Roll your dough to about 3 mm thick and line your chosen tart tins or forms. Prick the dough all over with a fork and place in the freezer while you heat your oven. Pâte brisée bakes best at high heat, 400-425ºF.
- In general, blind baking requires 12-15 minutes with weights, then another 5-10 without until nicely golden (watch what's happening in that oven of yours!!!).
- Decrease the oven to 325ºF.
- You'll have to eyeball the fruit quantities you'll need for your given size. The tartelettes are easy - a few berries each. For the 16 cm square I used about 350 g of fruit - choose your favorite berry, stone fruit or combination thereof and have it prepped and ready to go.
- For the custard, heat 1 cup heavy cream and 1/2 cup whole milk to barely simmering.
- In the meantime whisk 4 large egg yolks and 1/4 cup granulated sugar in a separate bowl; temper in half of the heated dairy, then return all to the saucepan and cook to the anglaise stage (82ºC or 180ºF). NOTE: I added a skosh of freshly grated nutmeg and good pinch of coriander.
- Strain into a 2 cup Pyrex-type pour spout container and set aside.
- Sprinkle a shallow layer of almond flour on the bottom crust, arrange the fruit to your liking, then pour the custard over til it reaches just below the top edge of the crust.
- Bake about 8-10 minutes for tartelettes and about 25 minutes for larger tarts until the custard is set with a hint of a jiggle in the center.
- Let cool.
- Enjoy slightly warm or at room temperature.
- Best eaten the day it's made but will keep covered in the fridge for a day or twol
Enjoy!!