Mini Bostock and chocolate almond bread pudding (what to do with brioche that didn't turn out the way you thought it would!)
/
First let me explain. I have a new book (thanks to a Christmas gift card) entitled “French Boulangerie: Recipes and Techniques from the Ferrandi School of Culinary Arts”. Written by chefs at Ferrandi Paris, it “delves into the world of breads and viennoiserie”. It is chock full of classic techniques for creating breads, laminated pastries and so much more.

One of my projects was a laminated brioche loaf that didn’t turn out as expected. Hence the question - now what?? I certainly didn’t want to waste the end result since it did have a lovely flaky texture and buttery flavor (I used Kerry Gold for this one).
I’m not going to bore you with all the sordid details, but I had adjusted the recipe by portioning the finished dough to fit my longer, narrower loaf pan. The rolling and shaping process was interesting - cutting the rolled out dough into two lengths that were then folded again lengthwise and squiggled up to go into the pan.

Hmmmm . . . . interesting
After the rise it looked like some sort puffy smooshed monster. I was having serious doubts about this.

But . . . . . there may be hope! In spite of its unattractive appearance, once baked and out of the pan, the exterior layers were flaky and tasty!

hmmmmm . . . .
It was the sunken center that got me down.

Time to regroup! My thoughts turned to Bostock which I think of as the brioche version of almond croissants. It’s typically made using leftover brioche which is sliced, imbibed with simple syrup, topped with almond cream, maybe some jam or fruit, sliced almonds and baked. That’s it!
I proceeded to divide my odd loaf in half - one half cut into cubes for my mini version of Bostock and the other half smaller chunks that would become bread pudding (another favorite!)
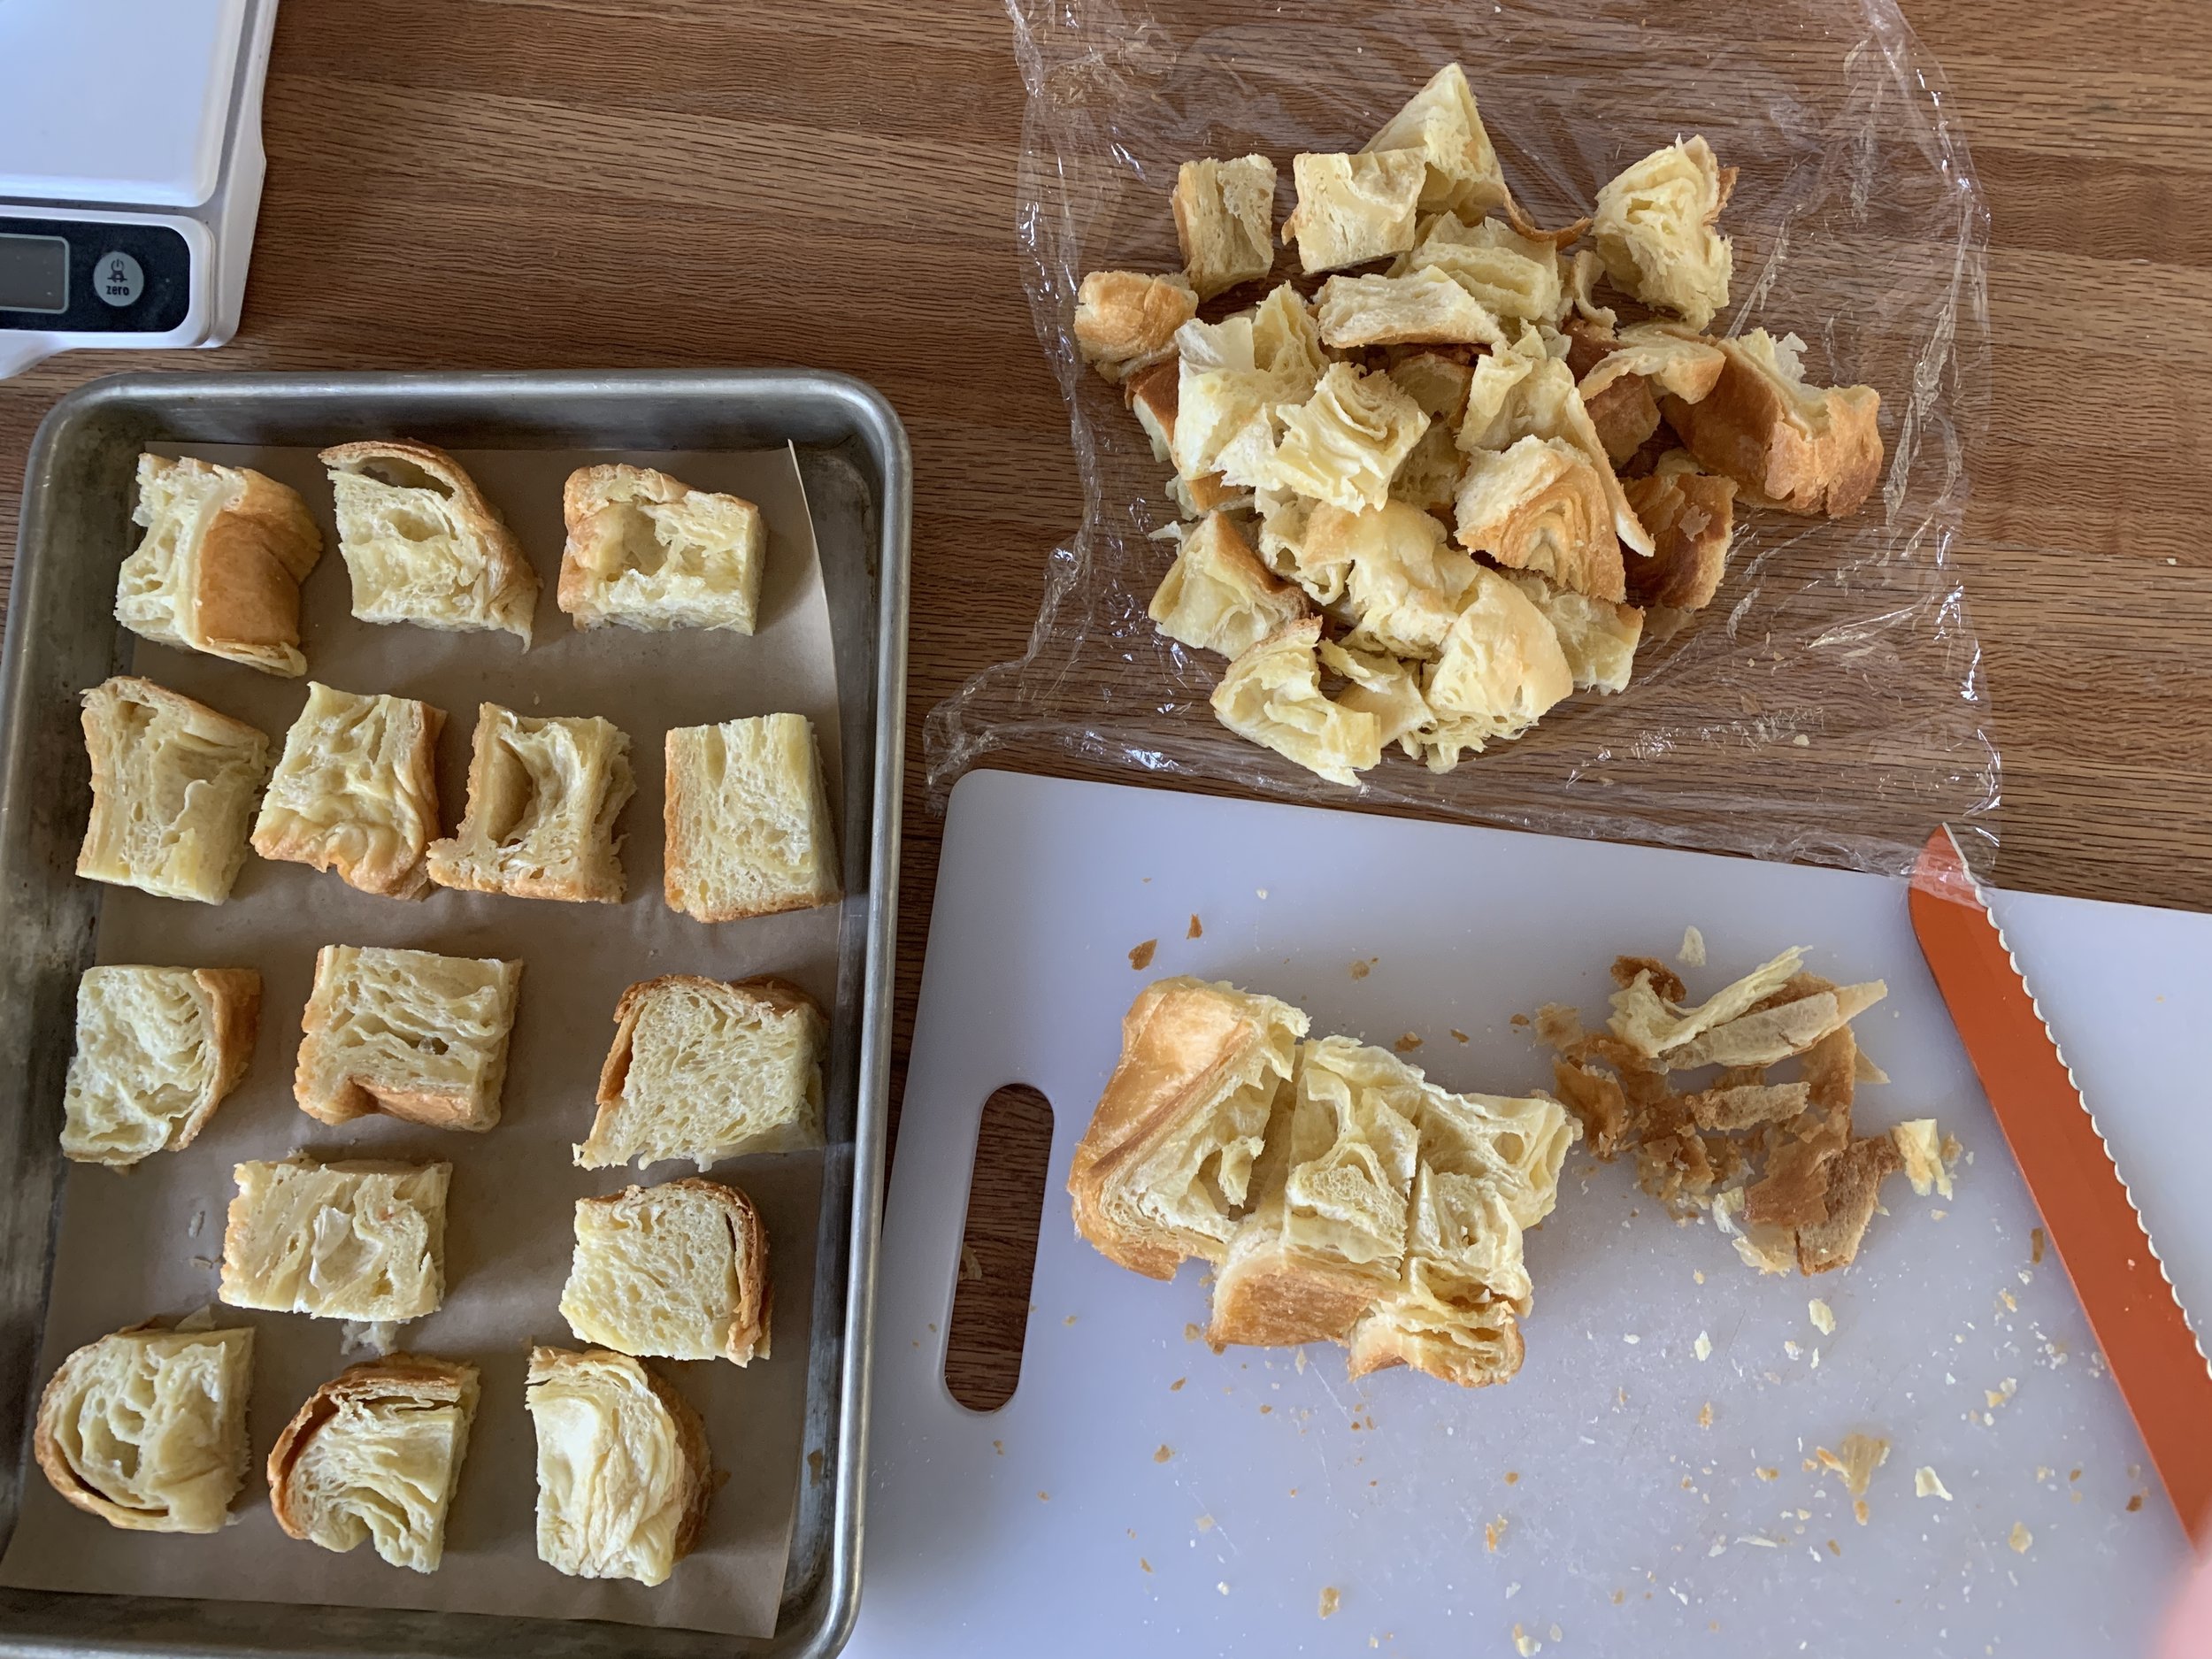
For the Bostock: toast the cubes in a 325º oven for 10-15 minutes to dry them out a bit. They can better absorb the simple syrup dunking that comes next. Once dunked, set them on a wire grid over a sheet pan to drip a little.
Now pipe a swirl of almond cream, add a center dollop of jam (cherry-raspberry here) and some crushed sliced almonds on top.

Assembly in process

Ready for the oven
Bake at 350ºF for 20-25 minutes until the almond cream is set and edges golden.

All baked up
Once cooled, give ‘em a light dusting of confectioners sugar, just because. Enjoy as is with your morning coffee or afternoon tea. They keep in a covered container in the fridge for several days and do enjoy a 10 second or so refreshing warm up in the microwave.

Delicious bites of goodness
Next up - bread pudding! I’ve made various iterations of this luscious treat over the years, usually to use up left over croissants, brioche or other enriched bread.
As is true of so many things in the baking and pastry world, the base custard varies from recipe to recipe - could be all cream, half cream/half whole milk, less sugar/more sugar, whole eggs vs yolks or a blend of whole and yolks. You get the picture.
I’ve developed a general ratio for a tasty mixture. Here’s a good base recipe for a chocolate almond version I decided on.
Many recipes call for about a pound of bread cubes. I had ~1/2 pound of brioche to work with so I chose a 8”x8” square ceramic baking dish rather then a larger 2 quart 9”x13” one and halved the base recipe.
For this half custard recipe I used 1 cup heavy cream, 1 cup whole milk, 40 g granulated sugar and 2 large eggs plus 1 yolk. Heat dairy and sugar on the stovetop to dissolve the sugar. Have eggs/yolk in a separate bowl. Temper the warm dairy mixture into the eggs, whisk in 1/2 teaspoon vanilla extract then strain into a pitcher or bowl. If not using right away, refrigerate it up to overnight - just whisk it back together when ready to use it.
Butter the casserole and layer 113 g / 4 ounces coarsely chopped chocolate in the bottom. Top with bread pieces then dollop on blobs of almond cream (around 3-4 ounces total for this half recipe), tucking in between and over the brioche cubes.

Assembling

Ready for the custard
Pour the custard over everything, letting it settle into the nooks and crannies. Place a layer of plastic wrap directly on the surface and refrigerate for several hours or overnight. Push the bread cubes down every now and then to keep things well soaked.

going into the fridge
When ready to bake, heat the oven to 350ºF. Have an empty larger casserole dish ready, into which you can place your bread pudding dish. Fill the larger casserole with hot water about half way up the sides.
Remove the plastic wrap and generously sprinkle raw sugar over the surface.

Sugar sprinkled and ready for the oven
Place carefully into the oven and bake about one hour. Look for puffing, lovely golden color and the custard set.
Lift out of the water bath and place on a wire grid to cool a bit.

Puffed and golden - yum!
Oh so delicious! Served warm (and I admit a bit over the top with butter pecan ice cream, oat crumble and caramel drizzle), Steve and I were in heaven. We shared some with our neighbor Sandy and refrigerated the leftovers which keep well for several days.
And yes, we freely admit to savoring additional portions warmed from the fridge for a lovely winter treat.

Wishing all of you a belated Valentine’s day. Be safe out there.